Saturday, 25 February 2023

Dreamy Dragonflies

Hi There! I am here with a journal page I created for a class recently. Here is how I made it. 
 
i began by giving the page a coat of  white gesso, then added some Dylusions paint with a wet brush, spraying with a little water to get a more pastel effect.

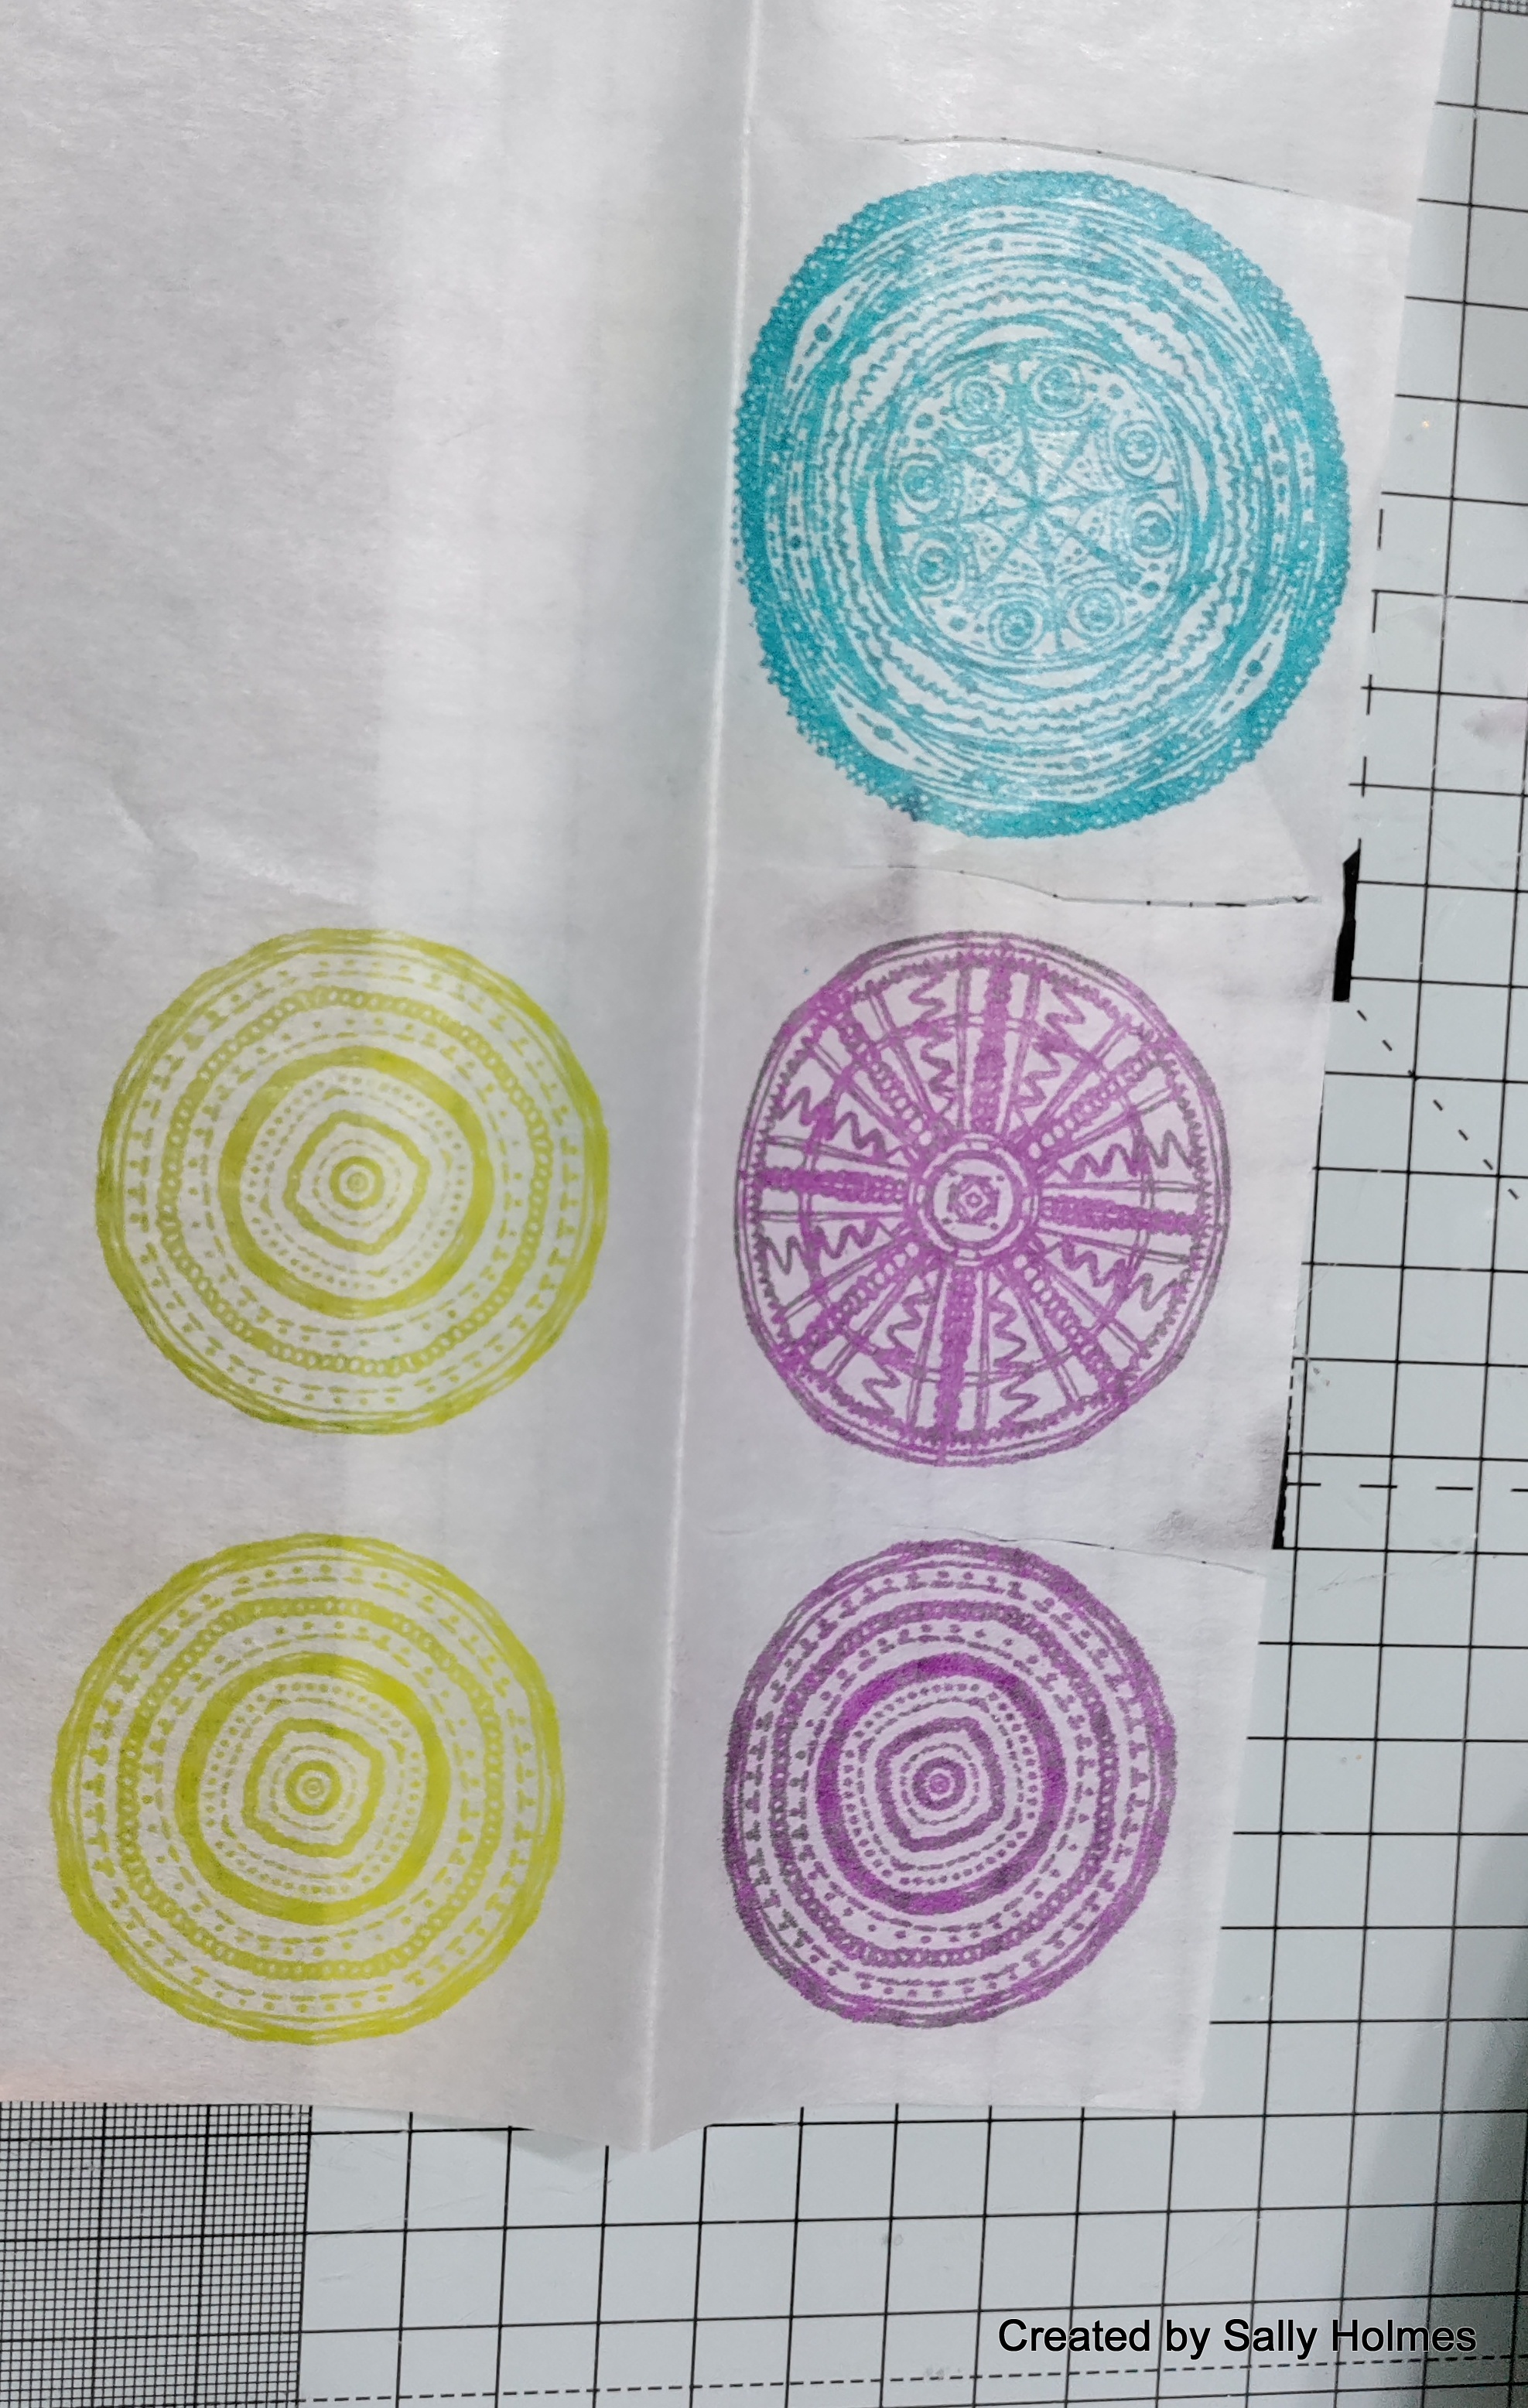
Next I stamped some of the Doodle Art Mandala stamps onto stamping tissue using Versafine Clair ink
I cut them out and added them to the page using matte medium.
Using the circles Big one inkable and peacock Feathers distress ink I added a bit of stencilling to the background.
I stamped the Script background stamp onto stamping tissue using versafine clair ink and tore it into pieces, adding them around the page with more matte medium. 
I did the same with the dotty circle stamp.
I had some doodle art dragonflies that I had coloured in with pastel ecolines  and cut out. I added them to the page along with the ticker tape sentiment stamped on to white card with black ink. A splatter of white paint and some faux stitching with a posca pen finished it off.
Here is the finished page again. 
I used:
Dylusions paint in Peony Blush, Lemon Zest and Blue Lagoon
Versafine Clair ink in Black, Summer Breeze, Purple Delight and Golden Meadow

Thanks for looking! 

Saturday, 18 February 2023

Look at you Journal pages


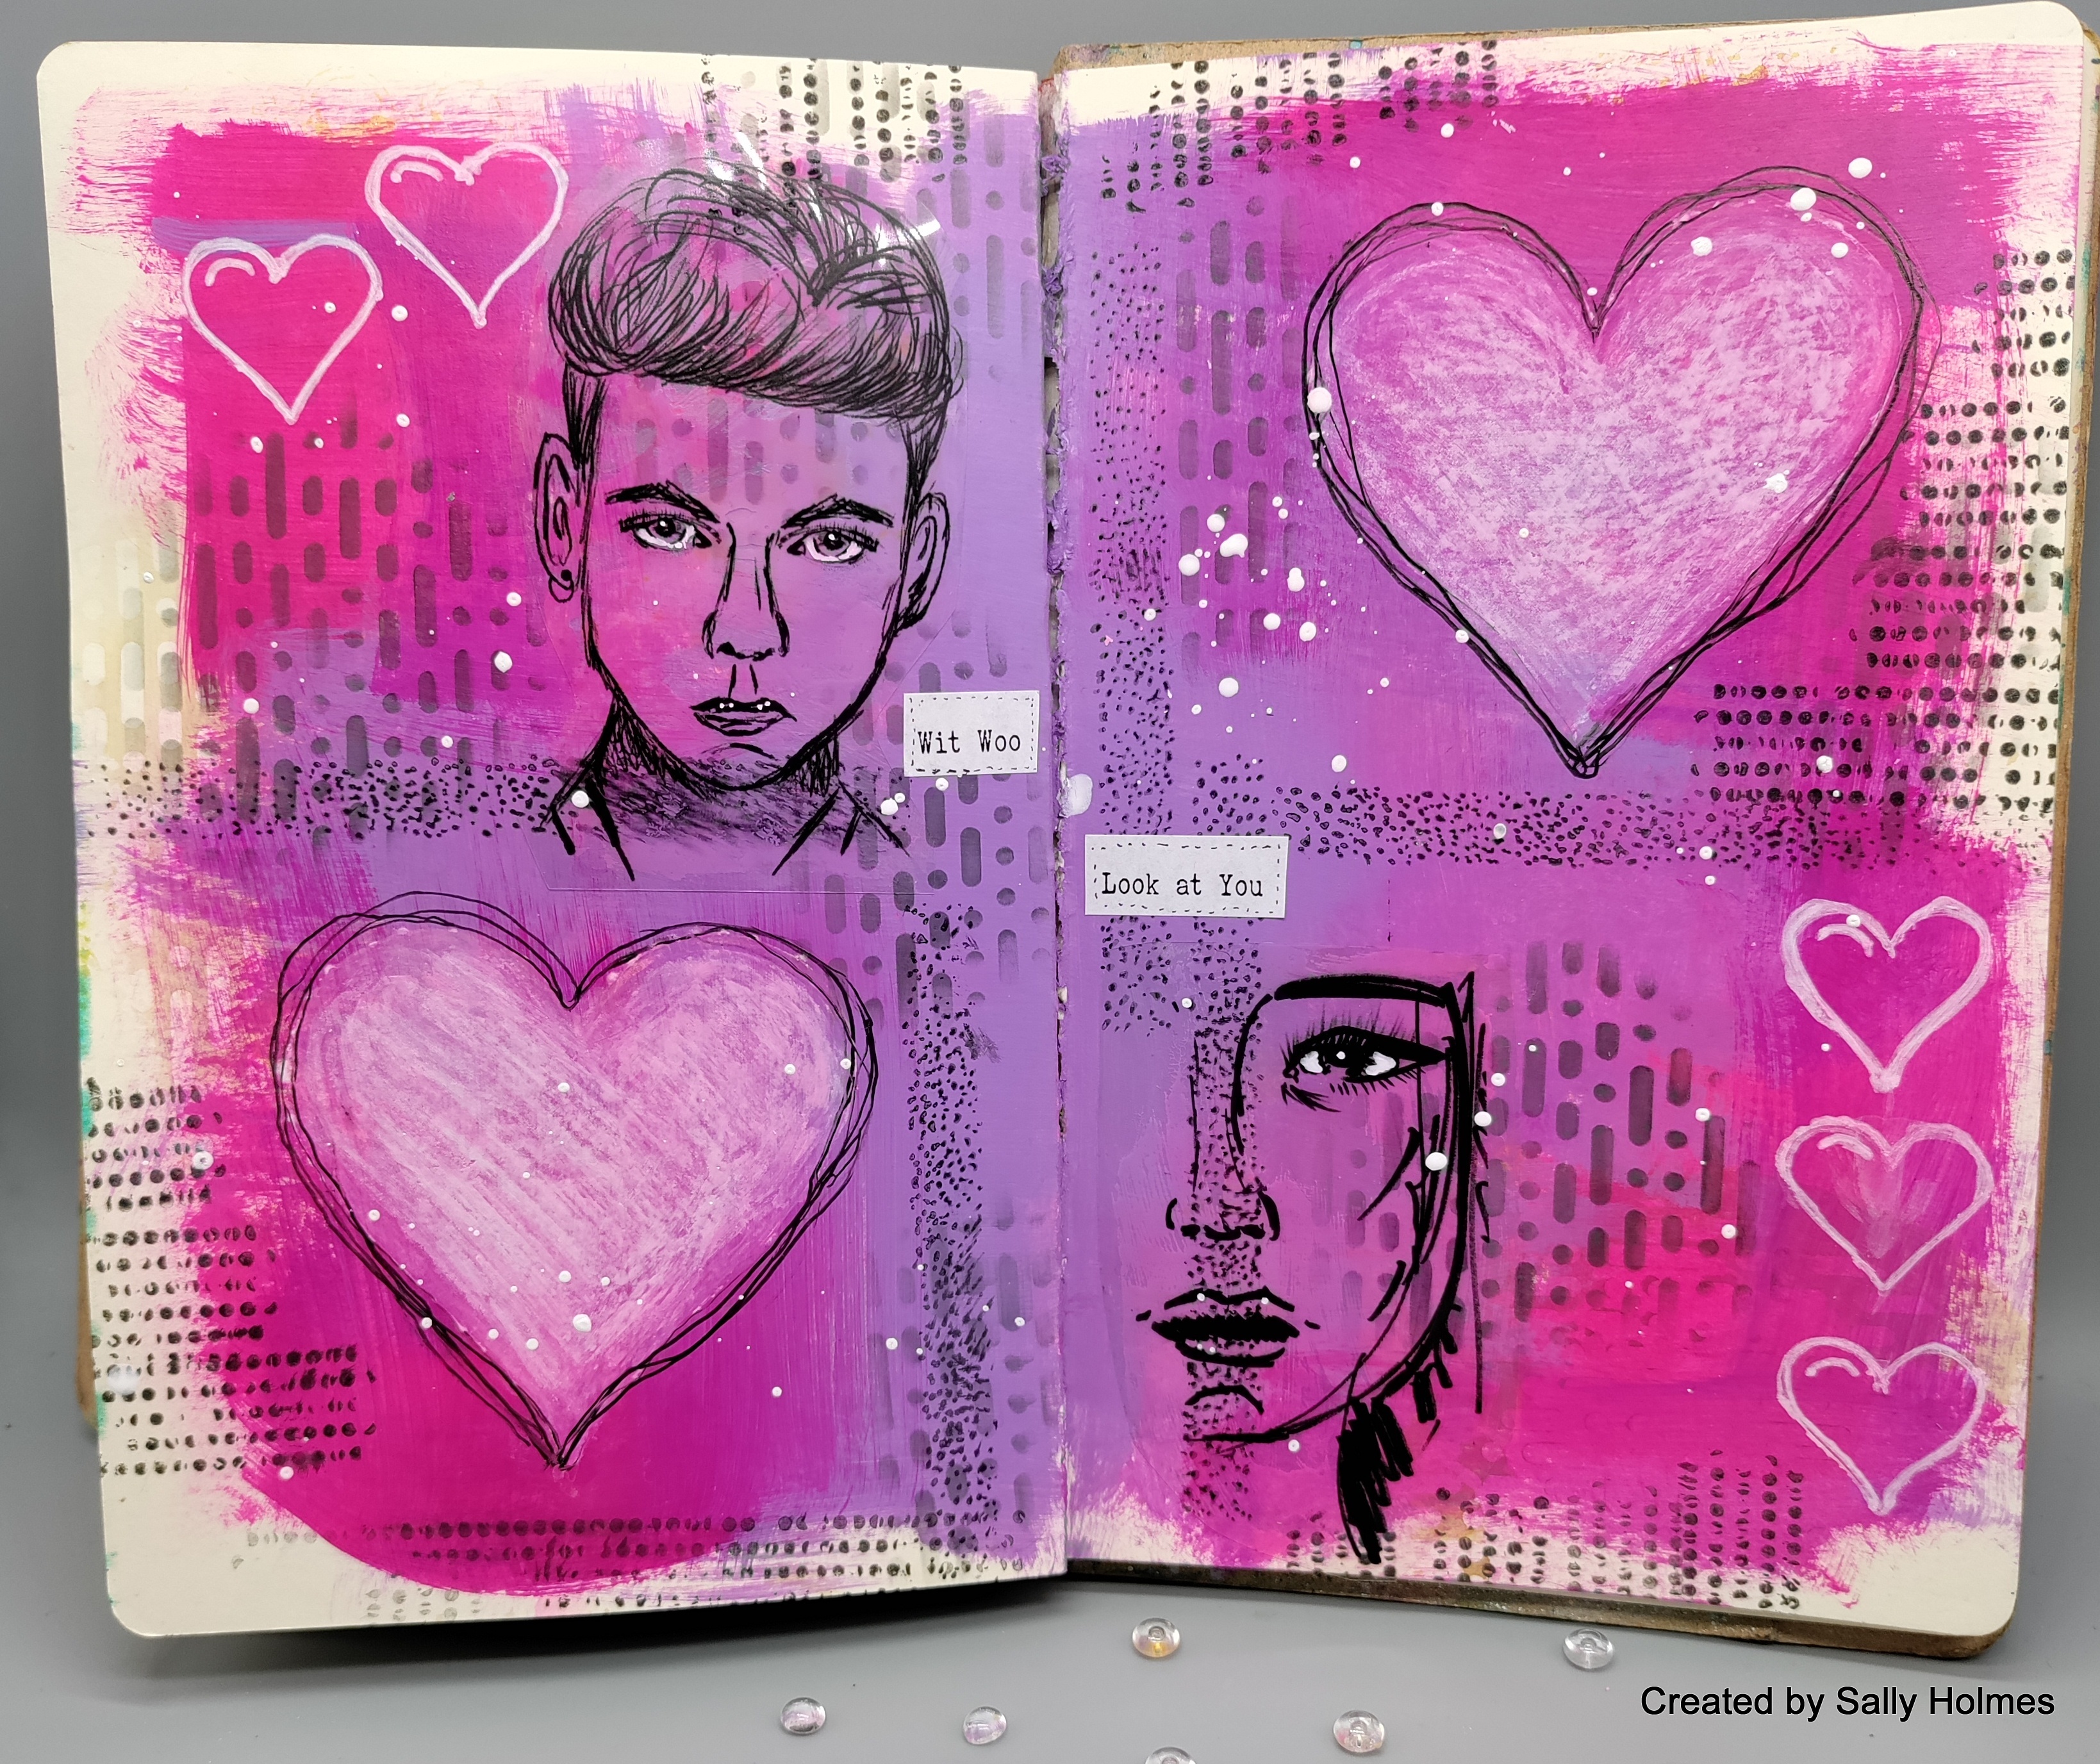
Hi There! I've been having a play with my dylusions paints that I got recently and made this journal page in my mini Dylusions Journal. Here's what I did:

I began by painting the page with Bubblegum Pink and Laidback Lilac Dylusions paint. 
Once this was dry, I used a white scribble stick through the 4" easy frame heart to add two hearts. 
Next I drew several hearts using the posca pen and the Hearts 6x6 inkable around the edges of the page.
I used black soot distress oxide and the texture disc to add some darker areas to the page.
Next, I stamped some of the texture borders around the page and added some lines in black pen around the larger hearts. 
Whilst the ink dried, I cut out two of the faces from the faces #4 transparencies and added white posca pen to the eyes. I used matte medium to attach these and a sentiment from the wordy stickers to my background, and finished with a splatter of white Dina Wakely gloss spray.
Here is the finished page again. 
I used:
Dylusions paint in Laidback Lilac and Bubblegum Pink

Somehow this reminds me of 80s discos. I think she might turn him down though 😂
Thanks for looking! 

Saturday, 11 February 2023

Mandala medley

Hi There! I thought I would show you how I made this colourful mandala card. 

On a 14x14cm square of card I stamped a medium sized mandala stamp 3 times overhanging the edges and clear embossed (The embossing isn't necessary if you want to speed up the process.)
Next I stamped the mandalas I had chosen to use on to a stamp and mask sheet and cut them out
I used the masks to cover the mandalas I had already stamped and then stamped over them until the whole of the piece of card was covered in mandalas. If you are embossing it is worth adding the embossing powder after stamping each 2 or 3 mandalas and heat embossing as you go.
if not embossing it is worth heat setting the ink with a little waft of the heat tool at this point. 
next I used the distress inks to paint the mandalas 
whilst this dried I stamped and embossed a sentiment in white on black card and cut it out
I used a pale grey ecoline to add a little shadow around the edges of a few of the circles, and covered a few less than perfect bits of stamping with a sequin or three. I added the sentiment on sticky pads and mounted it on to a card blank. 
Here is the finished card again. 
I used:
14x14cm square of card
Distress inks in Peacock feathers, Fossilized Amber, Crackling Campfire and Uncharted Mariner 
15x15cm card blank
black card for matting and layering and adding a sentiment 
Versamark embossing ink


On Wednesday evening I completed another page in my Grafix media journal, this time on black Duralar. You can see the live here
Thanks for looking! 


Saturday, 4 February 2023

Wild and Free Bee Tag

Hi There! Thought I would show you how I made this mdf tag for Bee Monarchy day. 
I began by painting the MDF tag using acrylic paints. Some of these were shimmer/metallic and some were not. I painted them onto the tag blending the edges.  

Next I used black gesso through the full honeycomb inkable and added a little more around the edges.
Once this was dry I added some stamping using the crowns and honeycomb stamps from the bee Monarchy set using a brown versafine Clair ink.
on a scrap piece of card I stamped the bee 3 times with versafine clair black ink. I coloured them with ecoline pens and cut them out using the die set. 
I stamped a sentiment from the small words set and added that and the bees to the tag using ultra thick gel medium. 
Here is the finished tag with a little yellow ribbon though. 
I used:
Dylusions paint in lemon Zest and Tangerine dream
Dylusions shimmer paint in Pure sunshine
Versafine Clair in black and brown

Thanks for looking! 

Saturday, 28 January 2023

Bee Monarchy Samples


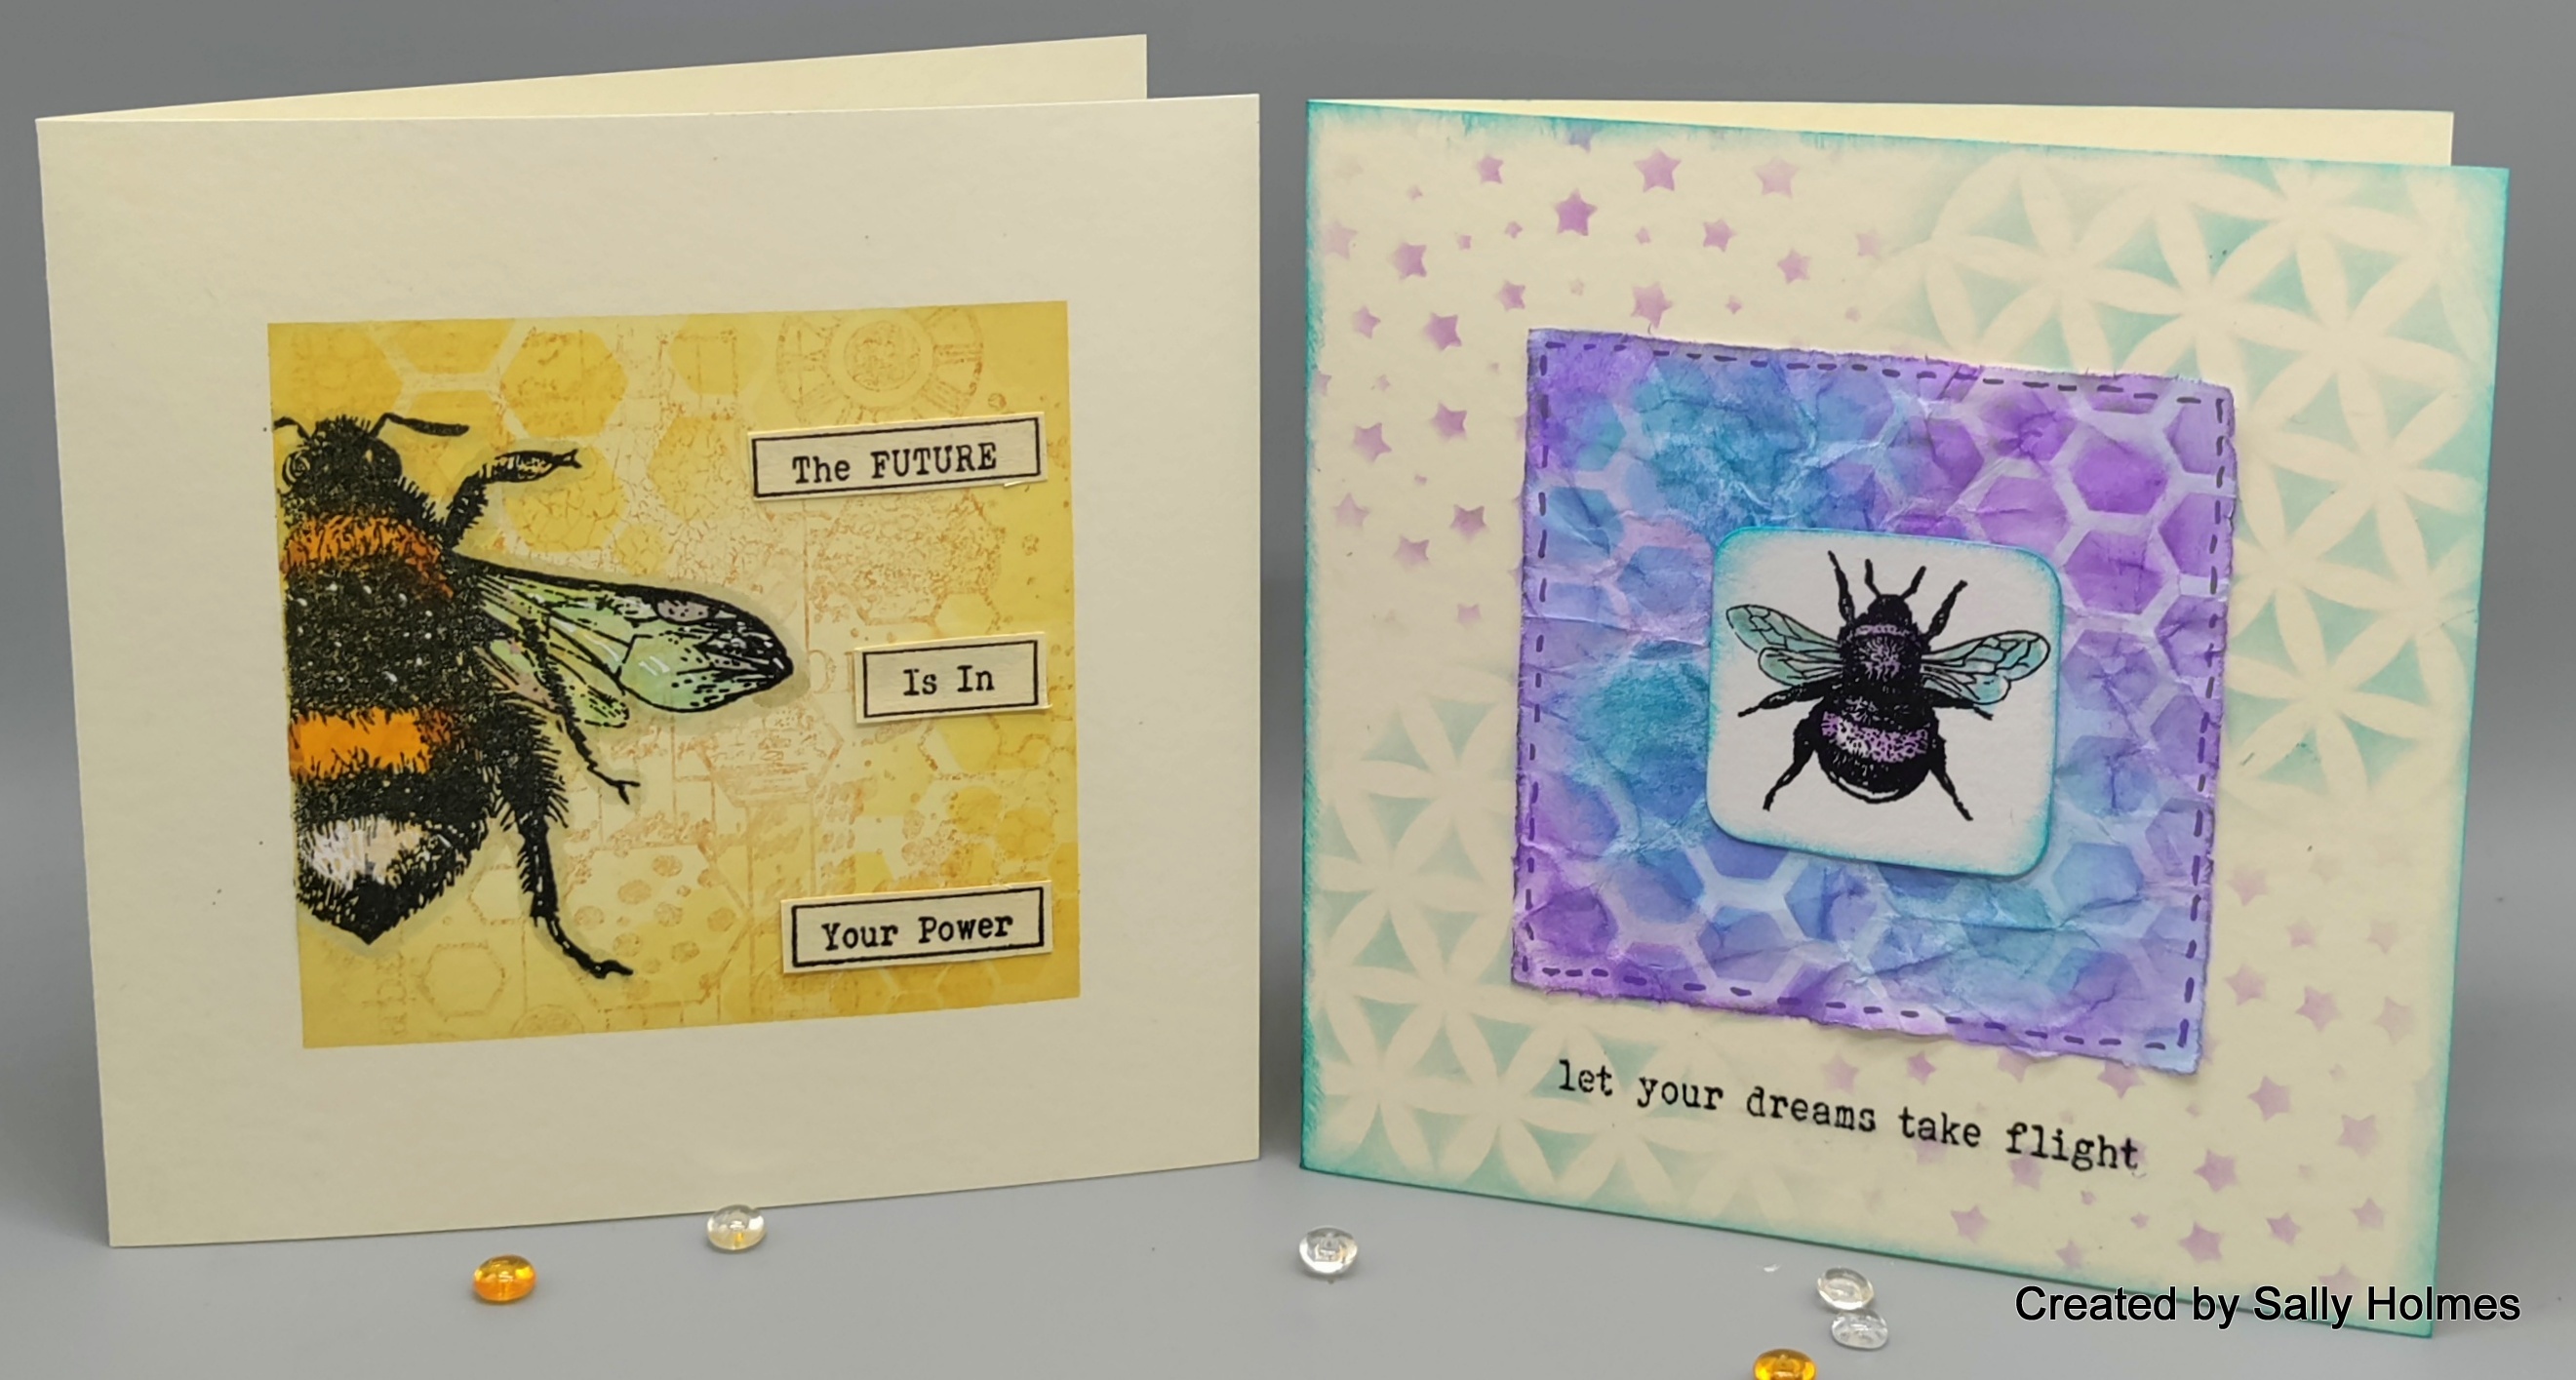
Hi There! Did you manage to join us for the Bee Monarchy relaunch on Tuesday? These are some of the samples I made. The first pair of cards I made during my live. 
This one used the scripted bee stamp in the background and the stitched borders.
I painted the MDF using dylusions paints and added black gesso through the Honeycomb full inkable
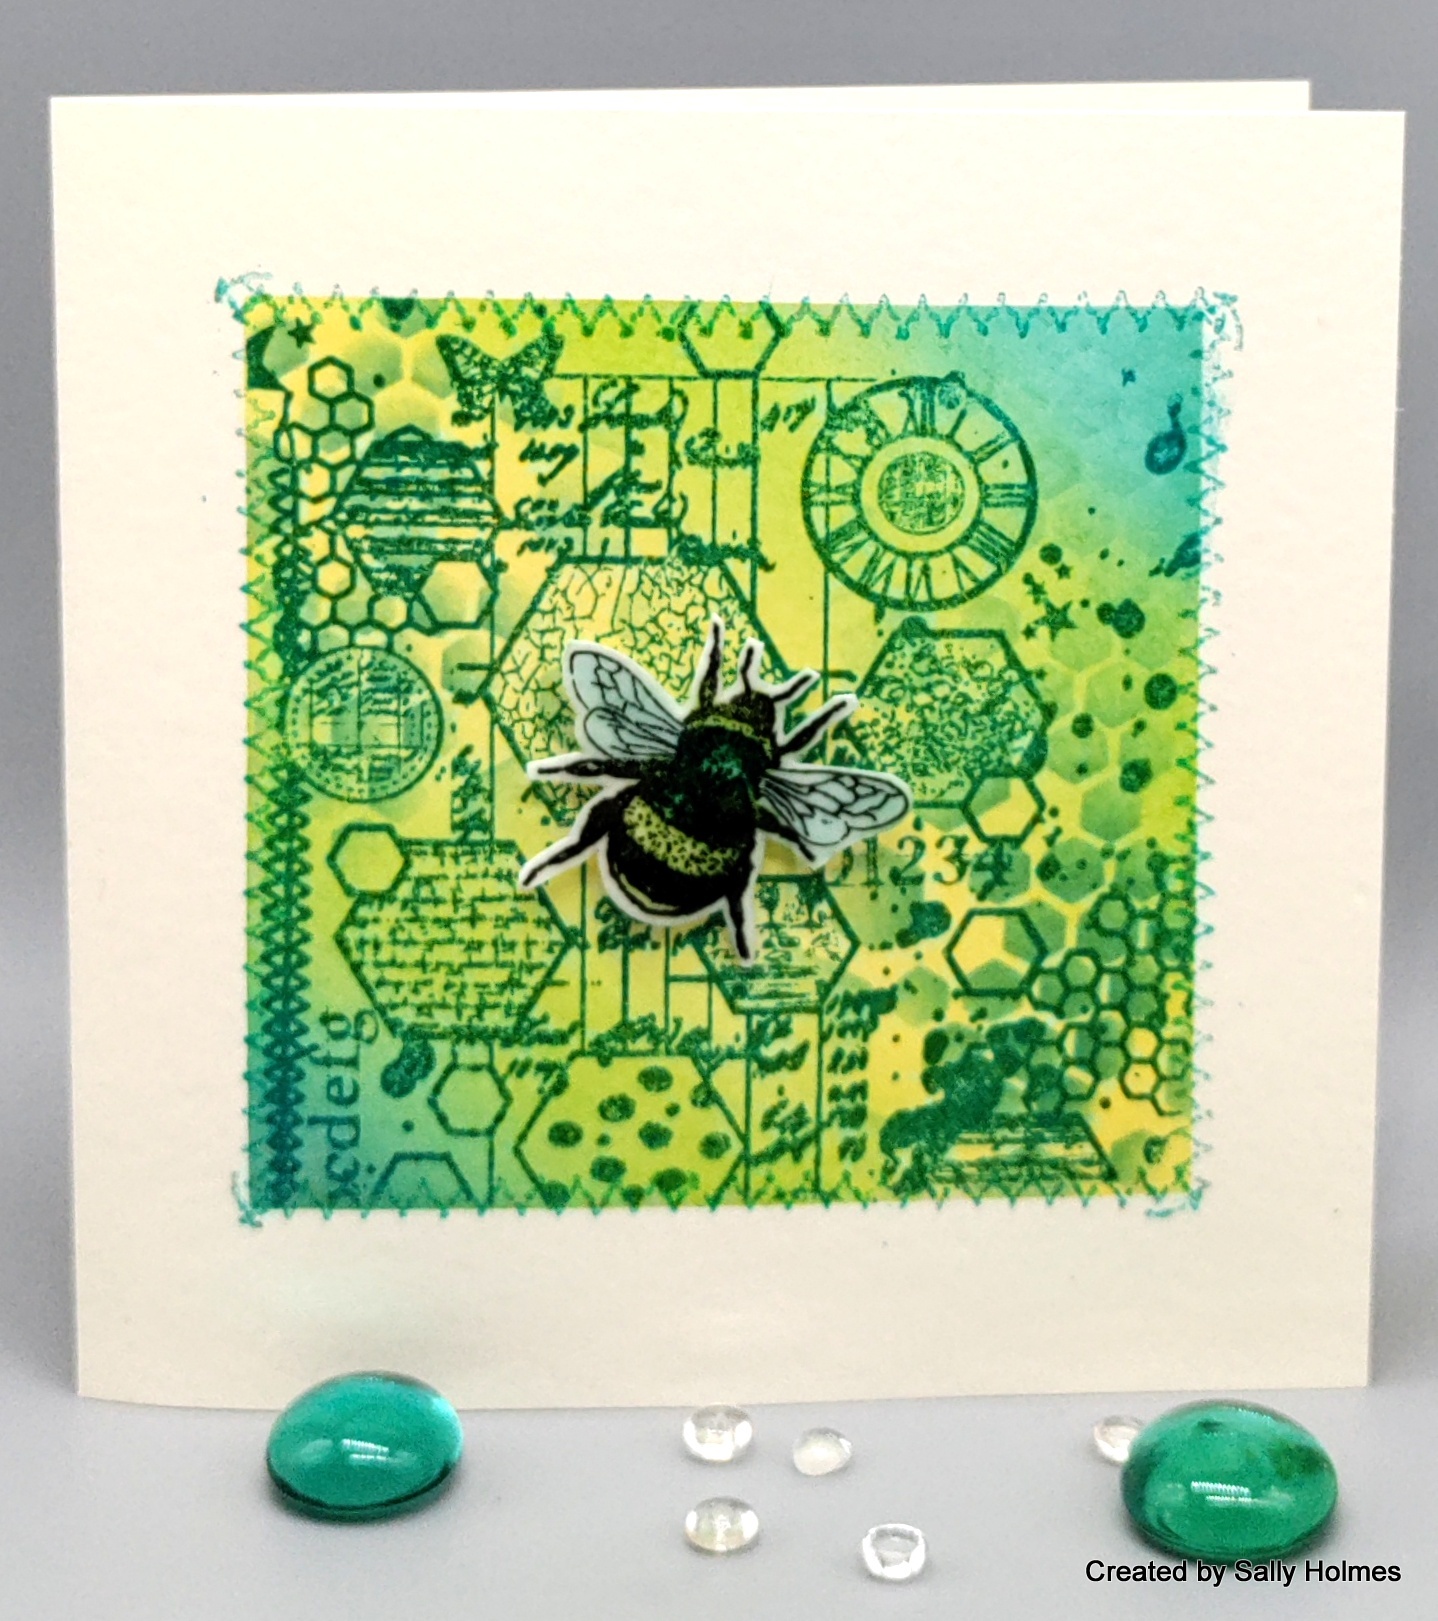
This older sample was stamped and stitched, and the background was sprayed through the Honeycomb multi inkable.
This was another older sample using honeycomb multi, Scripted Bee and the 4" hexagon easy frame.
I created backgrounds for these pages using a piece of catalyst paper and scribble sticks on the left and dylusions sprays painted on, on the right. Both of the bees on these journal pages were stamped on Bee Crafty stamping tissue.
Texture discs and catalyst papers made the background on this sample.

This was my blog post last week, so there is a step by step for it. 

For my live on Wednesday I had a play with Alcohol inks. I used a technique I learned from Kate Crane in my Grafix mixed media journal.
The background on this card also used the same alcohol ink technique on Dura-lar matte.

You can find the Bee Monarchy stamps here

The Scripted Bee stamp is here

Stitch borders are here

6x6 inkables are here

Easy Frame inkables are here

Texture discs are here

Bee Crafty papers and stickers are here

Journals are here

All Bees were coloured with Ecoline brush Pens 

The videos of the lives can all be found on the Bee Crafty Facebook page

Thanks for looking! 

Saturday, 21 January 2023

Layers of ink Bee Card

Hi there! I have been busy making samples for the relaunch of Bee Crafty's Bee Monarchy stamp set on Tuesday. I thought I would whet your appetite with a sneaky peek step by step. 
 

I began by putting masking tape around a 5x5" square ivory card. As you can see I overlapped the edge by about 3mm to give a slightly narrower border.
I blended distress ink in Wild Honey and Tea Dye over the centre, making it a shade darker at the edge
Next I used the Honeycombe full inkable to add a little stencilling top left and bottom right.
I inked up the crackle background stamp with vintage photo distress ink and stamped it lightly over the card
Using Versafine Clair black ink I stamped the largest bee in the middle of the card.
I used Ecolines to colour it in.
I stamped a few of the honeycomb stamps from the Bee monarchy set in wild honey ink before removing the tape and stamping the sentiment from the small words set. I also added a tiny bit of white pen to the eyes and tail of the bee. 
Here is the finished card again. 
I used:
5x5" ivory card blank
Masking tape or Stamp and Stencil tape
Distress inks in Wild Honey, Tea Dye and Vintage Photo
Bee Monarchy stamp set (it will be there on Tuesday!)

The re-launch of this fantastic set of stamps will be over on the Bee Crafty Facebook page from 10am on Tuesday. There will be lives and lots more! See you there!