Showing posts with label tag dies. Show all posts

Tuesday, 12 September 2023

Bee-lieve Textured tag


Hi There! I am here to share a step by step for this textured tag.

I began by using the tag dies to cut a mixed media card tag and a kraft backing piece for it.

I used one of the latest dinkables to apply crackle paste to the tag and left to dry. 
Next I sprayed the tag with distress oxide sprays in carved pumpkin and peacock feathers. I also dripped a little peacock feathers onto the textured surface and splattered with water and left to dry.
Using walnut stain Distress oxide I stamped the border down the two edges.

On a separate piece of card I stamped the Bees in Black Versafine Clair ink.
I cut them out and coloured the bees with coloured pencils. 
I also stamped and cut out the Bee-lieve sentiment.
Using matte medium I assembled it all.
Here is the finished tag again.
I used:
Distress oxide sprays in Peacock Feathers and Carved Pumpkin
coloured pencils

Don't forget we have a monthly challenge over in the Bee Crafty Stamps facebook group.
You can also book a place on my Bee Crafty Workshop over on the website. The Live Workshop will be available from 30th September indefinitely, so if you can't make it on the day you will be able to watch it as many times as you like after the event.  
Thanks for looking! 

Saturday, 17 December 2022

Icy tag

Hi There

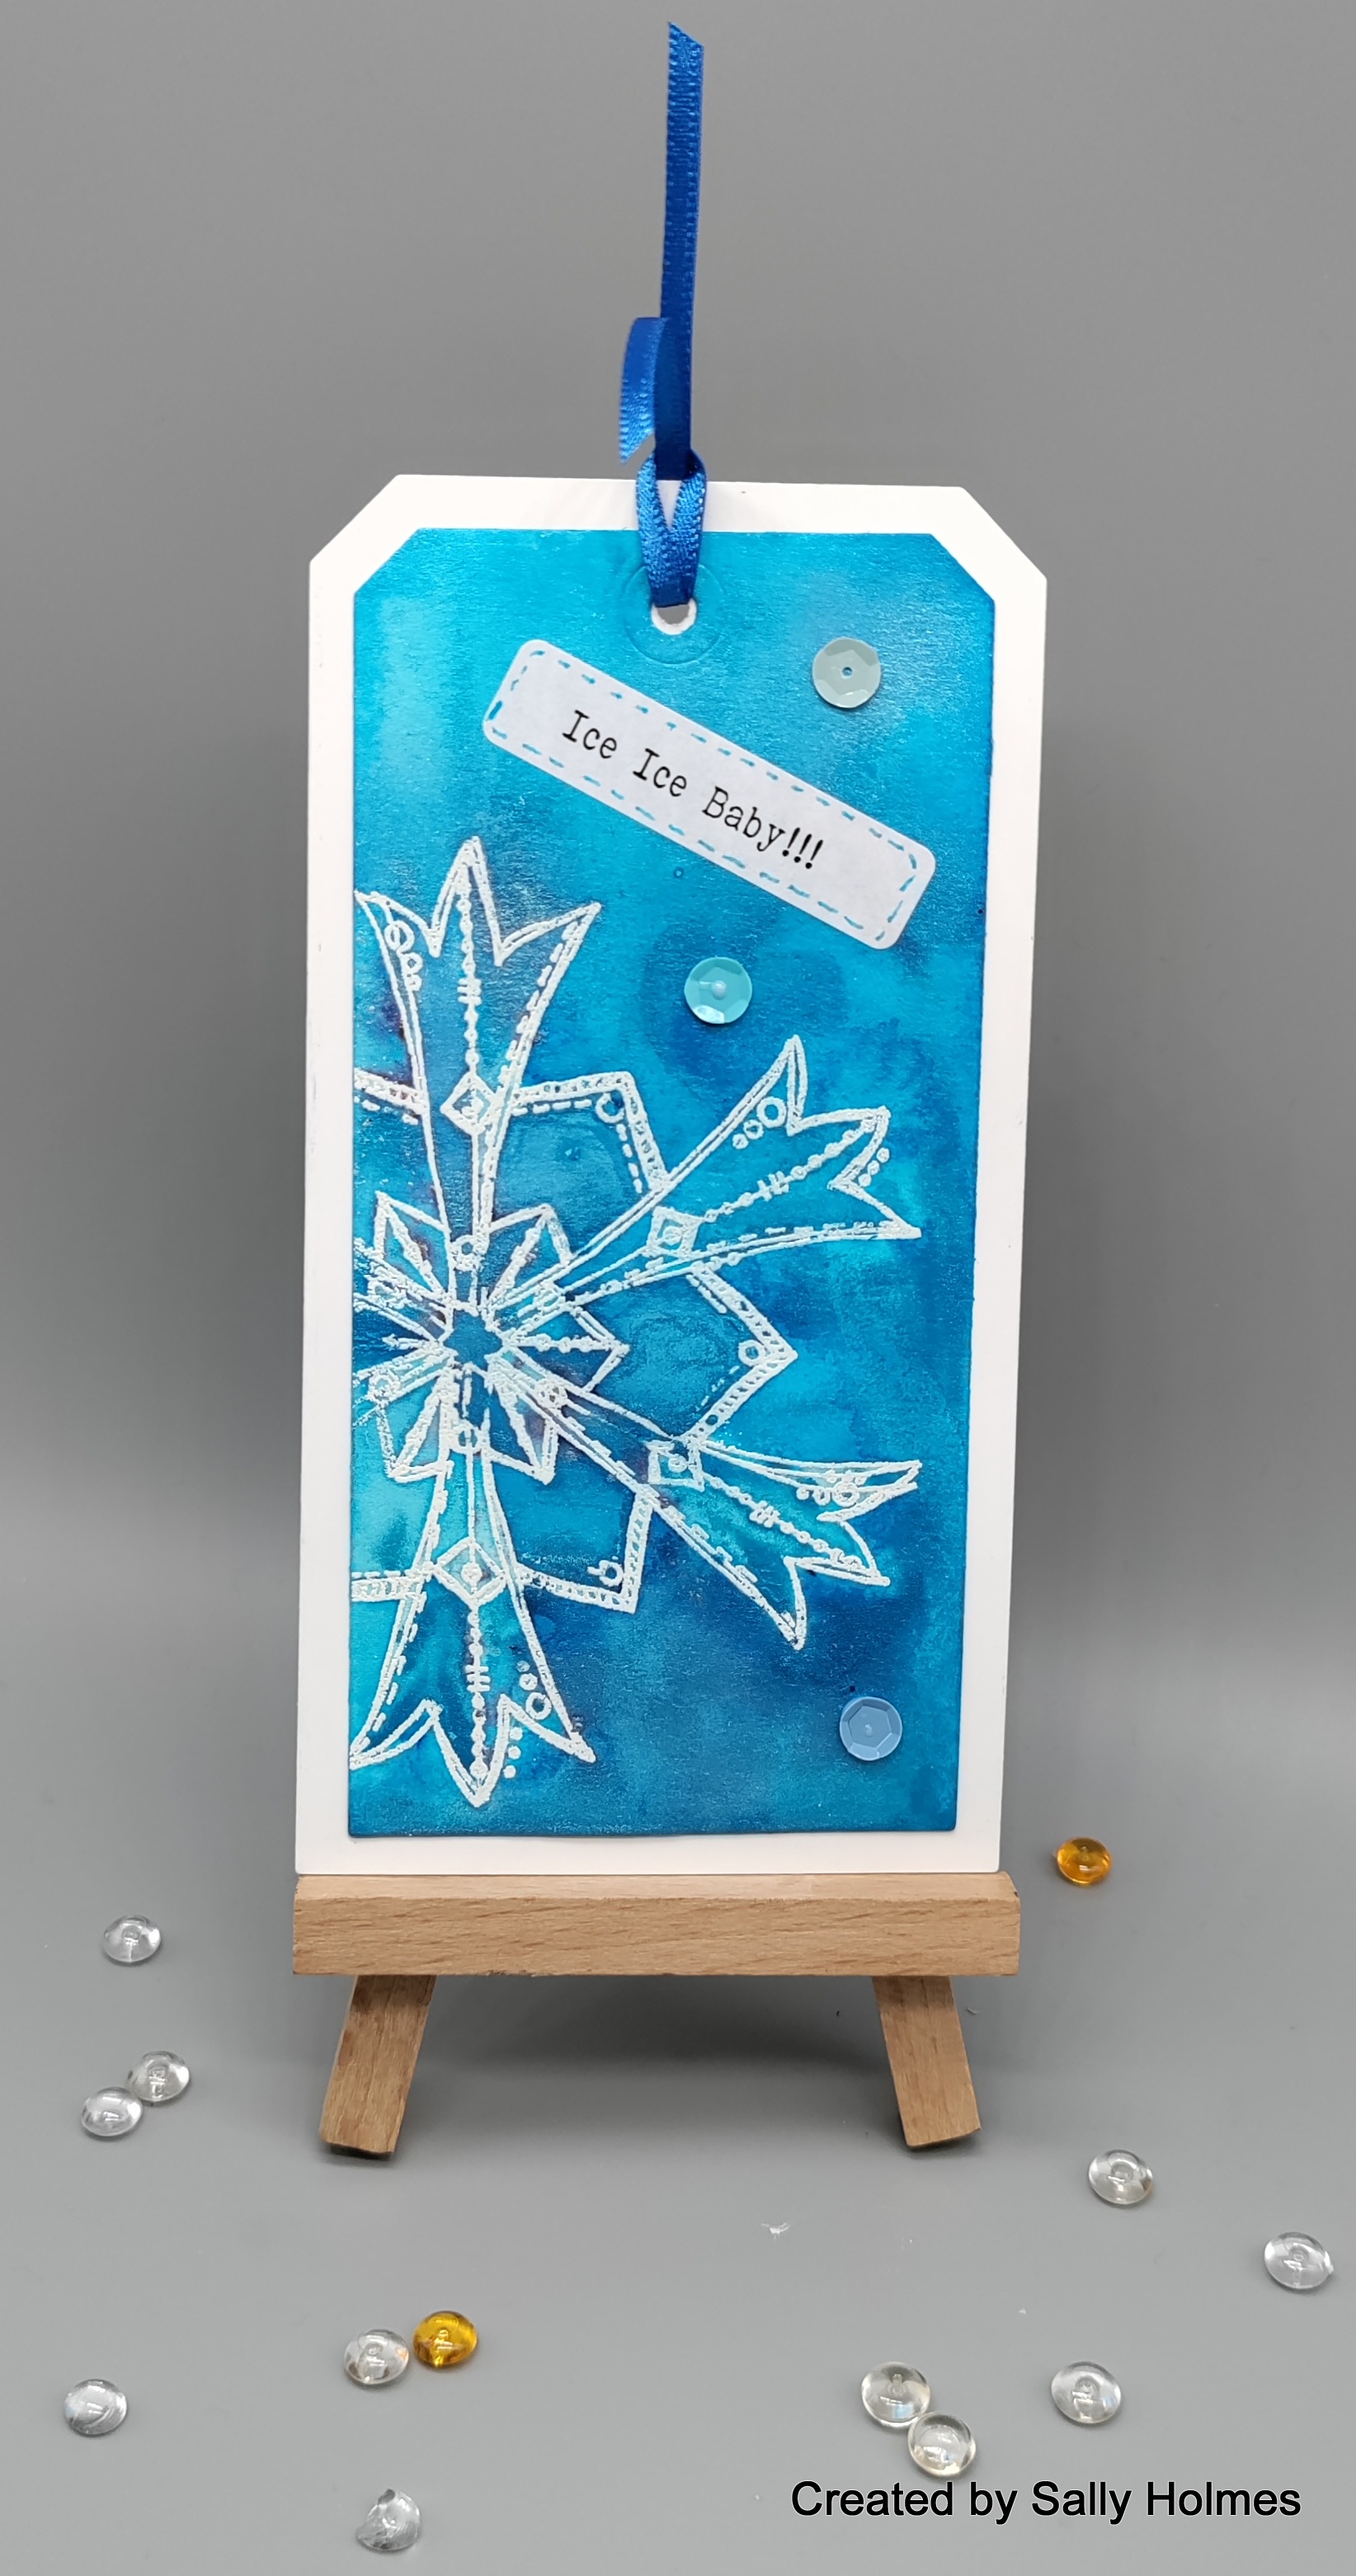
Thought I would show you how I made this shimmery icy tag. 


I began by cutting the largest tag from mixed media paper and the larger mount from white card.
 
On the tag, I stamped the largest snowflake stamp in versamark ink and embossed in fine detail white embossing powder
I sprayed water onto the tag and sprinkled with explosion powder and left to dry
once it was dry I stuck it onto the white mount and added a winter wordy sticker, some sequins and a ribbon. 
Here is the finished tag once more.

I used :

Versamark ink

Thanks for looking! 

Monday, 24 January 2022

Bee Crafty Samples for the Craft Store

 Hi There! Did you see Bee Crafty's Bev on the Craft Store last week with the new tag inkables?  They are sooooo cool! I have loved playing with them and still have them out on my desk! Here are the samples I made.  First up is a card where I used them to emboss through using speckled egg embossing glaze.

Next I used them to add distress oxide ink to a smooshed background...
And here I used them to add texture paste then dry brushed dylusions shimmer paint over them and the pop out mdf elements. 

 I also used them to add texture paste once more to an mdf arch plaque.
For the cover of this notebook I used them over a gelli print. 
As well as the samples above I made a bag using calico.  I painted the fabric with gesso and Dylusions paint, stencilling and stamping it with the products that were on the show. 
I also used gelli print papers to create this mini book featuring the Dragonfly stamps


You can find the Tag inkables here
The bird and butterfly regular stamps are here
The bird and butterfly XL stamps are here
The dragonfly stamps are here
The coffee stain stamps are here
The stitch border stamps are here
The big number stamps are here
The ledger stamp, inkwell and nibs are here
Dies for birds and butterflies can be found here
Dies for the dragonfly set can be found here
MDF artboards etc can be found here
Pop-out MDF can be found here
Dylusions paint is here

As Bev and Sam had been so busy with the show, I did their Try it out Tuesday facebook Live and made a concertina tag book and tag backgrounds using the new inkables and tag dies. I finished them off using some Doodle Art stamps


You can find the Facebook Live here 
Thanks for looking! 

Monday, 10 January 2022

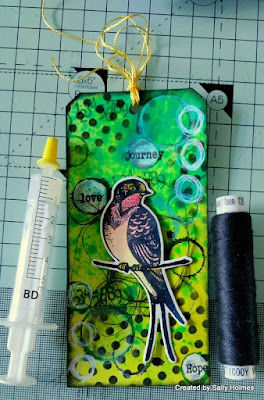
A swallow tag

Hi There! As the theme for this month's challenge over in the Bee Crafty Facebook group is tags, I thought I would make a tag this week. 
I began by cutting the biggest tag from mixed media card using the Bee Crafty Dies. 
 
Next I sprayed it with Dylusions sprays and left it to dry.
Once it was dry I used the dotty dinkable and black soot oxide ink to add some stencilling and also brushed a little ink around the edge of the tag. 

I stamped some of the coffee stain rings and numbers using versafine clair ink over the tag
on a seperate piece of card I stamped the swallow stamp and die cut it
I painted it using distress inks.
I added some white highlights on the tag using a white posca pen and then stamped some of the small words too.

Once it was dry I added the swallow to the tag with 3d glue, along with a little black thread under the swallow and some fibres to the tag top.
Here is the finished tag.

I used:
Versafine clair in Warm breeze and nocturne
Thread

As Jane said in her live last week, tags are a great way of experimenting and just having a go when mojo is lacking. It is equally easy to do this sort of background a little larger and use it on a card or a journal page.
Thanks for looking! 

Monday, 13 September 2021

Do-you-think-he-saurus?

Hi There! I am here with a step by step for this T-Rex card today. With several dinosaur fans in the family I had to get this stamp set!  
I began by smooshing a background of Crackling Campfire, Peeled Paint and Rustic Wilderness Distress oxide inks on to mixed media paper. I made sure this is completely dry before stamping on it.

Next I used rustic Wilderness and Vintage photo Distress oxide inks to stamp the smaller worker stamps over the smooshed background. 
I cut two tags from watercolour paper using the middle sized die from the tags and banners die set. I stamped the text stamp onto the tag with Vintage photo distress oxide and sponged a little around the edge of the tag too. 
I used Versamark ink to stamp the smaller dinosaur skull on to a scrap of gold card and embossed with fine detail white embossing powder. 
After cutting out the skull, I stamped the remaining tag with the leaf stamp in Tea Dye distress ink.
Next I assembled the card, sticking the background to an A5 white blank card. I added some string to the tags and attached them to the front of the card with 3d glue. I used the same glue to add the skull to the 2nd tag. It would be easy to personalise it by adding a name to the second tag too.
Here is another look at the finished card, along with links to the products in the Bee Crafty store:
A5 card blank
A small snippet of gold coloured card or kraft card
Versamark ink 
3d glue

For those of you that saw my post about Karate grading a few weeks back, I have now received my belt. In our club, once you reach the Dan grades you do not have a new belt again, so each one is created for each individual student. One end is embroidered with the name of our club in Japanese...
The other end has my name translated into Japanese...
It is going to take a while, and plenty of tying, for it to soften up and hang well, but I love it. Here is the certificate that I received on the day.

Thanks for looking and Happy Crafting!