

Hello there! Hope you had a good Christmas despite all the Covid restrictions. It was extremely quiet here, but we enjoyed the food and seeing our loved ones very briefly.
Do you remember the Birthday tag book from my Hochanda samples last week? Well, I promised a couple of people that I would do a step by step to make one and here it is. You might want to get yourself a cuppa first though, as it is a long one!
You will need:
Tags and Banners #1 cutting dies
3 A4 sheets of white/ pale card approximately 180-200gsm for the pages
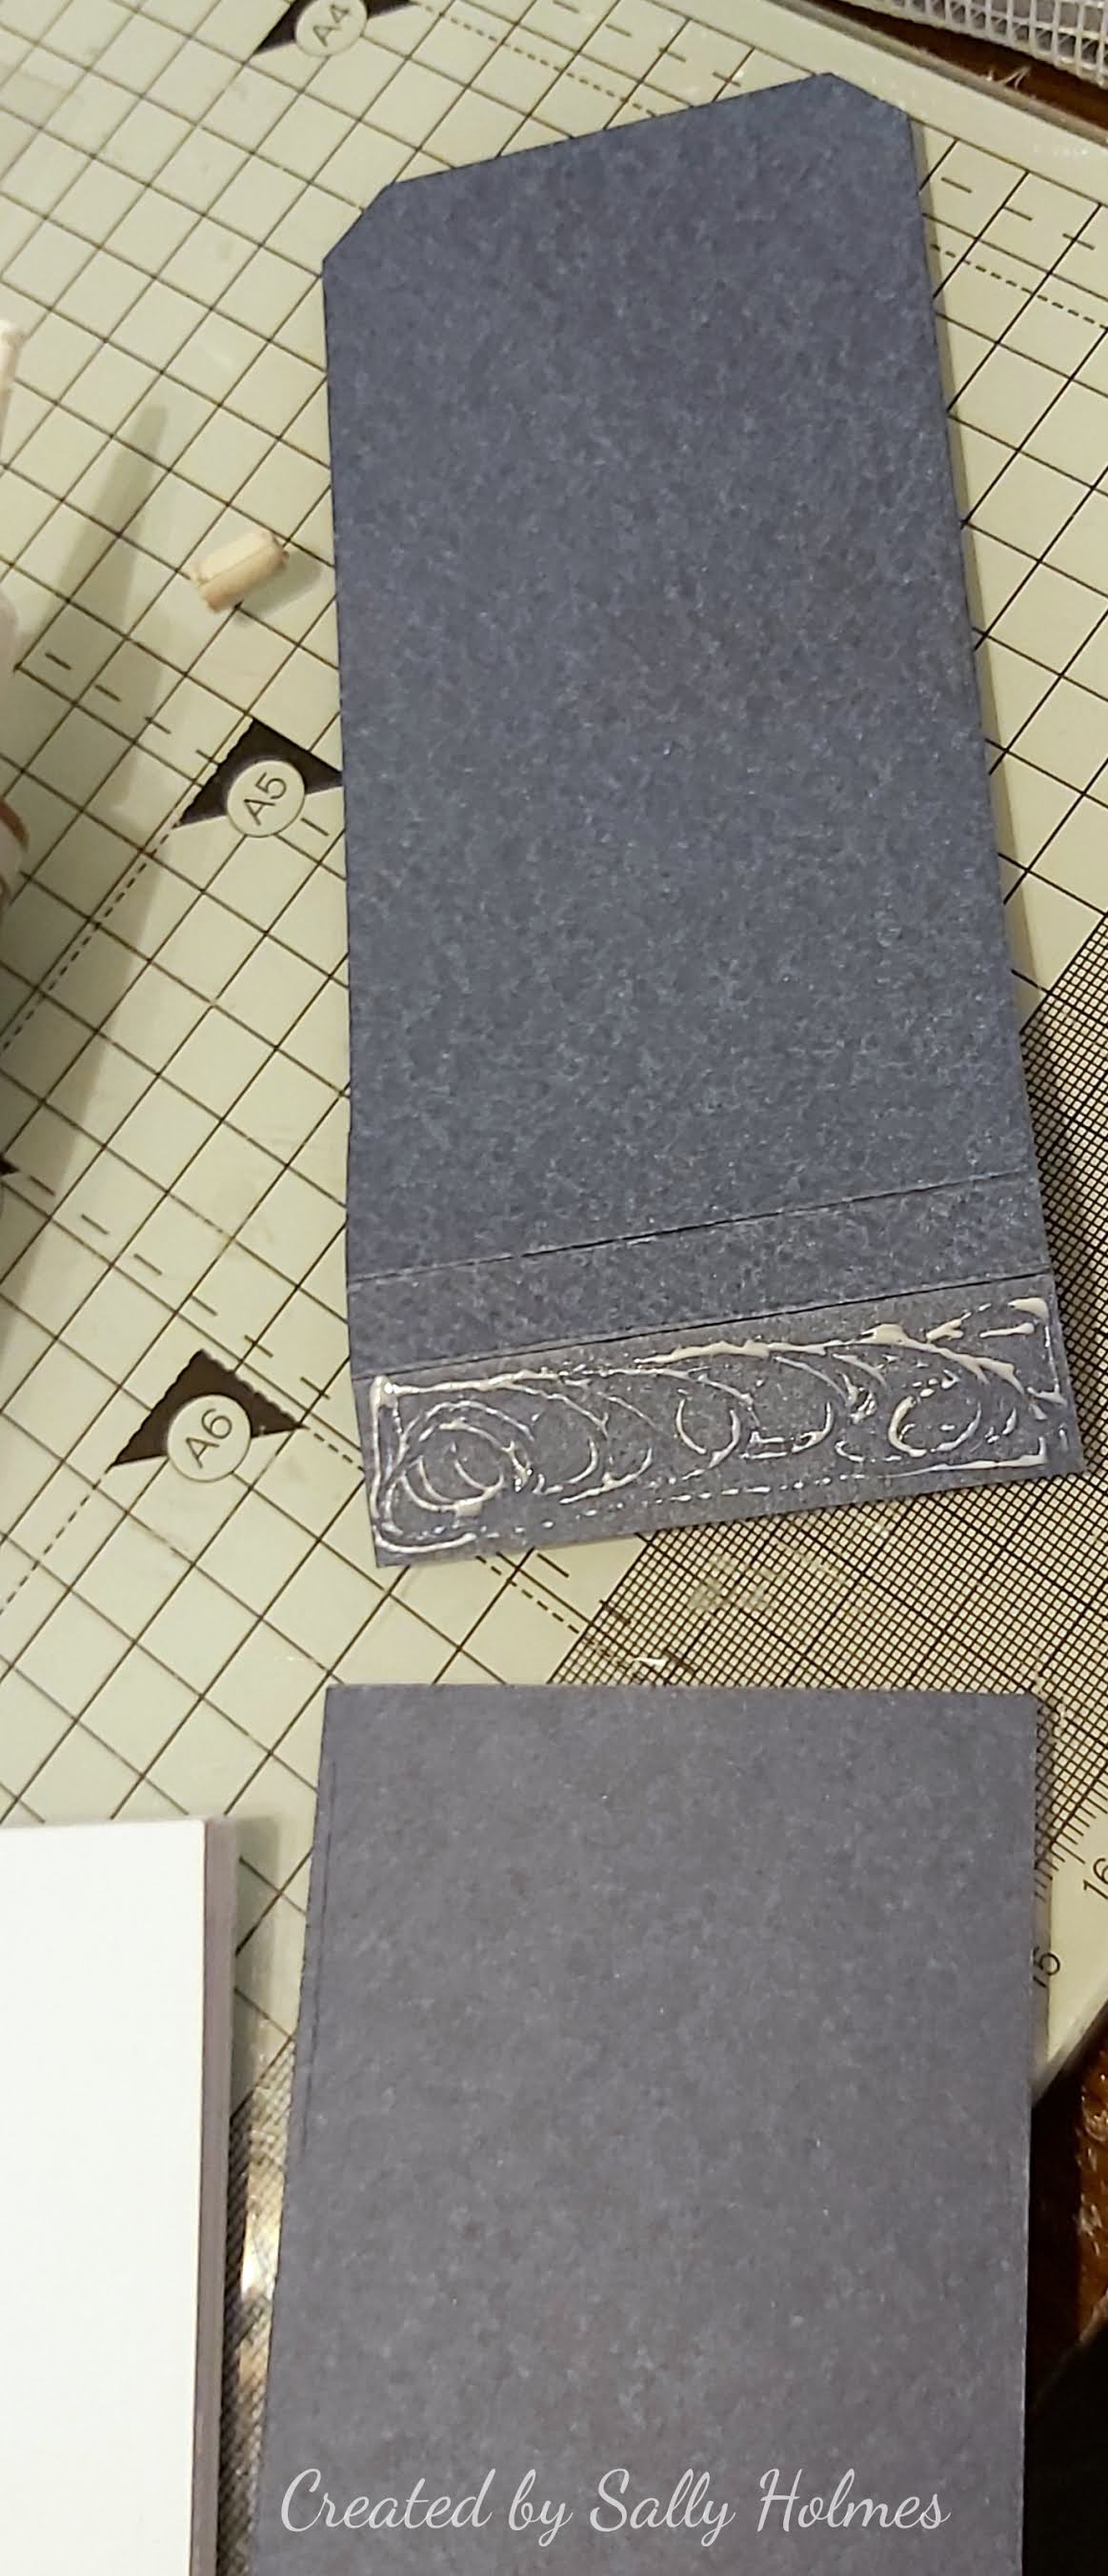
1 A5 piece of heavier weight card for the cover
paper
PVA glue
masking tape
Queen Bee Months, Days, Dates stamps
Queen Bee Botanical Sprigs A6 stamps
inks to coordinate with your cover (I used versafine Clair, Brilliance and Distress oxide inks)
First I cut 14 white tags using the next to largest die (the largest tag with a hole in it), then 2 of the largest die (without a hole in it) from the coloured card.


here is another photo from the side. You can trim off any paper at the sides of the tags as you go along to make it neat.

When all 13 tags were stuck together I set them aside to complete the cover.
I glued the two larger tags to the spine making sure they didn't stop the folds from moving freely. The overlap is on the inside of the cover.

Then I stuck the back page of the white tags into the cover, again with the PVA.
Now for the fun part and you can decorate it however you want to. I started by placing a strip of masking tape across the remaining tag, brushed a little ink then stamped the botanical sprigs on either side.

Once I was happy I peeled off the masking tape and stamped Birthdays along the white strip. (NB make sure your tag has the hole at the bottom when you do this - You will notice this isn't the tag I ended up with, and I am not sure I am happy with the spacing of those letters either lol)

I stamped each page with the month names then stamped around the edge with different stamps from the set, colouring in a few as I went. Finally I drew lines on each page using the templates. I left the backs blank for now, as they might be needed for any particularly busy birthday months. Here are a few examples of the pages:


Hope you like it and let me know if you have a go yourself.I'd love to see them over in the Bee Crafty Stamps Facebook group.
Thanks for looking!
3 comments:
Beautiful birthday tag book. Lovely stamping on the different tags.
Thanks for the tutorial.
Greetings, Wies
A Wonderful idea and a gorgeous result in each page Sally, love this project.
Faith x
What a great idea and thank you for sharing how you've made it Sally. I have a handmade birthday book that I made a while ago but I could probably do to make another one soon.....so many stamps, so little time. You know what it's like don't you! xx
Post a Comment