Showing posts with label shrink plastic. Show all posts

Tuesday, 29 August 2023

Can you hear buzzing?


Hi there! I made these cute earrings at the weekend using Bee Crafty stamps and shrink plastic. Here's how I made them

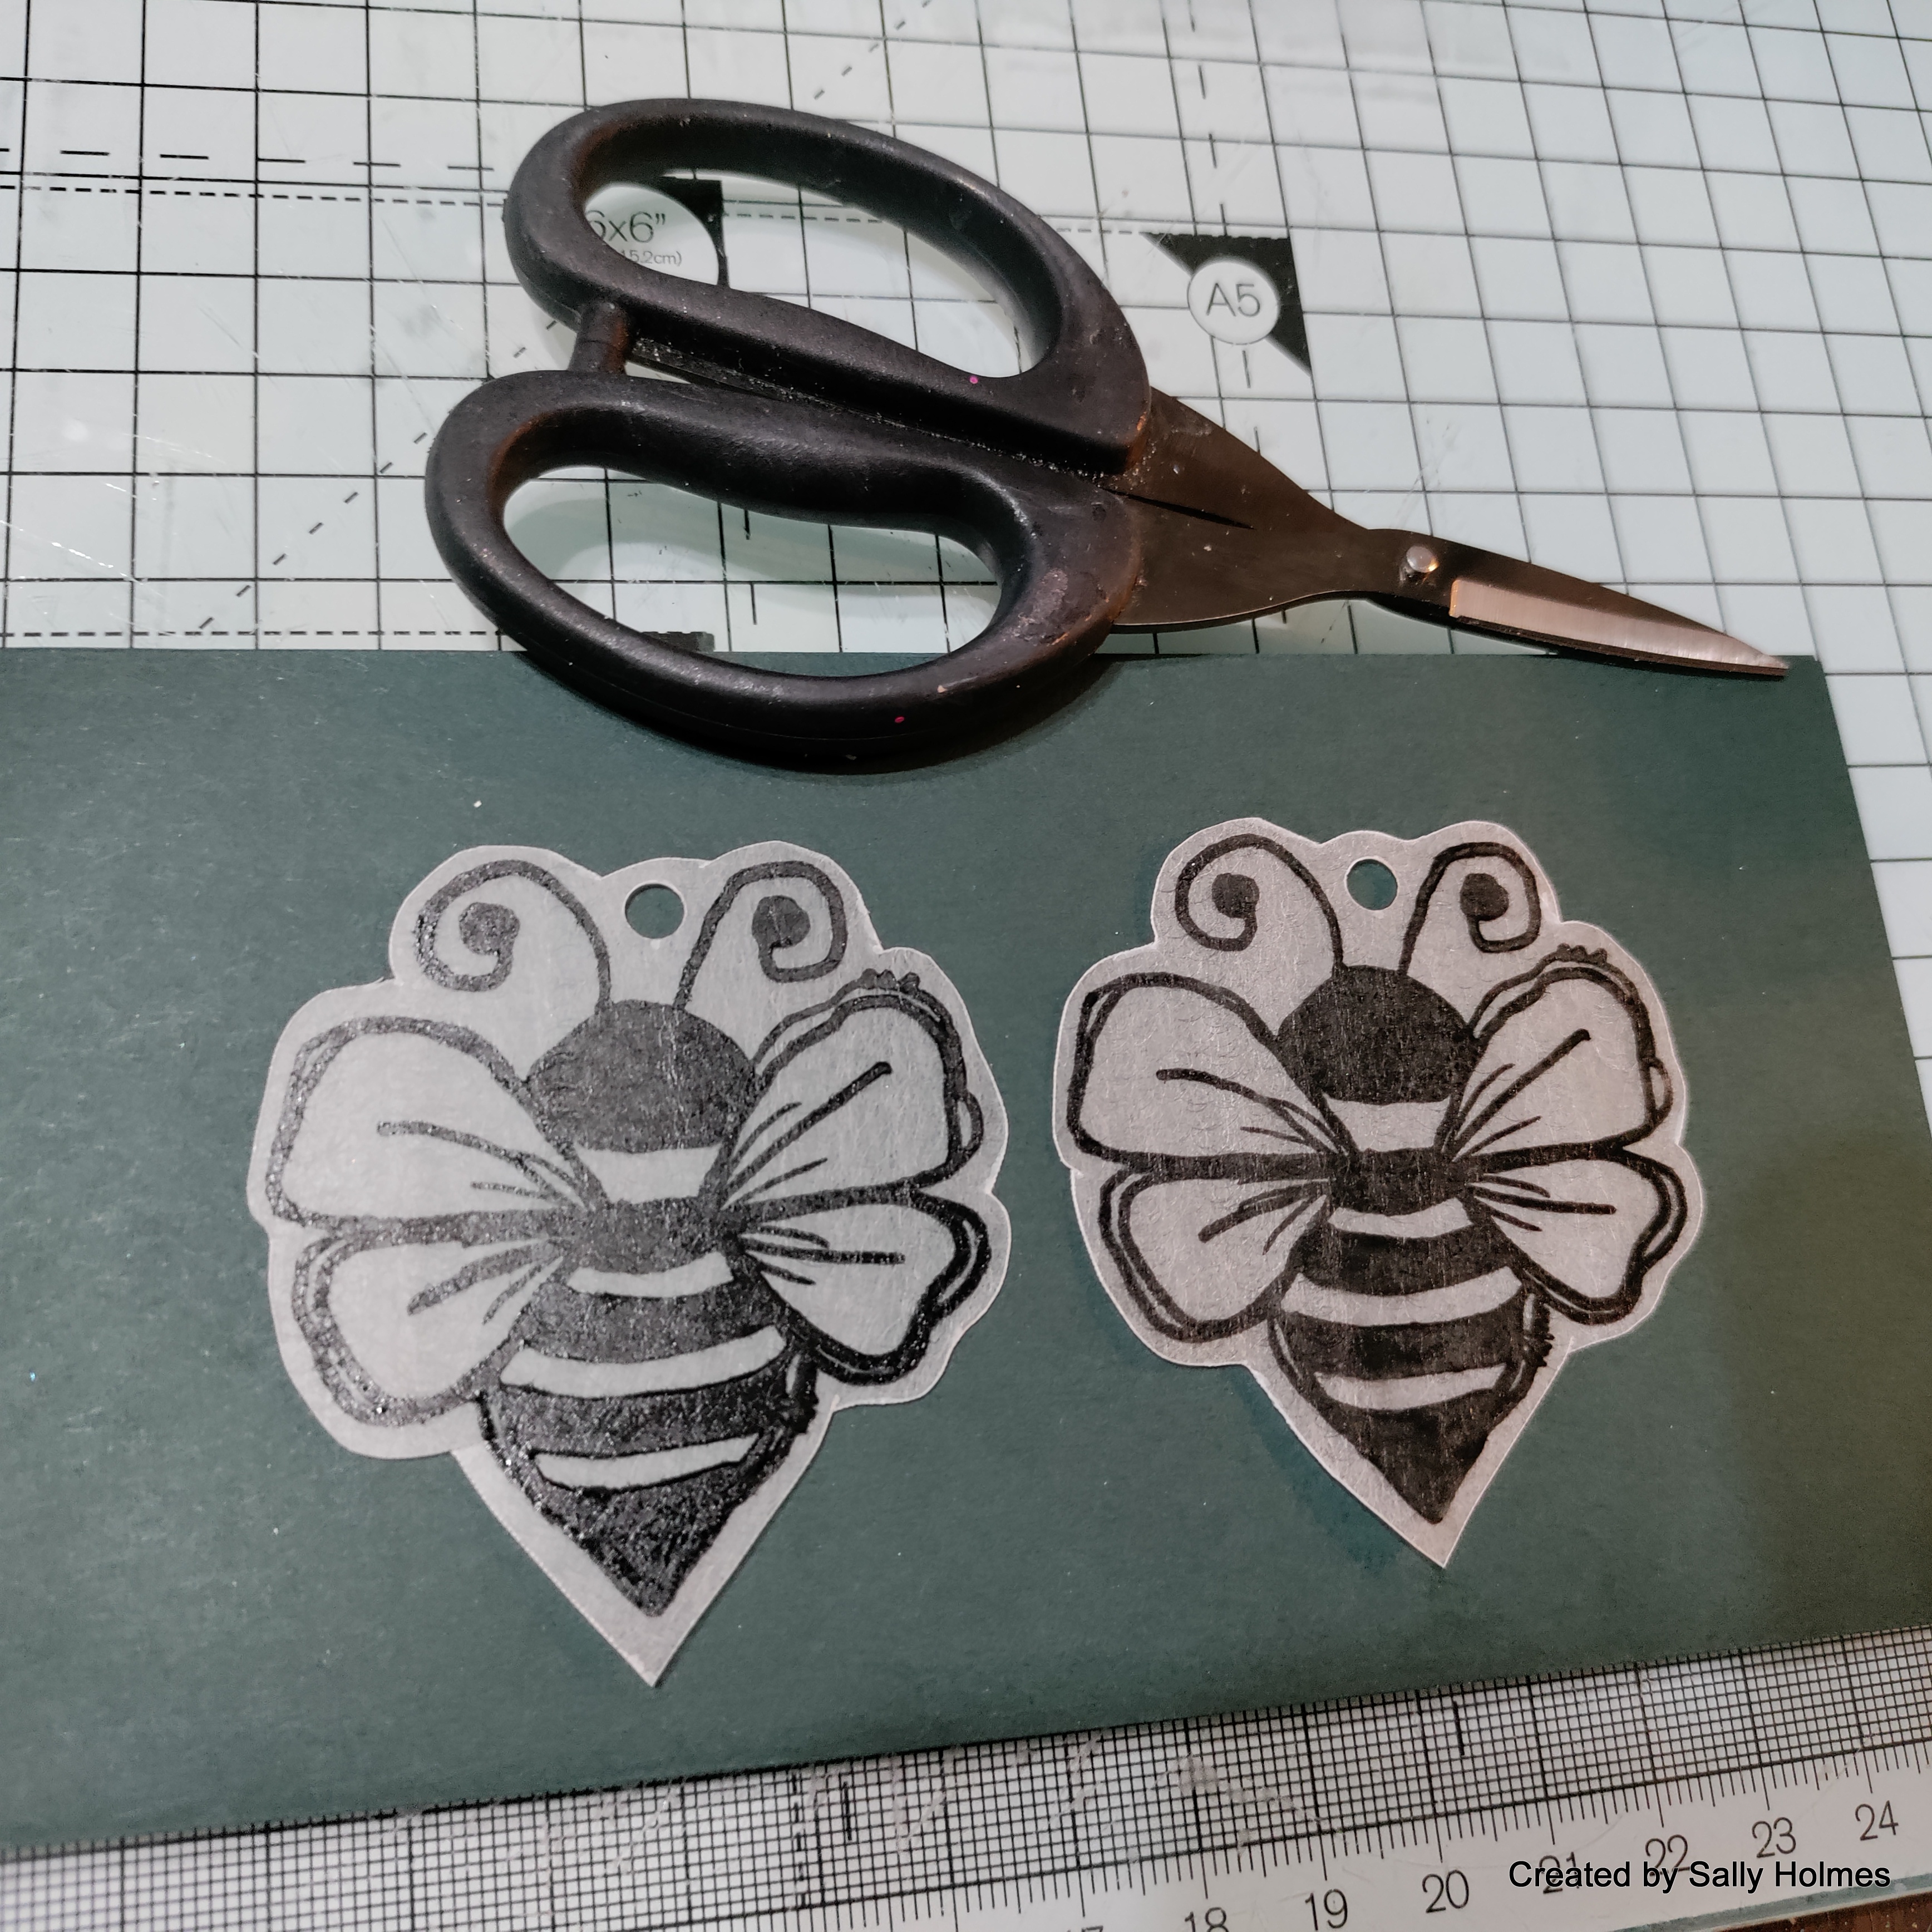
I began by stamping the largest bee twice onto clear sanded shrink plastic. 
Next I used a hole punch to add holes between the antennae.  
I cut around the bees leaving a small border, and the holes at the top to attach them to the earrings. 
Once the ink was definitely dry I coloured them using coloured pencils.
 
Using tweezers and a Heat tool I shrunk the bees. You can watch the video of them shrinking here
I added jump rings through the holes and threaded 3 beads onto each of the eye pins.
using round nosed pliers and wire cutters I created a loop at the top of the eye pin and fastened the ear hooks and bees to either end.
Here are the earrings again

I used: 
Bee Mine stamp set
Brilliance ink
Clear shrink plastic, sanded on one side so it can be inked and coloured
Coloured pencils
2 eye pins
2 ear hooks
2 jump rings
6 beads
round nosed pliers and wire cutters

Thanks for looking! 

Monday, 28 February 2022

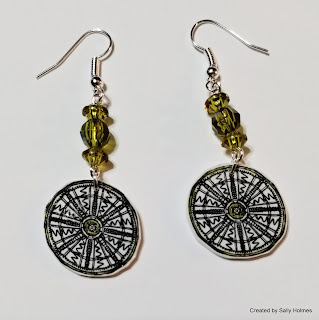
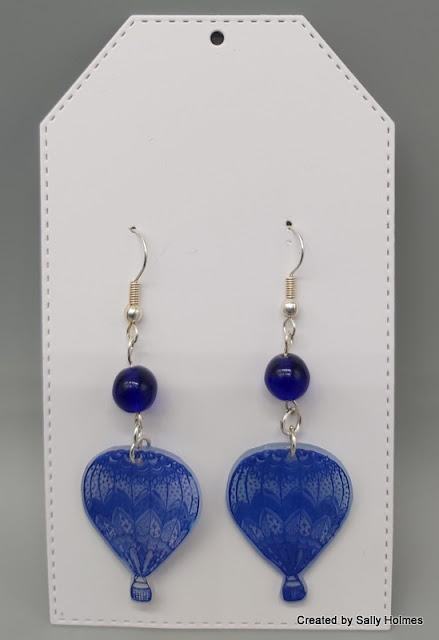
Shrink Plastic Earrings

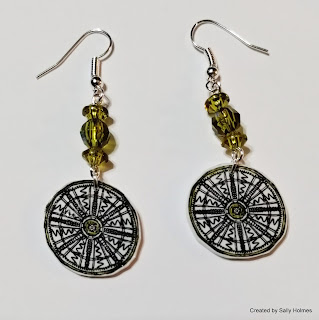
 Hi There! There were some lovely comments last week about the earrings, so I thought you might like to see a step by step for them. 

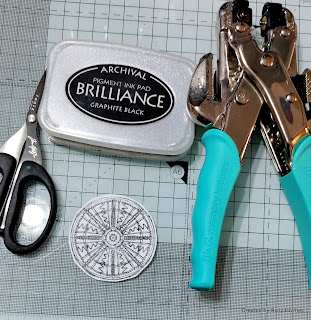
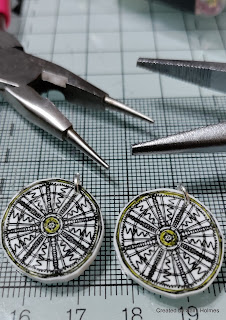
First I stamped the mandala twice onto sanded frosted shrink plastic and, once dry, I cut them out. I used black brilliance ink for this, or you could use stazon. I punched a small hole in each one.
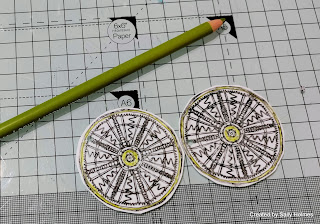
I used colouring pencils to add a bit of colour to match the beads I had chosen.

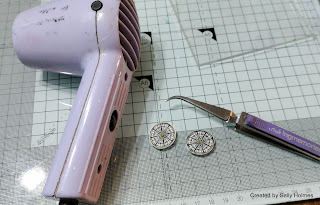
Next I shrank the mandalas with a heat gun, turning regularly and then flattening with an acrylic block once fully shrunk. 
using pliers I added silver jump rings through the holes I had made.
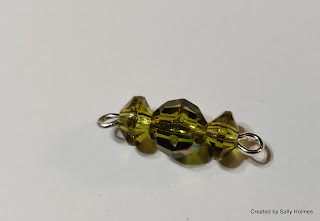
Next I threaded three beads onto each of the eye pins and bent the end round with the pliers to make another loop.  
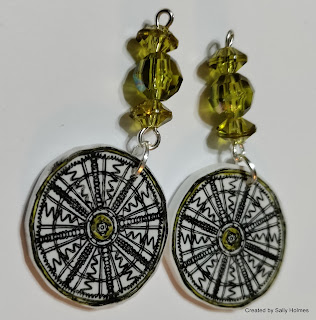
I attached each set of beads to the jump rings 
Finally I added an earring hook to the top of each set of beads. 
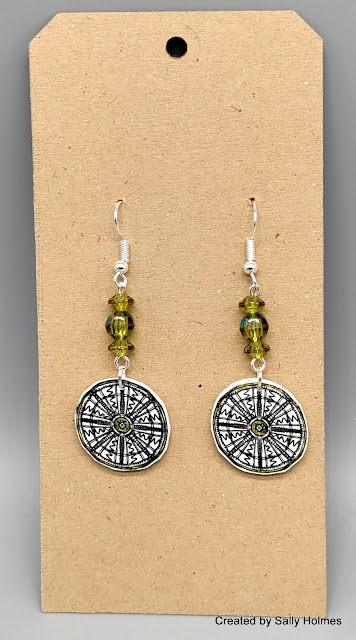
I use the largest of the tag dies as a presentation card for the earrings. I made two holes in it with a pokey tool.
I used:
Brilliance ink (or Stazon)
Sandpaper
Coloured pencil
2 jump rings
2 eye pins, 
6 beads 
2 earring hooks
round nosed pliers
Tweezers
Hole punch
 
Thanks for looking! 


Wednesday, 19 January 2022

Facebook live Earrings for Crafty Individuals


Hi There! 

Last week I was asked by Jean of Crafty Individuals to step in and do her facebook live on Wednesday. It was a pleasure to help out and I made some shrink plastic earrings. You can watch the video on the Crafty Individuals Shop facebook page here:

Crafty Individuals Facebook live from Wednesday 12th January 2022

The Stamp I used can be found here 

I did a test to see if the size would be suitable first


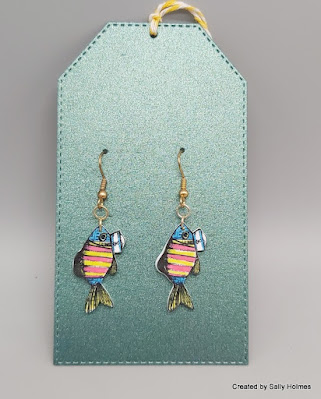
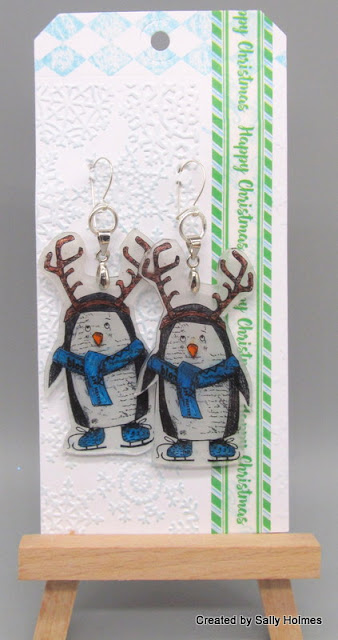
I have made a few pairs of Earrings using Crafty Individuals stamps over the past couple of years....


I have discovered that there are some lovely starter kits on Amazon if you haven't done anything like this before, that aren't too expensive. 

All of Jean's lives can be found here on the facebook page - If you are stuck for inspiration or mojo, it is a great place to start x 

Thanks for looking! 

Tuesday, 13 April 2021

Introducing Luigi the Llama, Frank and Betty (Seagulls of Seaton Carew)

 Here are my DT makes using Luigi the Llama, designed by Sharron Bates and turned into a fabulous stamp by Crafty Individuals.

First up is a shrink plastic version, coloured with pencils and attached to a wood slice key ring.

For this card I used background papers designed by Flo Langley and coloured Luigi with ecoline pens on watercolour card. 

Frank and Betty are a pair of seagulls from Seaton Carew, wrapped up against the cold. I get the impression that Betty is an avid knitter or crocheter and has been busy all through lockdown making scarves ready for the next football season. I used Crafty Individuals stamping card for this one, and coloured them with Ecoline pens, teaming them up with some papers from 'Wonderfully weathered 1'. By all accounts, you can get wonderfully weathered most of the time in Seaton Carew! 😂

You can find all of the new stamps here on the website!

Thursday, 8 April 2021

Introducing Fluffy, George and the Burglar Cats!

 If you  managed to see last week's Crafty Individuals shows on the Craft Store, you will have met these colourful characters already, but if not, I will introduce you. They are designs from Collage artist Sharron Bates made into fabulous stamps!


First up are the Trilby Cats, also known as Fluffy and George. Here I watercoloured them with ecoline markers over a wash of tea dye distress ink. They were teamed up with some of Flo Langley's Mismesh papers. 


Next we have the Burglar cats, also known as Syd and Albert. They too were coloured with ecoline pens and teamed up with some black mulberry paper and a sheet of the wonderfully weathered 1 papers. I also added some dots of nuvo drops to Albert's spots.

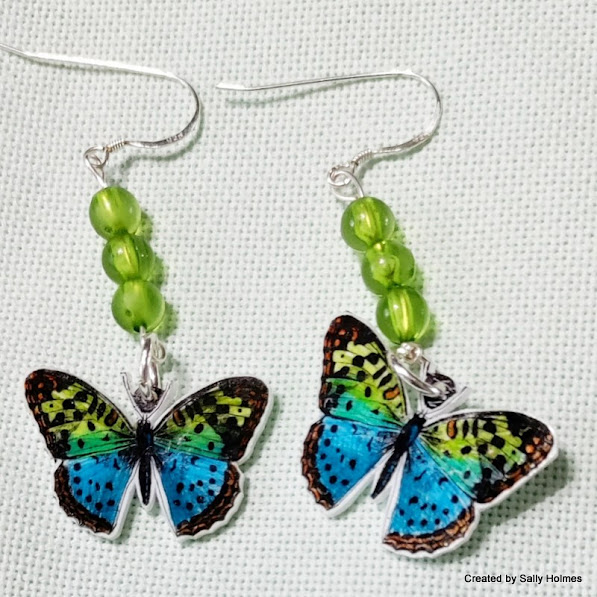
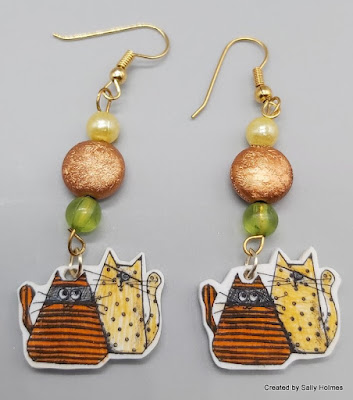
Syd and Albert were also turned in to shrink plastic earrings too.


 I will be back with the other new characters and some old favourites too once the new stamps are on the website.

Thanks for looking! 

Monday, 5 April 2021

A Shrink plastic key ring for Bee Crafty


 Hi there!

I thought I would share a bit of shrink plastic with you today. It is something that has been around for a long time, but it seems to be one of those things that you don't see much of it unless you seek it out. I thought I would show you how to make a simple key ring, and let you know a bit more about it. 

Shrink plastic comes in several different sorts. You can get clear, frosted, black and white. If you wish to colour on it you can sand it with some fine sandpaper, although some comes ready sanded. You will need to use a permanent ink  - one that dries on any surface - I use Archival or Brilliance. The ink will need to air dry for a good amount of time  (at least half an hour for Archival and overnight for brilliance)  The easiest way to colour your stamped images once dry is with coloured pencils. A sanded surface will help with this. Be aware that as the item shrinks the colour will intensify, so light shading with coloured pencils will give a better result.

I used: 

shrink plastic

XL Doodle Art dragonfly

archival ink

coloured pencils

corner rounder

hole punch 

heat gun

Key ring findings

First I sanded the surface of my shrink plastic

Then I stamped the dragonfly onto the sanded surface with black archival ink and left it to dry.

I rounded the corners with a punch....

and punched a hole in the corner (a regular hole punch could be used for this too)

Next I coloured the image with pencil crayons - remember paler and lighter is better as it intensifies when shrunk.
On a heatproof surface use your heat gun to start heating. It will curl and squirm, so keep some tweezers close by in case you wish to turn it over or reposition it. Occasionally it can stick to itself. Try and seperate it as quickly as possible if it does, but mind your fingers as it will be hot! 
Once it has finished shrinking, place an acrylic block (not a skinny one, but one with some weight) on top to make sure it is flat. 
Thread a jump ring through the hole and add the keyring. 
As you can see the colours are much deeper than before it was shrunk. I think I should probably have gone even paler! It really is huge fun to play with and a great hit with kids. there is something so magical about the shrink process. 
Thanks for looking! 

Monday, 29 March 2021

Bee Crafty Windmills and Lighthouses

 Good Morning! I am here with my samples from last week's Bee Crafty Hochanda launch of the stunningly gorgeous lighthouse and windmill stamps. Both sets are available in regular and XL sizes and all have coordinating dies too. 


These first two used the XL stamps and dies. The first was made into an easel card and the second has a grungy background made with Dina Wakely gloss sprays in Marine, Cheddar and White.

Next up is my mdf mini journal using both sets of regular stamps and dies as well as the clouds and the flower palm big ones inkables


If you didn't know already, the dies cut through shrink plastic really well as you can see from this windmill keyring, coloured with coloured pencils 
The popouts on the show this time included some wonderful seaside images, waves, clouds,  letters and numbers which will be great for all sorts of personalised projects as well as home decor like this plaque and of course on cards.

I made some more Clean and simple cards with the sets too, combining them with various big ones stencils.


And finally here is my lighthouse lit up with fake tea lights. 

You can find the Stamps and dies in various bundle combinations here on the website, and don't forget to look at the Bee Crafty blog, you tube channel and facebook group for more inspiration. 
Thanks for looking!