Showing posts with label easy frame inkables. Show all posts

Wednesday, 22 January 2025

Go For It!


Hi there! Thought I would show you how I made this card for my blog post today. 

I began by covering a tag inkable in distress oxide ink, giving it a spritz of water then laying it ink side down on a piece of mixed media or watercolour card. I did this three times with the three different colours then dried with a heat tool. 
Once this was dry I added some more colour using the same inks and blending brushes. 
Next I took the innie from the 4" star easy frame and blended black soot distress oxide over it. I did this 3 times too. I also sponged a little black ink around the edges
using the Background Script stamp I added some patches of script randomly around the card using the black soot Distress Oxide ink
Next I added a few patches of Distress Spritz over the panel.
I cut the 3 words from the transparency sheet and added them to the stars using matte medium. 

Finally I attached the whole panel to a DL sized card. I did contemplate adding more to it, like white pen or butterflies but decided it was fine as it was. 
I used:
Mixed media card 9.5 x 20.5cm
DL card
Tag inkables - I used set 2 - Check out the offer on these at the moment
Distress oxide inks - I used Black Soot, Abandoned Coral, Mustard Seed and Lucky Clover
Distress Spritz - I used Worn Lipstick
Transparency Prints - I used Spontaneous words black on clear

There is just over a week left to get your entries into the Vivid challenge over on the Bee Crafty Stamps facebook group. I hope you can join in and also take advantage of the tag inkables offer! Also, If you find your way to the Bee Crafty Website through me, you can claim yourself 10% off by entering  this code at the Checkout:  BEESALLY10

Thanks for looking! 

Saturday, 3 December 2022

Keeping it simple

Hi there! 
I am trying to get as many Christmas cards made as possible over the next few days now postage dates have changed. Here's a step by step for a quick clean and simple card.
 
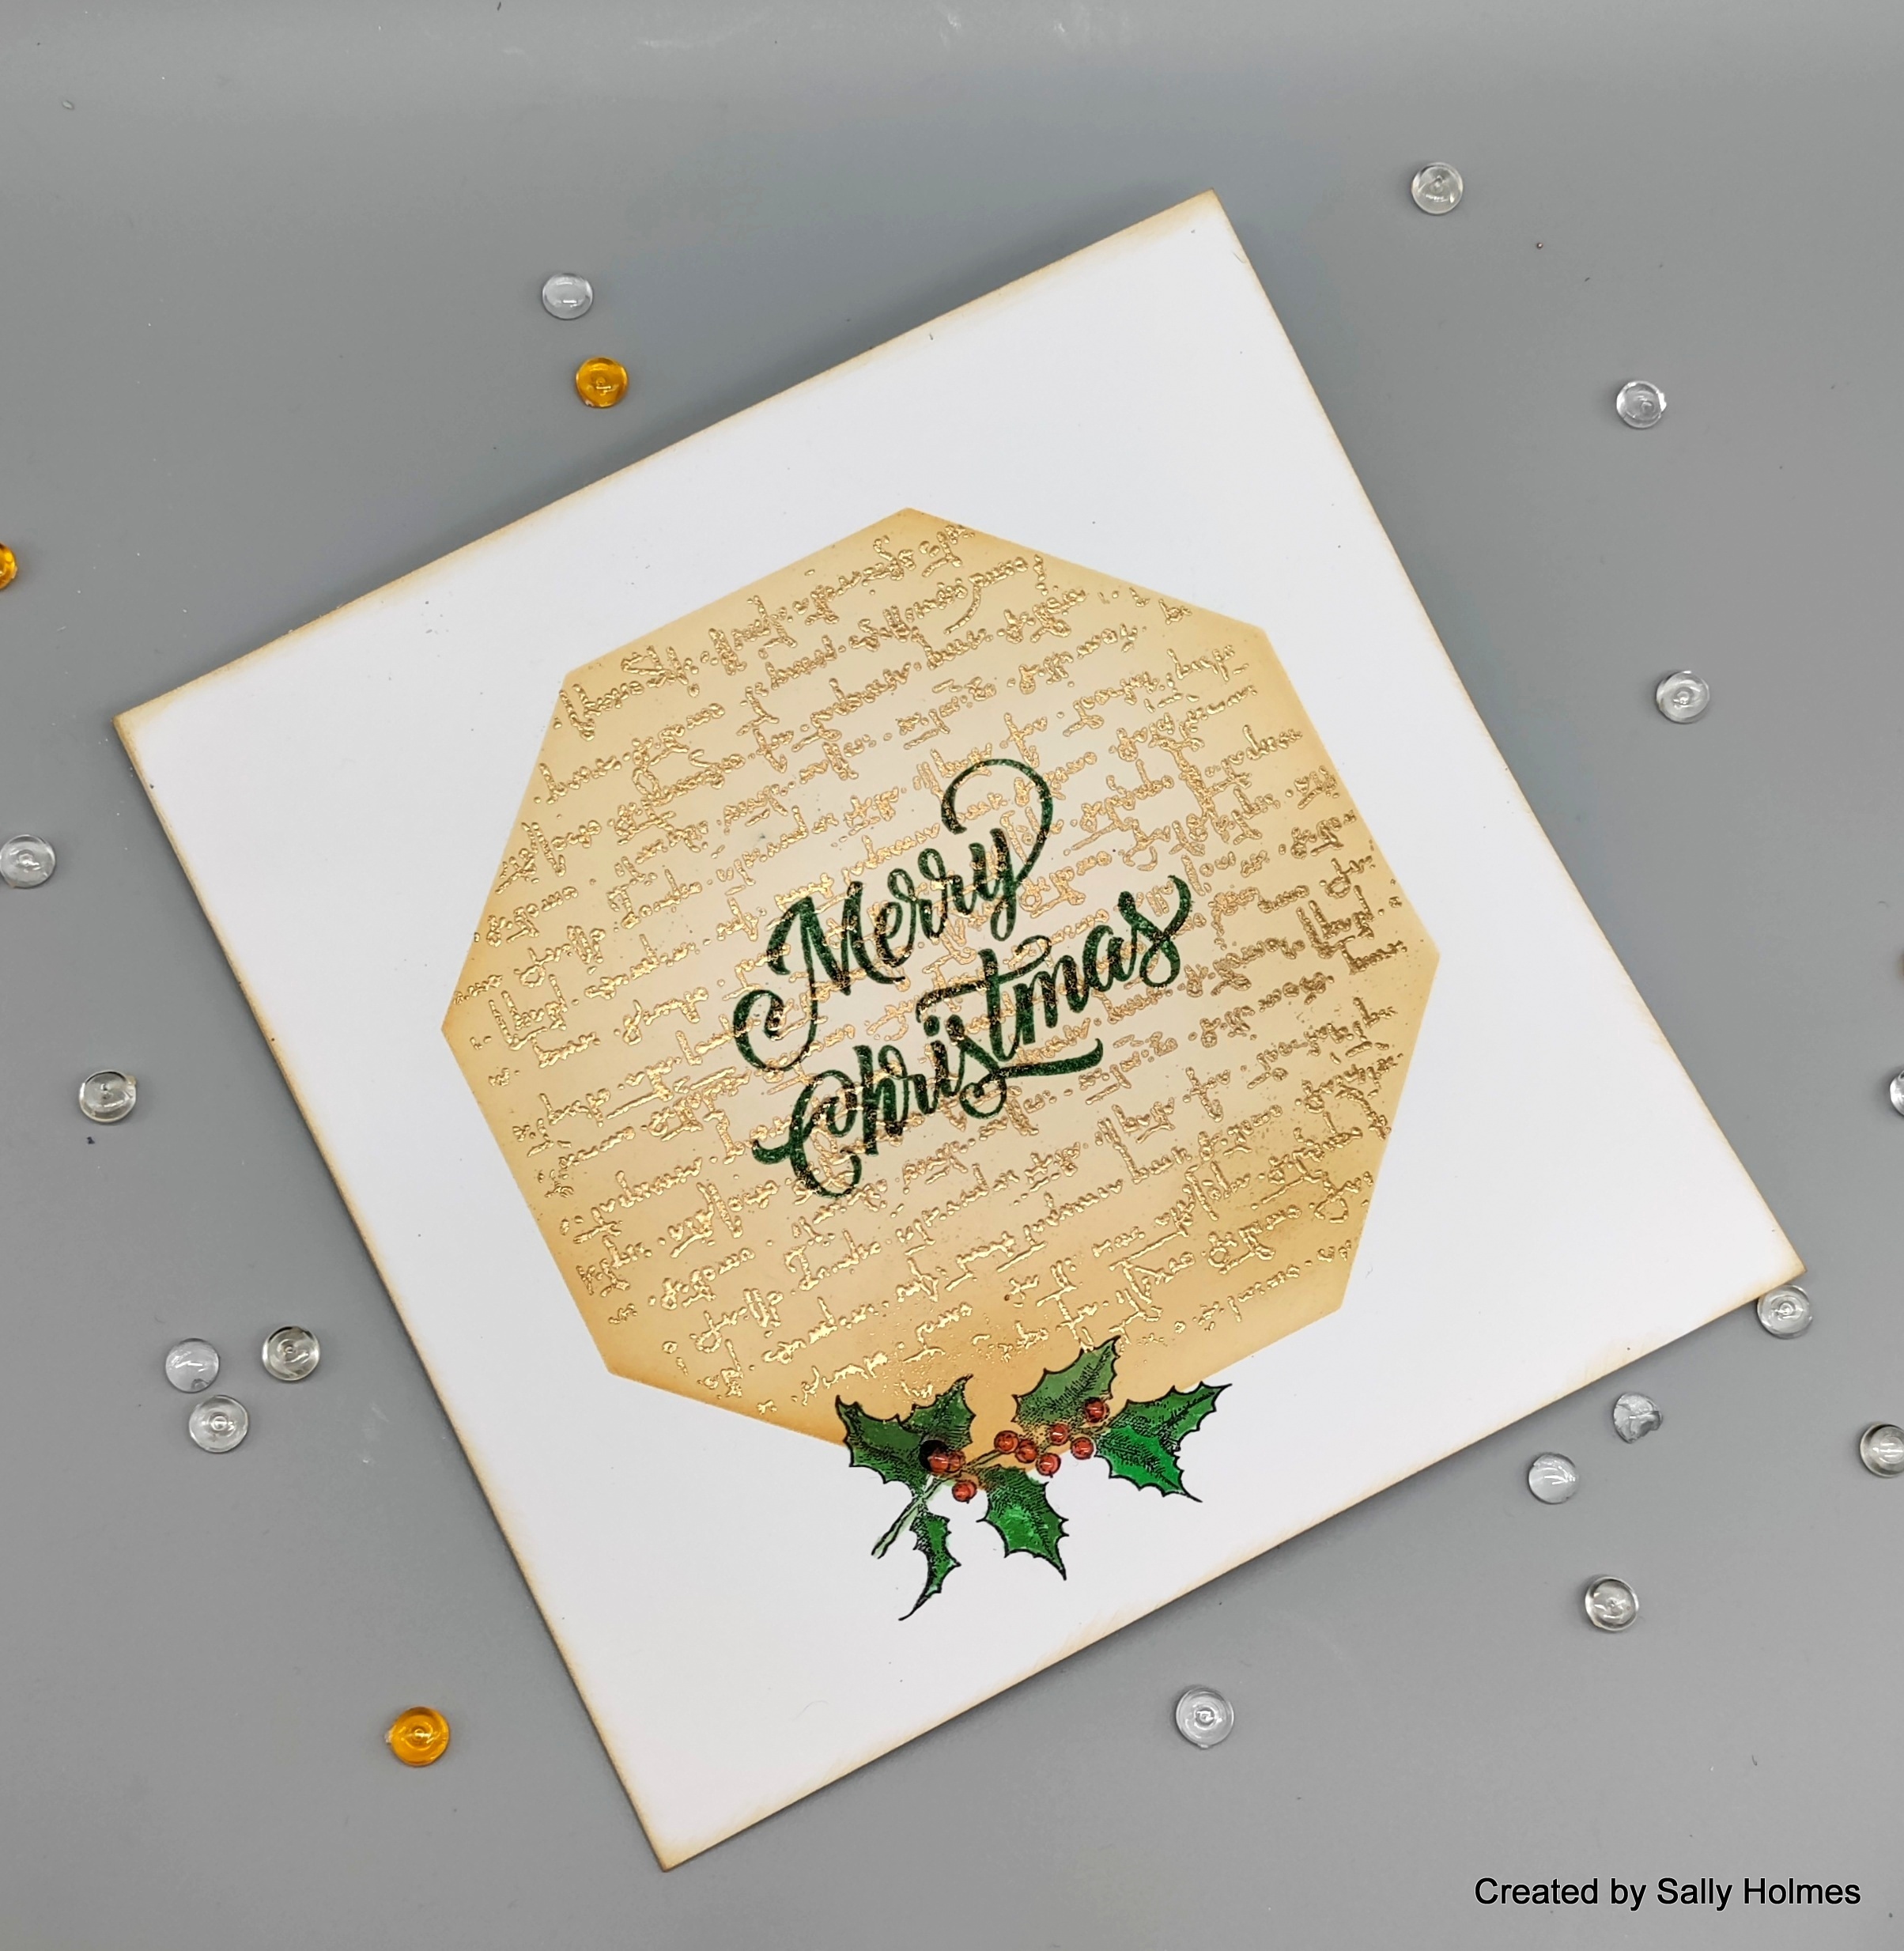
I began by taping the 6x6 octagon easy frame to the front of a 6x6 white card and blended tea dye and vintage photo distress ink into it.

Once this was dry I gave it a quick wipe with an anti static cloth then stamped the script stamp in versamark with the easy frame inkable still in place. I removed the inkable, sprinkled with embossing powder and heat set.
There was a small area bottom left where the embossing ink hadn't reached, so I stamped the Holly stamp from the robin set and coloured using ecolines and a damp paintbrush. 
Next I stamped the Merry Christmas stamp (from the wreath set) in Versamark in the centre of the card. I sprinkled over rustic wilderness embossing glaze and heat set it. I also added glossy accents to the berries on the Holly.
Here's a close up. As you can see the gold is still visible through the embossing glaze. 
I sponged a little vintage photo distress ink around the edges to finish it off. 
I used: 
Versamark ink
Before I go, I did a live on Wednesday over on the Bee Crafty Facebook page and made 3 baubles using the MDF baubles and a variety of stamps. I used red green and gold, which is the new theme for the challenge over in the Bee Crafty stamps group. Here are the baubles 
Thanks for looking! 

Saturday, 5 November 2022

A quick and simple Christmas card


Hi There! Are you beginning to panic a bit about Christmas yet? I have made very few cards so far this year and need to get a move on! Here is a very simple one to get me started. 

I began by placing the circle from the 4" easy frame in the centre of a 13cm square card, Then placing the snowflakes multi inkable over the top, taping them down at the corners. 
I used salvaged patina distress ink to blend through the stencil taking care to keep the circle central
I removed the snowflakes inkable and added more ink around the edge of the card and the edge of the circle.
I stamped the sentiment in the centre of the circle with versamark ink and heat embossed it with gold powder.
I stamped the poinsettia in black ink onto a scrap of card and coloured it using ecoline pens
I attached it to the card with ultra thick gel medium. 
Finally I added the liquid pearls around the circle 
Here is the finished card again.
I used 
13cm square white card
Poinsettia Regular stamp set (discontinued but the XL one is here)
Versamark ink
On Wednesday I did a facebook live and created these cards. 

You can find the live here if you haven't seen it yet.

Thanks for looking! 

Saturday, 22 October 2022

A quick and simple dragonfly card

Hi there! Thought I would show you how I made this very quick and simple card today.


I began by blending a little salvaged patina distress ink through the Pebble pavement big one inkable onto a 6x6" white card. As this is a clean and simple card I used stencil tape to ensure I didn't go over the edge. I left a diagonal band without any blending.

I removed the big one and positioned the outie from the 4" circle easy frame inkable centrally on the card. I blended some villainous potion ink into the circle. 
I used some of the worker stamps in opposite corners to stamp in the salvaged patina distress ink. 


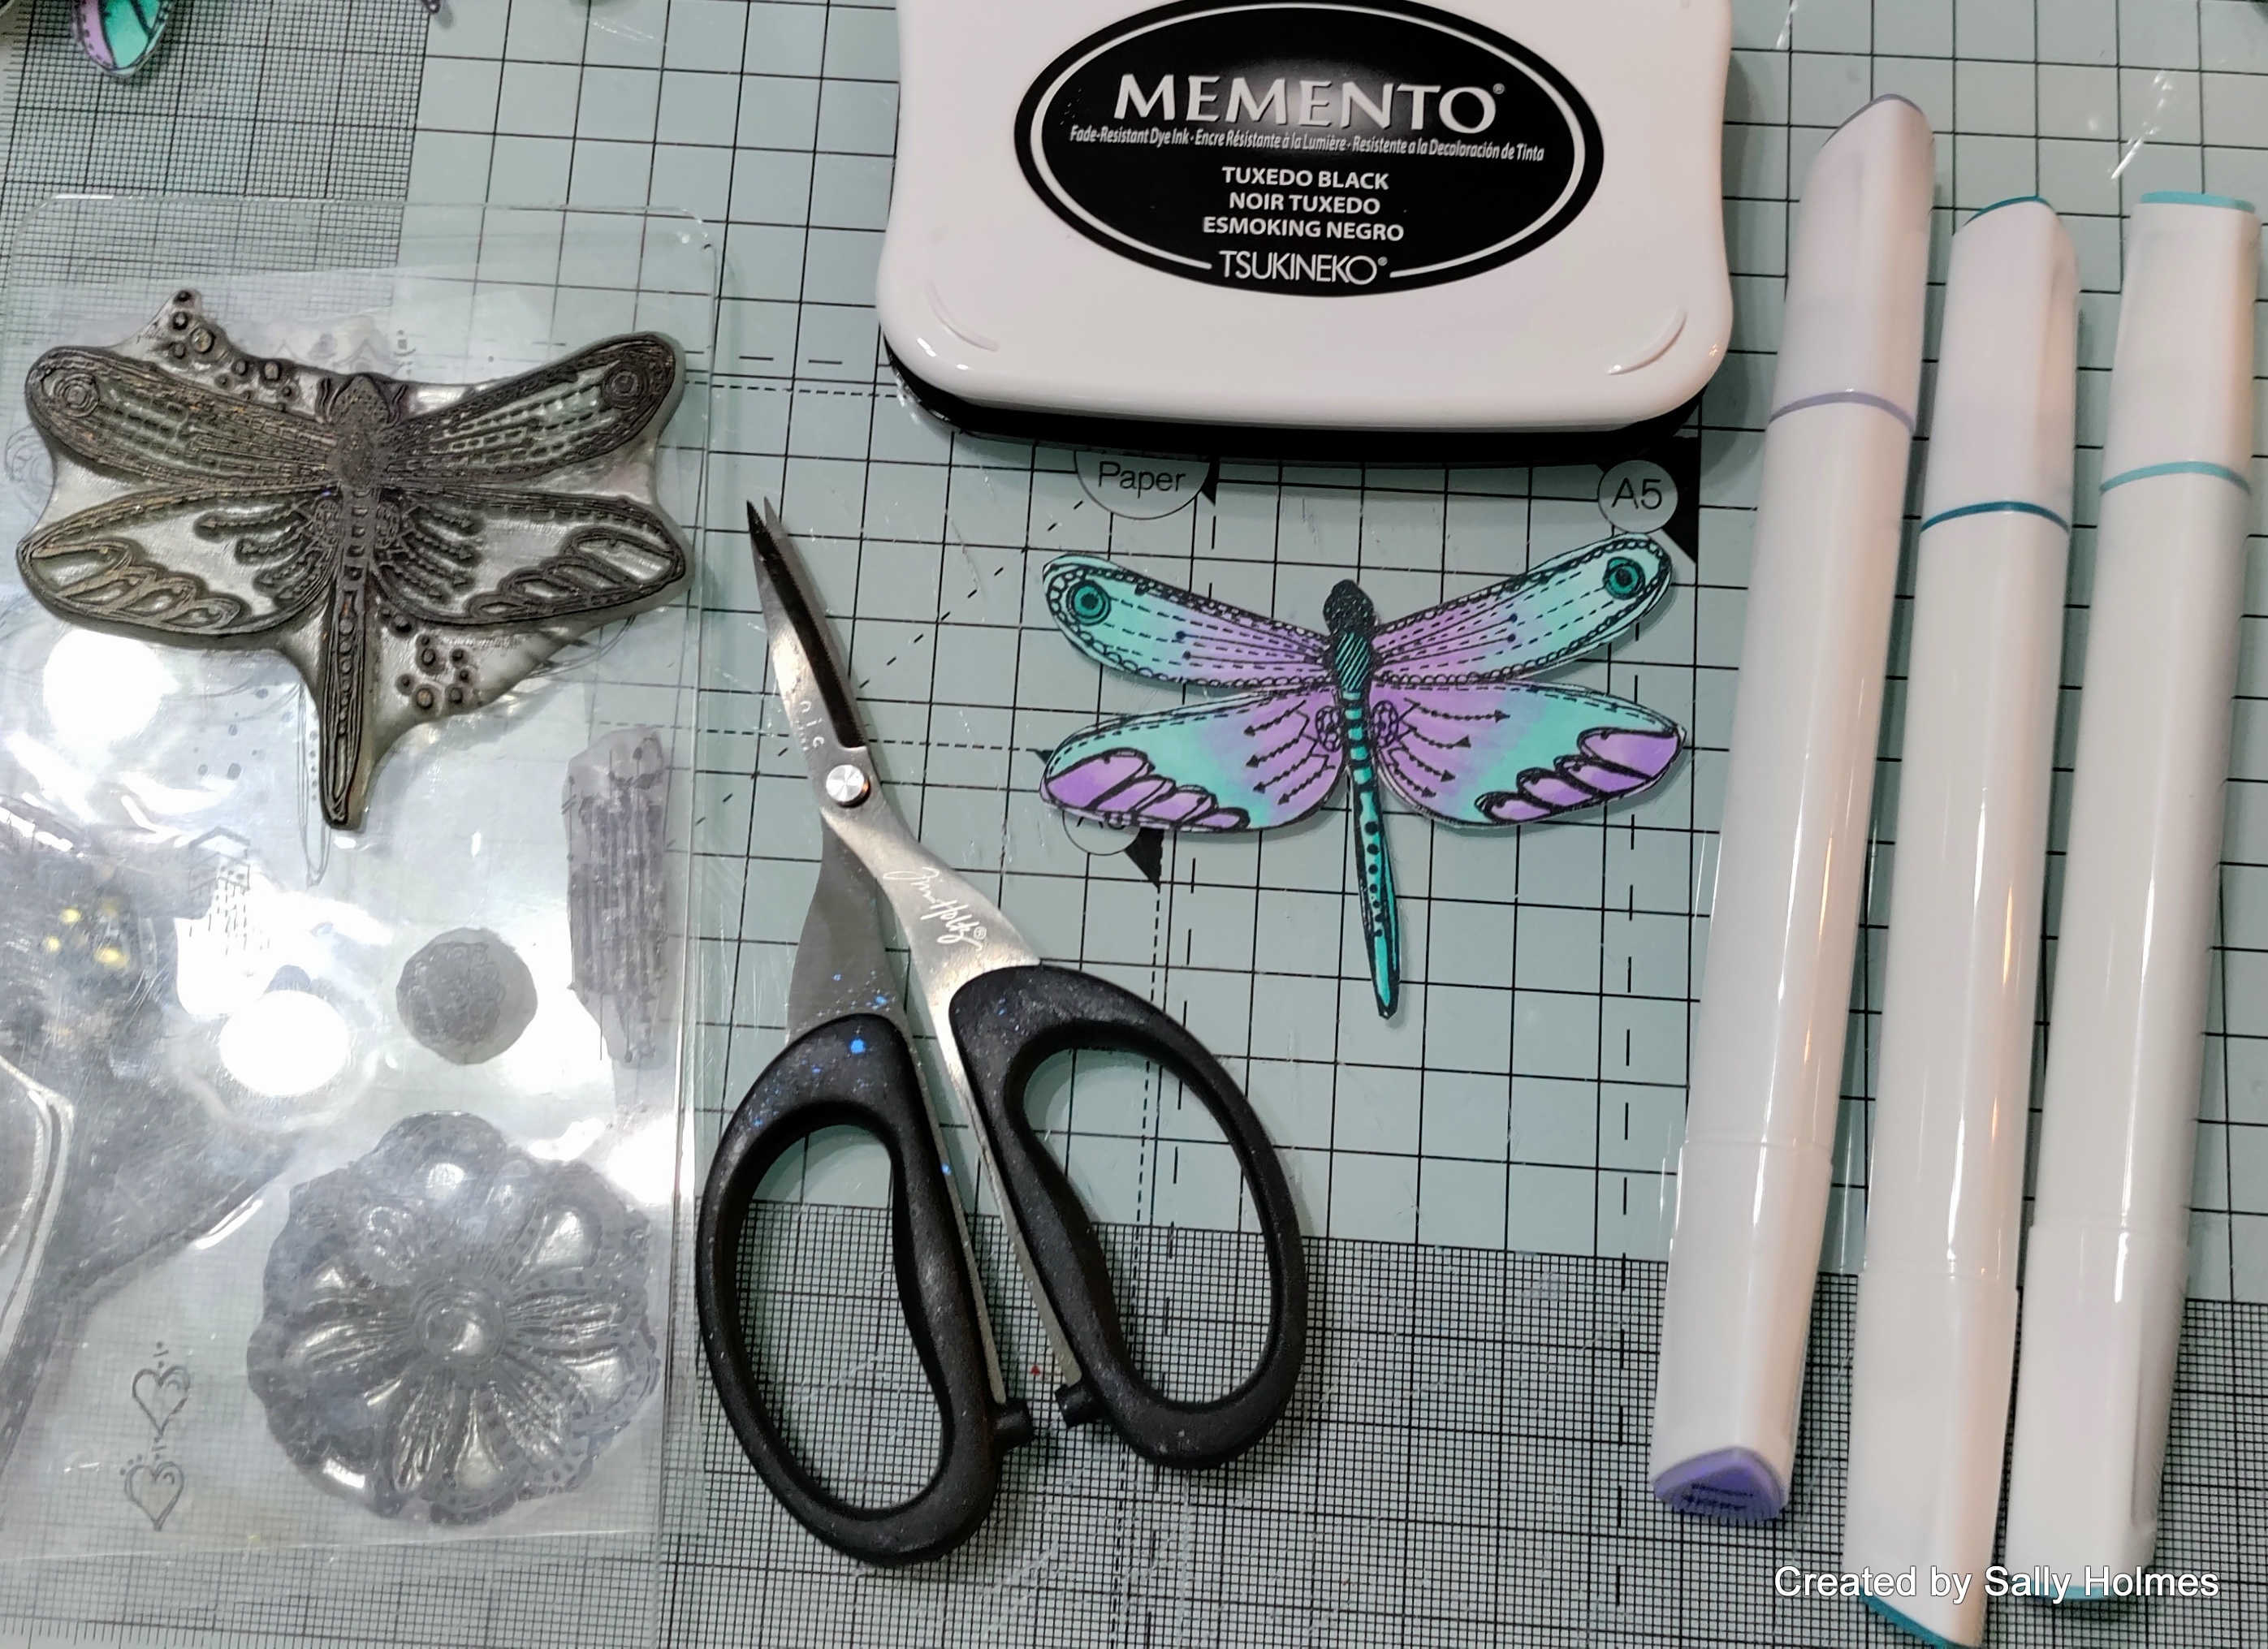
Next I stamped the dragonfly in memento ink on to a scrap of white card and coloured it with alcohol based markers. I cut it out, cutting off the legs.


I also stamped the dragonfly in memento ink directly onto the purple circle in the position I wanted it.

I used matte medium to attach the coloured one onto the front of the card, lifting the wings a little. 
I added a little glossy accents to the body and parts of the wings.

Finally I added a sentiment.
Here is the finished card again


I used
Distress ink in Salvaged Patina and Villainous Potion
Alcohol markers
Black Memento ink 

Did you see the facebook lives from Thursday's MDF day? They were amazing! You can catch up with Sam and Bev's on the Bee Crafty Facebook page, and Ann's is over in the Bee Crafty Stamps facebook group.

Thanks for looking! 


Saturday, 20 August 2022

Playing with Kraft and coloured pencils

Hi there! I've been enjoying colouring this week, using a variety of pens and pencils. I thought I would show you a card I made using stamps, easy frames and colouring pencils.

I began by stamping the large flower from the dandedaisy set onto a 14.5cm square of kraft card. 

Using the 'innie' from the 4" circle easy frame, I blended walnut stain distress oxide around the flower. 
Replacing the 'innie' with the 'outie' of the easy frame, I added some white pencil shading around the circle and then lightly coloured the flower and leaves white too.

I used the same techniques to add two more overlapping circles. 
Next I coloured the flower and leaves with coloured pencils.
I added some stamping to the circles using the white ink.
Using the texture borders set I added a spotty border in walnut stain distress oxide.
I also stamped the script background around the edges a little (without using an acetate block) using the innie as a mask, with vintage photo distress ink. I added a few highlights of gelly roll clear sparkle pen to the centre of the flower. 
I stamped and white embossed a tickertape sentiment, cutting it out and adding it to the card using foam pads.
I decided it needed just a little something more in the circles, so added the circle stamp in vintage photo distress ink before attaching it to a Kraft base card. I also used a dark brown coloured pencil to add a shadow to the flower.
Here is the finished card...
and a close up to show the sparkle in the centre...

I used:
Kraft card
Arteza Coloured pencils
Script background stamp (retired)
Versamark ink

Thanks for looking!