Showing posts with label acrylic paint. Show all posts

Wednesday, 10 January 2024

New Year, New Journal


Hi There! Thought I would share my first completed page in my new journal today. It's a Dylusions mini journal, although this page would work equally well in any A5 notebook or sketchbook

I began by adding random patches of magenta and ocean acrylic paint to a double page. I used some Dina Wakley paints that need using up, but Dylusions paints in Blue Hawaiian and Bubblegum pink would give a similar effect. Where the paints mix they are a fabulous purple colour. I purposefully left the top left corner colour free as a place to put the sentiment.
I taped the chrysanthemum 6x6 inkable in the bottom right corner and added black gesso through it with a stencil brush. I removed the inkable carefully and left the page to dry.
Next I added a stem to the chrysanthemum, using a black sharpie pen and painted the top left corner with white gesso. I extended this gesso very lightly across the pink and blue areas and left to dry. 
Once the paint was completely dry I used wilted violet distress oxide through the circles D'inkable over the paler areas.
I used distress oxide inks to stamp some of the Doodle Art mandalas over the background. 
whilst the stamping dried I stamped two of the sentiments from mixed messages #1 onto a scrap of thin card using versafine clair inks and cut them out
I added these to the page using matte medium and added a little texture paste through the small dots D'inkable. 

Here is the finished page once more...
and here is a close up to show the stamping and texture. 

I used:
Dylusions mini journal
White gesso
Distress oxide inks in Tumbled Glass. Salty Ocean, Shaded Lilac and Wilted violet
Versafine clair ink in Monarch and Fantasia

It was really lovely to just play in my journal and make a good start on this new one that has been lying here since I finished the previous one back in September. I will be live on the Bee Crafty facebook page tonight at 8pm. Hope you can join me!
Thanks for looking! 

Saturday, 16 April 2022

Paint and Dinkables playtime


 Hi There! I thought I would use a few dinkables and paint to create a card for my blog post today. Here's how I made it.
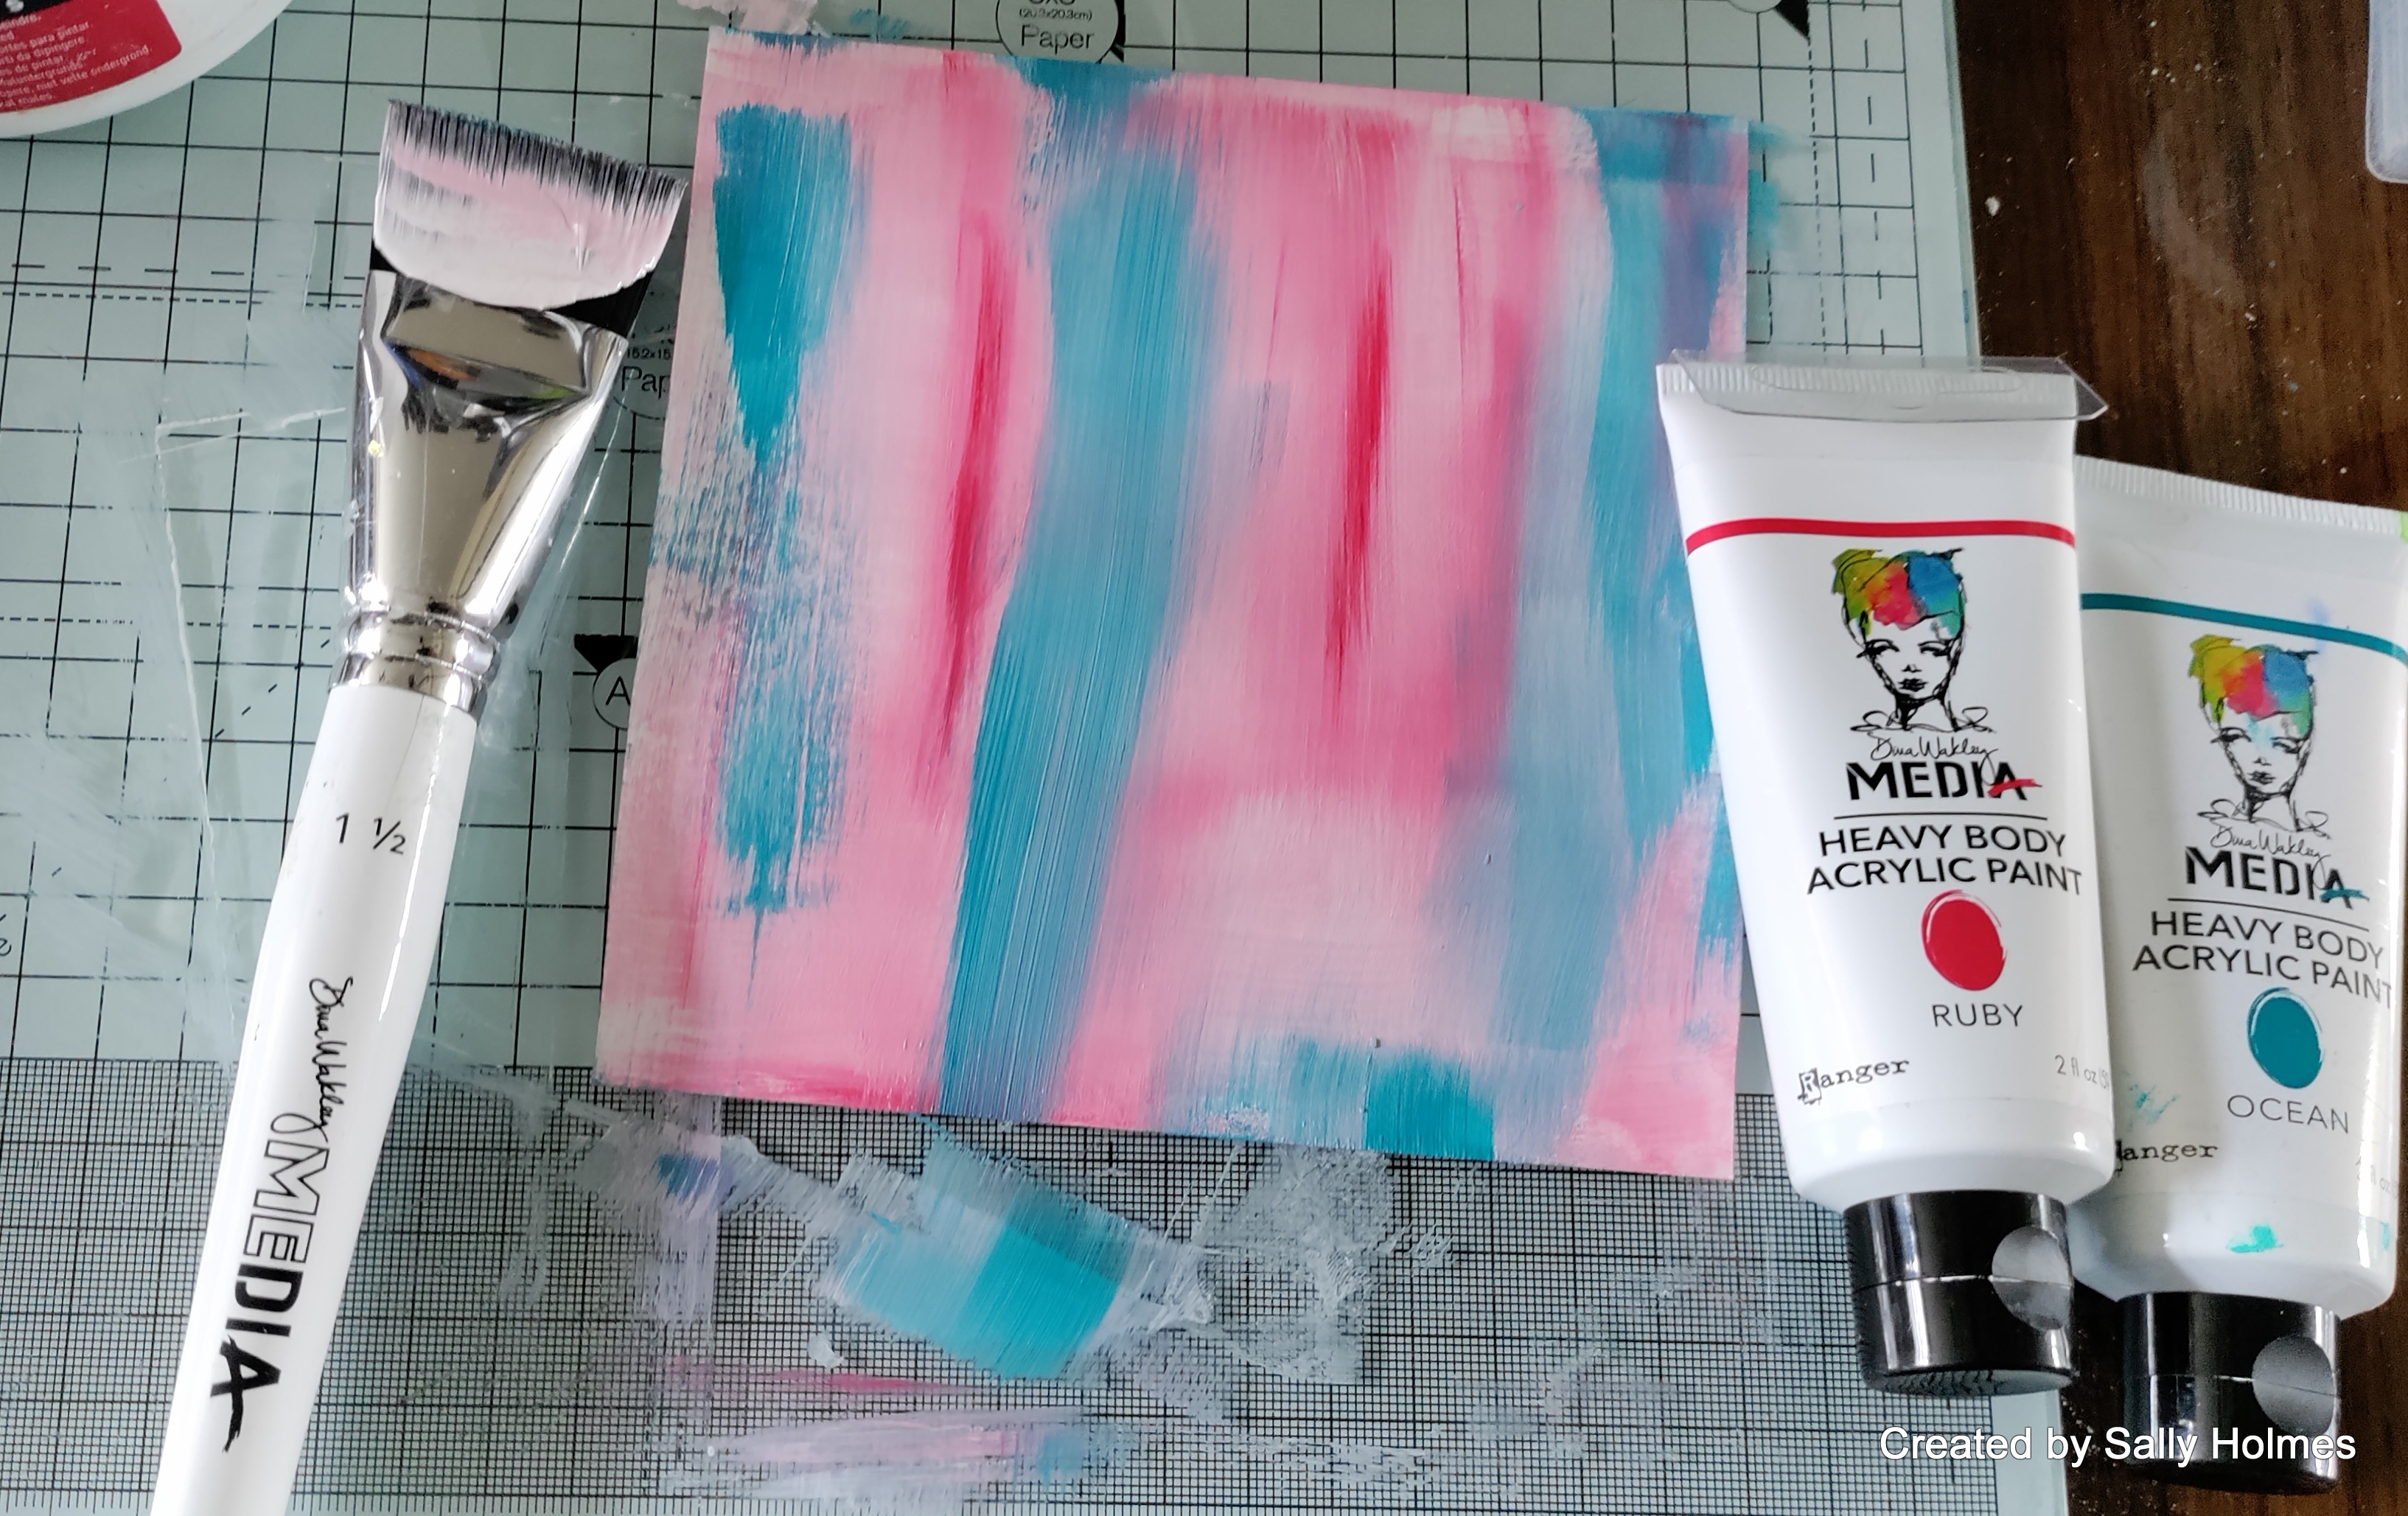
I began by painting a piece of mixed media card with gesso adding a little ruby and ocean paint 

Once this was dry I stamped it all over with the script background stamp
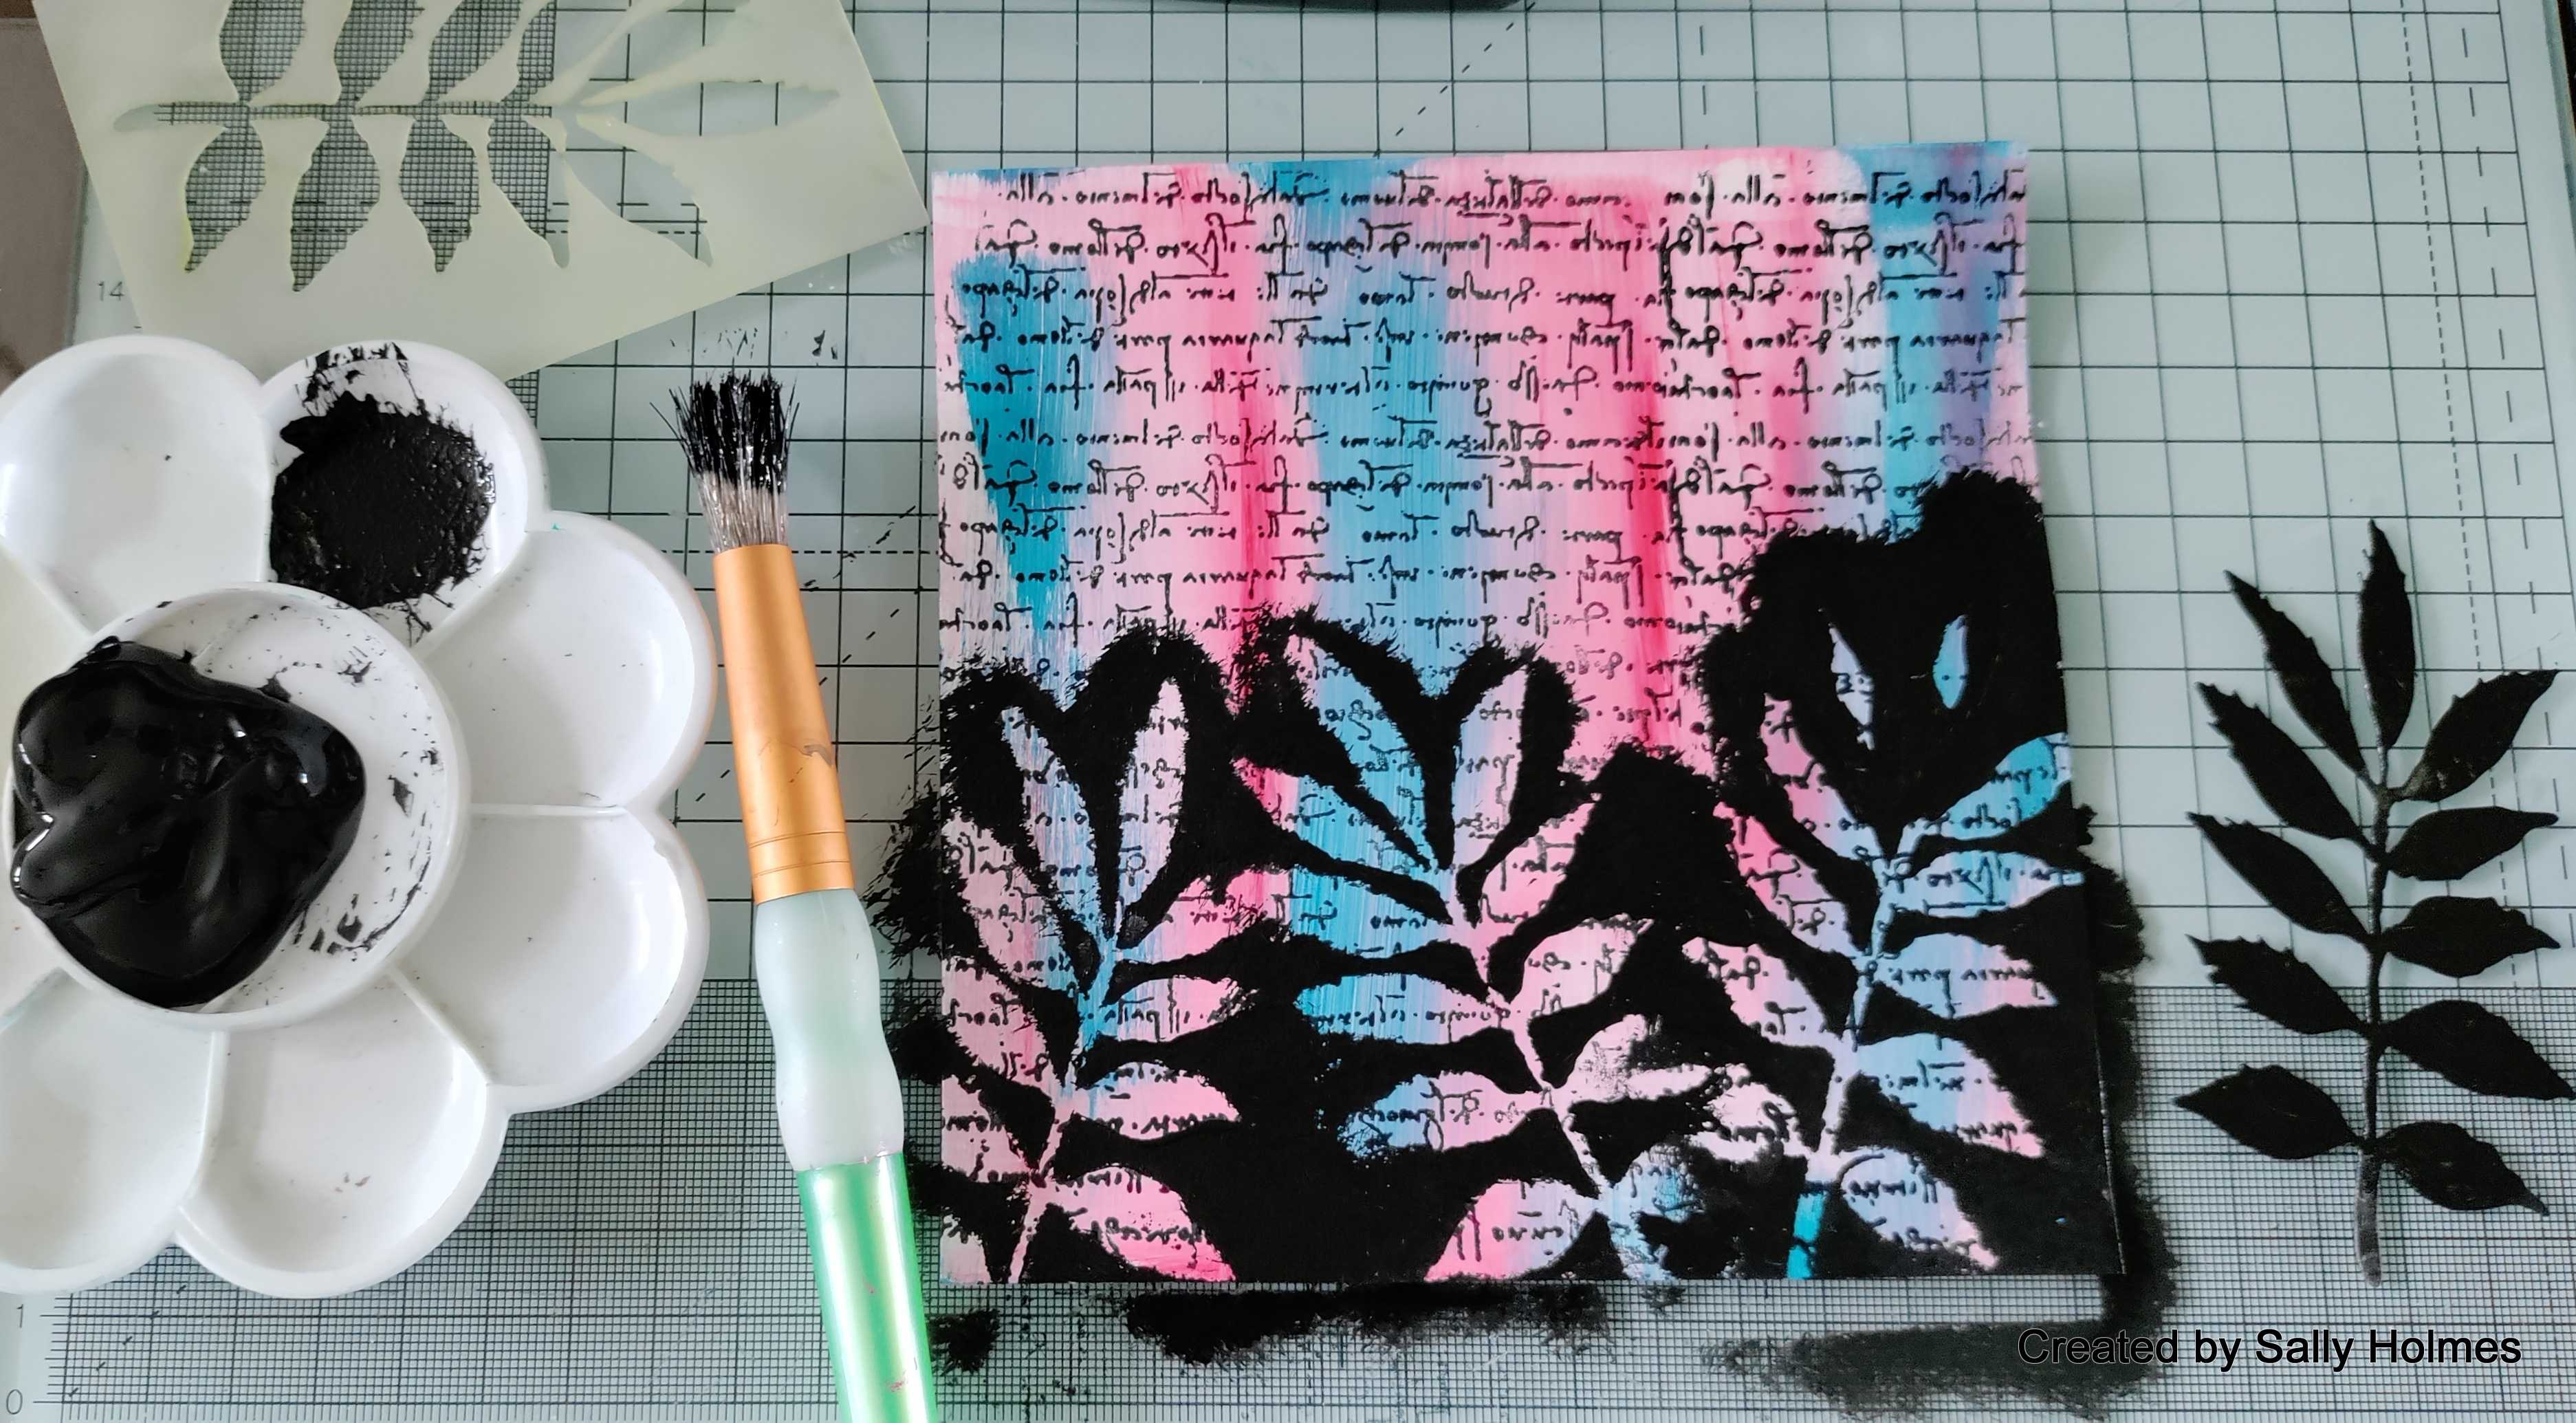
Next I used the innie from the leafy dinkable and stippled black gesso over it three times along the bottom. In the process I managed to get black gesso on the top half too, so carried on and painted it all
The cloud dinkable from set ten was used to add texture paste clouds across the top section.
once these were dry I added a faux stitched like around all the elements.

On a scrap of watercolour card I stamped, coloured and cut out the flowers from the Doodle art XL bird set.
I stuck the background onto a white card blank and added the flowers with 3d glue
And here is the finished card. I hope this has given you more ideas on how to use those inkables and stamps! Don't forget to enter the Challenge on the Bee Crafty Facebook group too. 
Here are links to the items I used:
acrylic paint ( I used the Dina Wakely ones, but Dylusions paint in Blue Lagoon and Cherry Pie would be very similar)
Thanks for looking! 

Monday, 21 June 2021

Dragonfly Tag

 Hi there!  This month's challenge over on the Bee Crafty Stamps Facebook group is to show us your journal pages and tags. There are 3 entries allowed per person so you can do both if you wish to! Today I have an mdf doodle art dragonfly tag for you. 

I used

MDF tag

Ranger Distress grit paste

coffee stain script and perspective circles inkables

Dina Wakely heavy body acrylic paints - Ocean, Turquoise and Lime

Dina Wakely clear gesso

Pretty gets Gritty explosion powder - mars

Dina Wakely gloss spray -Lime

Texture Border stamps

Texture circle stamps

Doodle Art XL dragonfly stamp

Ecoline pens

Watercolour paper

Glossy accents

Black card

White embossing powder

Small words stamp set

Versafine ink - tuxedo black

Archival inks

Versamark ink 

Copper gel pen

gel medium

I began by applying some grit paste through the stencils to the mdf tag

Once this was dry, I painted the tag with the three colours of paint.
Next I mixed a little clear gesso with the explosion powder and applied it over the raised areas on the tag.
I stamped the borders and circles with the archival ink.
Next I splattered the tag with a little of the gloss spray and left it to dry.

I stamped the dragonfly in versafine ink onto the watercolour paper, then coloured it with the ecoline pens.

I cut it out and stuck it to the tag with gel medium, applying a little glossy accents along the body.

Finally I stamped a sentiment onto black card and heat embossed in white, adding it to the bottom corner. I also added a few bits of copper gel pen to the tag and the butterfly.

Here is another look at the finished tag with a piece of coordinating ribbon. 
Thanks for looking and For all your comments, support and thoughts on my previous post. I hope to see your tags and journal pages in the challenge album too! 


Thursday, 15 August 2019

dragonflies

Here is another lolly stick plaque, painted with Acrylic paints and stamped with Hobby art stamps. I used memento inks to stamp this one and added a few drops of liquid pearls. I also used Glossy Accents on the wings of the dragonflies.
Thanks for looking! 

Thursday, 1 August 2019

Stag Sunset

Here is a lollystick plaque made using the larger lolly sticks, stuck together with hot glue. I then painted it with Acrylic paints (nothing fancy, just some from Wilkos) and stamped with inkylicious stamps and versafine ink. I am going to try another like this with versafine clair to see if I get a crisper outline. I have a couple of projects on the go at the moment which I will share with you soon. The craft fest is in full swing, lol 😁
Thanks for looking!

Sunday, 24 June 2018

A little bird...

Here is another lolly stick wall hanging using hobby Art stamps by Janie Burnett-Bleach. I panted and stamped the background then stamped the Bullfinch (It looks like a chaffinch in the set, bit if you stamp in a pale ink it is easy to change the marking to suit the species you want) , twig and ladybird on to watercolour paper. I fussy cut and added with 3d glue. A bit of glossy accents finished it off.
I hope your weekend is going well. We had a lovely belated father's day visit from Meg and Grant. I also finished my reports and the magazine commission I've been working on and a couple of birthday cards for people at school. I'm feeling happy to tick so many things off my to do list. Next week is stupidly busy at work so I might not be showing my face in blog land until next weekend.
Thanks for looking and for all your lovely comments x

Saturday, 6 July 2013

Your opinion please...

I have been having a play with some purchases I made at Doncaster. These include grunge paste, stencils, stamps, fresco finish paints and Treasure Brass, but it looks unfinished to me. Any suggestions gratefully received! Thanks for looking!

Saturday, 1 June 2013

Boxes and Hearts

 Here is the box I decorated for Inkylicious. I saw it in Dunelm Mill for £3.99 and immediately loved it. It has a small chalkboard behind the picture, which I had thought about painting onto, but the colour and texture of the wood made me think of the beach, so I added a beach scene, using the windswept stamp, on silk art card and some shells. I ummed and ahhed about whether to add anything else, but Meg said it was fine as it was so I left it. 
 Here is a close-up of the lid. the larger shells were collected from the Norfolk coast a few years ago, and have been in a bowl in my bathroom ever since. the tiny shells were bought on the east coast - a bag full for £1.00! I found some sand in a bucket in my garage which we had bought a couple of years ago when nowhere had any salt left in the snow. I managed to spill sand all over my craft space and had to spend Sunday clearing it all off as everything was crunching! Next time I will use sandpaper - much less messy! Magic hands used it as the cup of chance on the show, which made me laugh - hope no more sand escaped!
I also found a wooden heart in The Range for 99p. I gessoed it and then tried stamping on it but the images lost their definition with water based ink and I didn't have the shades I wanted in any other ink. I gessoed and started again. Next I tried stamping in acrylic paint and it worked brilliantly. I used docrafts pearlised acrylic in blues and purples, dusting just a bit of purple ink over too. The sentiment was stamped in Versamagic ink and comes from the 'Simply Said' stamp sheet. They tried to show this on Create and Craft, but the lights were way too strong, and the pearlised paint reflected them!Hope this photo in my porch on a dull day gives you a better idea!
Thanks for looking!

Sunday, 24 March 2013

Floral and gelli papers

I managed to have a good play yesterday, staying in the warm! Here is a card that has been in my head since I made the papers on my gelli plate, and I am rather pleased with how it has turned out. I was thinking of Brenda's follower celebration, knowing how much she loves getting inky or painty, distress markers, floral, a butterfly, ribbons and the odd pearl! The stamps used are all from Inkylicious and the inks are all Distress inks. The paints used on the gelli plate papers are all Do Craft Artiste Pearl (Wisteria and Ice blue). Here is a close up of the papers. There is another post on my gelli plate papers here and here.
 You can see the shine of the paint but also the ink dusting and stamping that I added in the white spaces. Here is a close up of the butterfly.
I first inked it with shaded lilac DI and then used Versamark and kaleidoscope EP to get the shimmer. Finally here is a close up of the main image.
 I coloured the stamp with a mixture of distress markers, huffed on the stamp and stamped on to watercolour paper. I then used a water brush to drag the colour onto the image. I finished it off with some ink dusting and the script stamp in tumbled glass DI, and a spray of glimmer mist in iridescent gold.
As well as Brenda's follower celebration, I am also entering this into Heck of a challenge, where the theme is butterflies and pearls, Visible Image Challenge where the theme is Spring and By the Cute and Girly (Favourite things: mine are inkylicious stamps, distress inks and my gelli plate!)

Monday, 18 March 2013

More Great Outdoors for Stamping Sensations


As it was my turn to choose the theme for this month at Stamping Sensations, I also get to show you another card in the mid month post. I used some of the paper I made using my Gelli plate and the Crafty Individuals large Elegant Swirl. You can see my original and messy post here!
I then cut an arch using my Go Kreate dies, and leaving the die in place stamped with various grass stamps from Inkylicious and ink-dusted a few hills and sky in the background. I finished off with ribbon, bows and Prima flowers, along with some faux stitching using a walnut stain distress marker. The sentiment (Inkylicious) is stamped onto a spellbinders fancy tag die cut.
Pop on over to the Challenge blog where you will be able to see my answers to the questions our DT are discussing at the moment. I hope you find time to enter the challenge this month, as there is a gorgeous prize on offer from Crafty Individuals. Jean and Malcolm are such lovely people and over the years they have been a real inspiration to me. I can't tell you how excited I was when they agreed to sponsor us!
Thanks for looking, and I hope you have a great week!

Sunday, 10 March 2013

A bit of Spring

I hope you have had a lovely Mother's Day. I certainly have. I have spent most of the day Crafting with a regular supply of cups of tea and other nice things!
I have finished my DT pieces for a couple of months and had a bit of paper left over from one of my Gelli plate designs. It made a lovely CAS card, but needed a little extra, so I stamped the Indigo Blu hares (Craft stamper freebie) and dusted a background of rolling green hills behind them. I used Crafty individuals large elegant swirl to make the background, and a small text stamp from Inkylicious.  I realised this fit perfectly for this week's theme of Spring at Allsorts Challenge, so am entering it there. I have also had a lovely play with my new pearlised acrylic paint colours (Sapphire, Amethyst, Emerald Green and Blush)  and my Gelli plate. Here are some of the papers from this weeks play.


The first of these was made with a couple of stamps from the Chocolate Baroque set 'Peacock Glory'.
The second and third I made using the Hydrangea set by Inkylicious and Art Impressions serpentine background. I am rather looking forward to using these! Only three shares from my gelli plate, but another 26 papers! The photos really don't do them justice either. Thanks for looking and enjoy the rest of Mother's Day.

Thursday, 7 March 2013

Using my Gelli plate papers

I made a couple of cards using my Gelli plate papers (original post is here). I didn't want to lose some of the lovely detail on the papers, so made the focal point small compared to the rest of the card. The papers were made with my gelli plate and Chocolate Baroque sunny sunflowers. I added a bit of dried Marigold DI as well. The Hero Arts butterfly was coloured with promarkers before adding stickles and then stuck to the card with pinfair glue gel, leaving the wings proud of the card. This one winged it's way to Paula who won my blog candy. I then made another very similar.
The 'With love' (chocolate baroque) at the top and some of the small text (inkylicious) was stamped in versamark and brushed over with blonde moments pearl pigments in gold. Shame you can't see the shimmer in the photo. This went to a friend for her Birthday. 
 I am itching to play with the rest now...then make some more papers too!

Monday, 25 February 2013

Another play day!

On Sunday I managed to have another play session with my gelli plate. I went for yellows, oranges, reds and Chocolate Baroque stamps (oh, and the CI elegant swirl made another brief appearance!). I also tried using cuttlebug embossing folders as texture plates, which were probably more pleasing than the stencils I tried On Saturday. See what you think to these. Some of the whiter ones may need dusting with some inks I think, or a bit of stamping. I am beginning to see loads of potential - not sure I will ever buy papers again!


The stamps are the Sunny sunflowers from Chocolate Baroque. Well, that is another 20 pages of backing papers, so I'd better make some cards with them!
Thanks for looking and for all your lovely comments on my backgrounds. I wasn't sure if people would like them or not. some are a bit grungy.