Monday 30 August 2021

Oak leaf window card

Hi there! Thought I would share how I made this card with you today. 

I began by attaching the oak leaf inkable to a square of a 6 x 6" kraft card and sponged unicorn white ink through the aperture. 
 
Once this was dry I used blending brushes to make a sun in mustard seed Distress oxide inks then added spiced marmalade, crackling campfire and walnut stain around the yellow with the darkest colour at the edges.

next I used a white pen to go around the inner edge of the inkable, then removed it.
I placed the inner part of the inkable over the leaf shape and used a blending brush to add some Memento Espresso Truffle ink around the edges to create a shadow. 
I put the outer part of the inkable back in place and used a skyline inkable to add a few hills at the bottom of the leaf.
Then I stamped the Elder in the memento ink on to the leaf shape.
I removed the inkable and added a few sequins around it. I also added a few spots of clear stardust gelly roll pen to the elder stamp. I trimmed the card a little and inked the edge with the memento ink before attaching to a 6x6 kraft card. The 3d effect created by using the darker ink to make a shadow really made it pop, I think.
Here are links to the products I used:
6x6" kraft card
Memento Espresso Truffle ink
Beautanicals Elder stamp set from the End of Line section
Gelly Roll stardust pen
Sequins

Thanks for looking and Happy Crafting! 

Saturday 28 August 2021

A few Christmas cards

 I have been very bad with my Christmas cards so far this year, but I have managed to add 3 more to my collection this week. The First is all done with Inkylicious stencils and stamps. This is a style that Deby and Emma demonstrate often at shows.

The second  was stamped with Bee Crafty stamps and an Inkylicious sentiment

and the third was done with Bee Crafty Stamps and lots of different inks

The Bee Crafty stamps for the latter two are in the end of Line section and are a bargain at £5 a set if you fancy them 😉

They would have been my Rudolf day entry, but poor Mo and household are not well at the moment. hope she feels better soon! 
 

Tuesday 24 August 2021

Dena's Stamps at Crafty Individuals

 Did you see Jean on the Craft show at the beginning of August? She took the latest new stamps with her - 5 stunningly beautiful designs by our very own Dena Rangely. I've saved sharing my samples until they are on the Crafty Individuals website, which they now are. The stamps are all fantasy based - enough of me talking about them though. Take a look! 

First up is 'New beginnings', a gorgeous baby dragon hatching from it's egg.


Next is the Gentle Dragon....


There is the gorgeous 'Rising Phoenix'....

Next is the 'Wishing Tree'...

and finally the beautiful 'Fairy Rose'
Huge Congratulations to Dena on a very successful first Collection and if you want to get your hands on these goodies you can find them on the Crafty Individuals website here

Monday 23 August 2021

Bee Monarchy wall hanging


Hi there! Thought you might like to see a step by step for my embroidered Bee fabric wall hanging. 

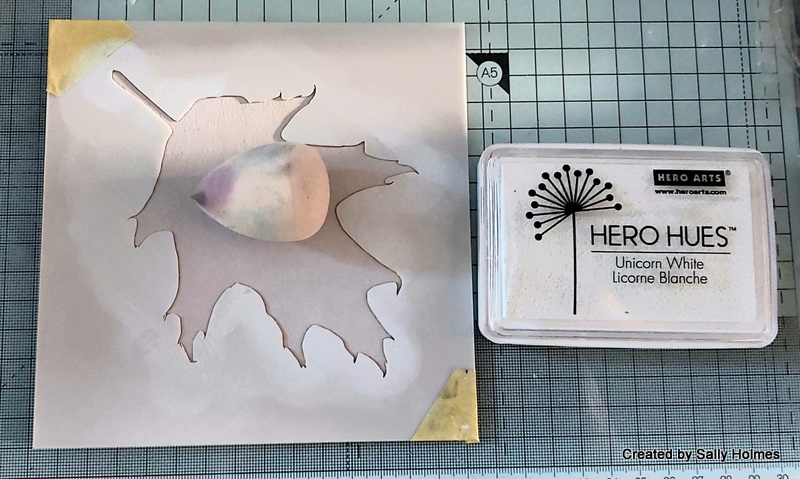
I began by stamping the Bee in versafine clair onto a piece of calico. A stamp press is a good idea as the magnets help to keep the fabric still. 

I removed it from the stamp press, put it into a small embroidery hoop and began to embroider it. I used 2 strands of embroidery thread for all of the bee's body and legs, completing the white and yellow stripes first before beginning the black. With the white tail I added a few strands of grey for shading. I just used varying lengths of satin stitch. It doesn't need to be particularly neat as it gives the impression of the bee's fluffy coat.
I then embroidered the legs in the same way.
For the eyes I used a sparkly black thread and stitched french knots. This thread was quite a bit thicker -the eqivalent to about 4 strands of regular 6 strand embroidery thread.
For the wings I found some sheer organza style ribbon (if you can find one that doesn't fray that is great!). I cut a piece that was big enough to cover the wings and dipped it in some watered down blue acrylic paint. 

When it was dry (air dry as some of these ribbons melt very easily), I traced the shape of the wing through it using a pencil, cut it to size, then stitched it in place using a single strand of fine silver thread.
Once the embroidery was finished I took it out of the embroidery hoop, cut a circle of white felt and blanket stitched in yellow around the edge. 

I sprayed a 6x6" square of calico with a light spray of lemon gloss spray. When this was dry I placed the honeycomb inkable over it then sprayed lightly with cheddar gloss spray. I stitched this to a piece of hessian using back stitch before attaching the bee panel to the middle with 5 or 6 small stitches around the edge.
I added a paper flower using a brad bottom left and frayed the edges a little.

I used the plain hanger and painted it with white gesso. I added a piece of the mdf pop-out honeycomb that I had trimmed to fit and painted with gold paint. In each section of the honeycomb I added some glossy accents swirled with a shake of Pretty Gets Gritty Apollo explosion powders.
I used some white fabric tape to attach the hanger to the panel.
And here it is finished. 
Here are links to the products I used
Calico
Embroidery threads
Hessian
organza style ribbon or fabric in white or pale blue
MDF hanger  - will hopefully be available soon
paper flower and brad

I am really enjoying combining my stamping and sewing and will definitely be having a go at more in the not too distant future. 
Thanks for looking and Happy Crafting!

Monday 16 August 2021

A New Home Card


 Hi there! My new prize ribbon Distress oxide and distress ink arrived on Saturday so I thought I would try it out. There were other goodies in my parcel too, but I will show you those at a later date. 
I began by brushing Salvaged Patina Distress Oxide ink through Mandala 4 Inkable onto a 6 x 6" white card.

Next I took the circles D'inkable and brushed Prize Ribbon Distress Oxide ink through it top left and bottom right.
I added Cracked Pistachio Distress Oxide through the Bakewell Big One Inkable bottom left.
Next I stamped Sky Terrace in the Prize Ribbon Distress Oxide ink onto a scrap of white card and die cut it.
I used foam pads to stick it to the front of the card and added the sentiment in Prize Ribbon Oxide ink. Here is the finished card again
Here are links to the products I used:

This was a very simple card to make and ticks all the boxes for our challenge on the Bee Crafty Facebook Group this month where the Theme is to use Stamps and Inkables. 
Bev and Sam are off to The Craft Store for a Happy Hour this Thursday (19th August) featuring the Doodle Art houses at 11am. Make sure you tune in to grab those bargains! 

Happy Crafting! 

Monday 9 August 2021

Being Happy Butterfly Art journal spread

Hi There! I had lots of inky painty fun with this journal spread in my Dylusions mini journal over the weekend. Here is a step by step to show what I did. 
 
I had some spray left in a couple of my mini misters that I wanted to use for something else, so I sprayed them onto a page in my journal and let them run across the pages. 

I wanted to cover up the ink from other pages that had seeped in at the page crease, so I painted lots of stripes with a fine paint brush and Dina Wakely acrylic paints in ocean, turquoise and lime. 
Next I used the dotty border stamp with versafine clair ink in warm breeze around the edges. 
I used distress oxide inks in salvaged patina, salty ocean and peacock feathers to stamp the coffee stains randomly across the pages
I also added a few bits of the ledger stamp randomly around the page without an acrylic block
Next I took the small butterfly inkable and brushed distress oxide ink in blueprint sketch around the edges, then set it aside.
I stamped three butterflies and a sentiment in Versafine Clair twilight ink onto Dina Wakely Collage paper,
then stuck them to the page using matte medium
I also added some white and sparkly highlights with a gelly roll clear stardust pen and a posca pen. A few gold sequins finished it off.
Close up of each page....


Here are links to the products I used:
Dina Wakely heavy body acrylic paint in Lime, Ocean and Turquoise
Distress oxide inks in Peacock Feathers, Salty Ocean, Salvaged Patina and Blueprint Sketch
Butterfly stamps - a bargain in the end of line section
Sequins
The Butterfly inkable is available as part of a set on the Craft Store website (Shop by Brand and look for Bee Crafty)

I really enjoyed creating this in all my favourite colours!  The Bee Crafty Stamps facebook group has a challenge for August of  'Show us your stamping and use Inkables' if you fancy having a go. 
Thanks for looking!