Wednesday, 5 January 2022

Crafty Individuals Samples

 Hi All! In the mad rush towards Christmas, and with preparing samples for two shows in quick succession, plus a holiday, I completely forgot to post my last lot of Crafty Individuals samples! So sorry, but hopefully they will add a little cheer to your day! 

First is the little canvas I made, using 3 of the fishes.
Another of the fishes on this card, along with the older stamps that were on the show and some CI papers too.
Next we have those brilliant Dogs, who all look a bit worried, lol
and these two are feigning innocence I think 
The fish can be teamed up very simply on a smooshed background.
The dogs look equally good stamped onto book paper or patterned paper...
or simply coloured.
finally, here are the shrink plastic earrings I made using the fish. 

You can find all of the stamps, stencils and papers used to make these on the Crafty Individuals website. The fabulous fish and dog stamps designed by Sharron Bates are here.
Thank you so much for your kind comments. I hope to get round to visiting you at the weekend x

Monday, 3 January 2022

BuJo Birdwatching

 Before I start today's blog post I wanted to say a huge thank you to all those who visit my blog and take the time to leave lovely comments. I must apologise that I have been very lacking in returning your visits. I will try harder in 2022! Happy New Year to you and lets hope this is a better one for everyone!

 I have kept a minimal Bullet Journal in 2021 and found it was better suited to me than a diary. I have had pages more specific to my requirements this way.


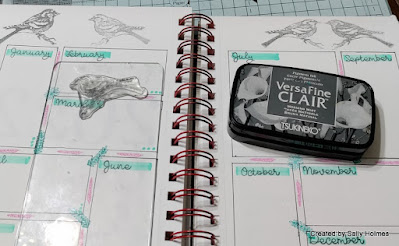
As many of you know I love watching the birds in the garden and one of the things I did last year was to make a garden bird list for my bullet journal. I have loved filling it in and enjoyed seeing the population changes from one month to another, so decided to do another for 2022. Here is a step by step for how I made it.

I began by drawing 12 boxes using the BuJo templates ( I had to adjust the length of the vertical boxes slightly)

Next I stamped the months of the year in the boxes. The super skinny slim border is great for getting up close to the edge in a ring bound journal. 

I used a pale green highlighter through the BuJo template to highlight the months.
I stamped some of the botanical springs in Distress oxide inks around the edges of the boxes.

I used the mirror blocks to stamp a reverse image of the bird at the top of each page.
Using second generation ink I stamped another bird facing each of the others.
Using the typewriter alpha I added the year and then used a coordinating gelly roll moonlight pen to write Garden Birds at the top of the page. I added a few more doodles and then got my bird book out to colour the finches in different ways. 
Here are the finished pages. Here is last year's page filled in:
 It was so exciting to see two birds I had not seen in our garden before in the 22 years we have lived here - the Brambling and the Lesser Redpoll. 
Distress oxide inks in Kitsch Flamingo, Salvaged Patina and Peacock Feathers 

This sort of page could be used for all sorts of things from when things flower in the garden, to butterflies, bees or other creatures. 

Thanks for looking! 

Monday, 27 December 2021

Sassy Journal spread


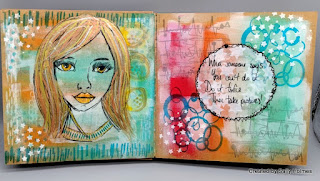
 Hi There! Hope you have had a great time over the last few days and been able to celebrate Christmas with your loved ones. I am here to share a step by step for a rather cheeky journal spread I made recently in my Kraft Journal.

I began by painting white gesso on each page leaving a kraft border. I then painted over with the dylusions paint and dylusions shimmer paint in random patches.

Next I added some Dina Wakely metallic paint.
I used a dinkable and a texture disc to add some texture - some with texture paste and some with white gesso
Once this was dry I added stamping in Black versafine clair - First the ledger stamp...
Then some coffee rings and numbers from the coffee stains set. I set this aside to dry.
I stamped the Sassy Journaling Girl in black onto white paper and cut out 
I stuck her to the page with Distress Collage Matte medium.
Next I selected a back chat sticker and added it to the opposite page.

Finally I added a few sequins, white splatters and highlights using moonlight gelly rolls, a posca pen and the Dina Wakely white gloss spray.
I used:

Thanks for looking! 

Monday, 20 December 2021

Bee Crafty Samples

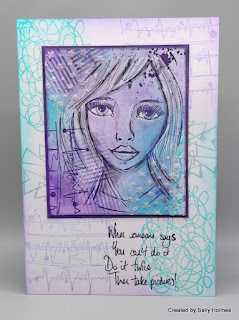
 Hi There! Did you see Bev from Bee Crafty on the The Craft Store last Tuesday? She had some wonderful new background stamps along with the previously released Faces and Journal art background stamps.

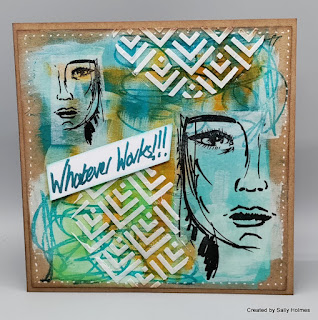
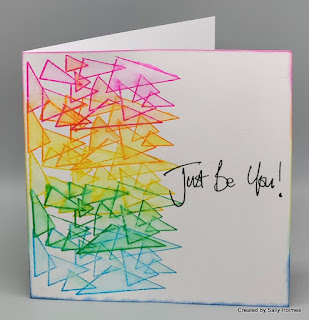
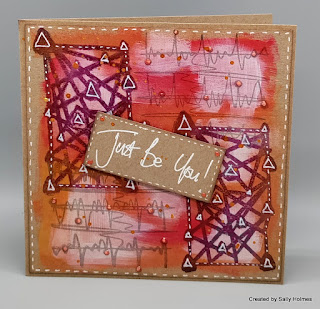
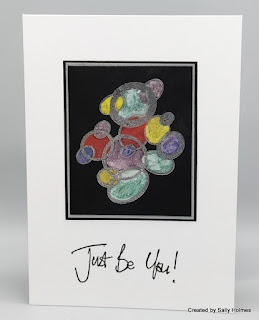
Here are the samples that I made with the new stamps.

For this first one I also used Faces: Whatever Works stamps and Inkables texture plates


This used the Faces: Dream stamp

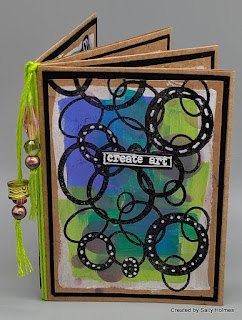
I also made a little mini book in the facebook live on Tuesday night using the new stamps and Dylusions paints


The New stamps can be found here on the website as a bundle but are also available singly too on this page 
If you would like to watch the live, You can find it here. 
Thanks for looking! 

Monday, 13 December 2021

Snowflakes tag


Hi There! I got very very inky over the weekend! I thought you might like to see what I was up to.

I Decided to try a bit of resist technique and use some salt with dylusions sprays. 


I began by stamping and heat embossing the doodle art snowflakes with white embossing powder. Here is a close up where you can see the embossing a bit better!

Next I sprayed water all over the tag and sprinkled on a little explosion powder.
I then added more sprays - this time I used dylusions sprays in Calypso Teal and After midnight.
Whilst wet I sprinkled it all  with table salt and then left to dry (this will take quite a while and using a heat gun might over-cook the embossing powder.
Once dry I stamped smaller snowflakes, dots and stars randomly in the spaces with versafine Clair ink.
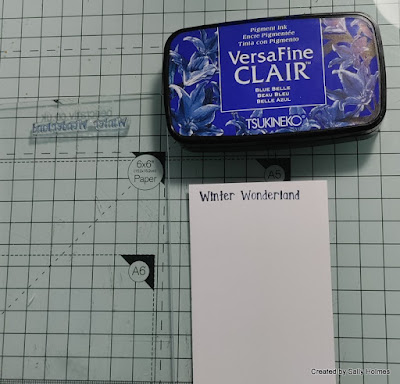
I used the same ink to stamp the Winter Wonderland on a scrap of white card, sponging a little extra ink around the edges
Finally mat and layer the tag, adding the sentiment and a ribbon. I also added a little faux stitching with gelly roll pens
Here is a close up of that mottled effect created by the salt.
I used:
Versamark ink
Salt
Ribbon and gelly roll pens

Bev and Sam are off to the Craft Store with the faces stamps and some brand new journal Art stamps tomorrow at 3pm and I will be doing Try it out Tuesday Facebook Live tomorrow at 8pm over on the Bee Crafty Facebook page. 
Thanks for looking! 
 

Monday, 6 December 2021

A Crackin' Christmas

 Hi There! I've been enjoying playing with the fabulous Nutcracker stamps from Bee Crafty this week. Here is how I made my card

I began by wiping distress ink onto a super skinny slim, giving it a spray of water and then pressing it onto a 14cm square of mixed media card. I dried it between each colour. 

Next I sprinkled a little explosion powder in coordinating colours on to the background and sprayed it with a mister.

Once this was dry I stamped it with the bauble stamp in blueprint sketch ink. 
On a piece of watercolour card, I stamped and embossed the smaller nutcracker and coloured him with a combination of distress ink and ecolines. I cut him out leaving a narrow border.

I stamped the sentiment in blueprint sketch ink and added a few highlights in silver. 
Finally I matted and layered the background, sentiment and Nutcracker onto the 15x15cm card. I used 3d gel medium for the sentiment and nutcracker. 
Here are links to the products I used:
Versamark ink
Silver gelly roll pen

Thanks for looking and I hope your festive preparations are going well x