Hello! Well, we have finally finished the term today, and I would do a little happy dance if I had the energy! Instead I am sharing with you some photos from my garden over the last week. First up we have a baby blue tit...
followed by some wild strawberries...
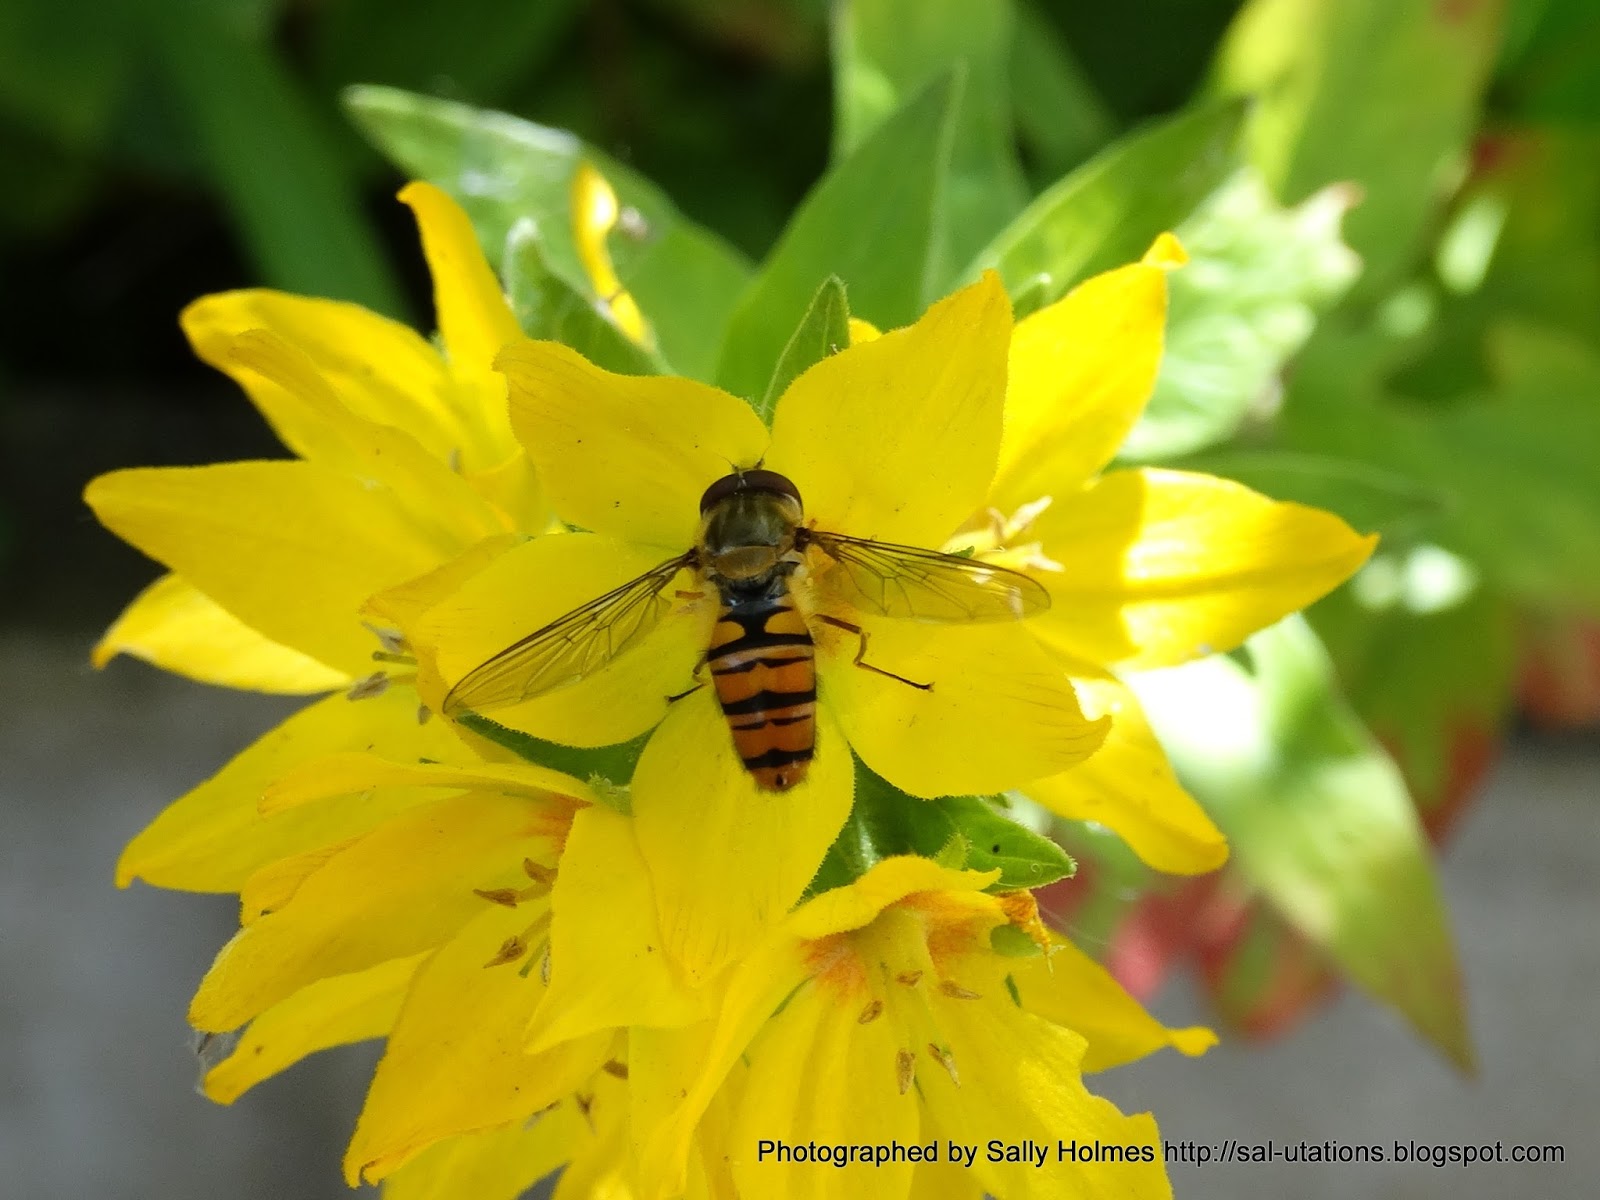
and a bit of x rated hoverfly mating!
Here is some soothing lavender...
and a baby goldfinch.
Next is a rather lovely self set poppy that I have no idea where it came from...
and look at the tongue on that bumblebee! Quite proud of this one!
Here is a shasta daisy
and a tiny snail...
Another hoverfly....
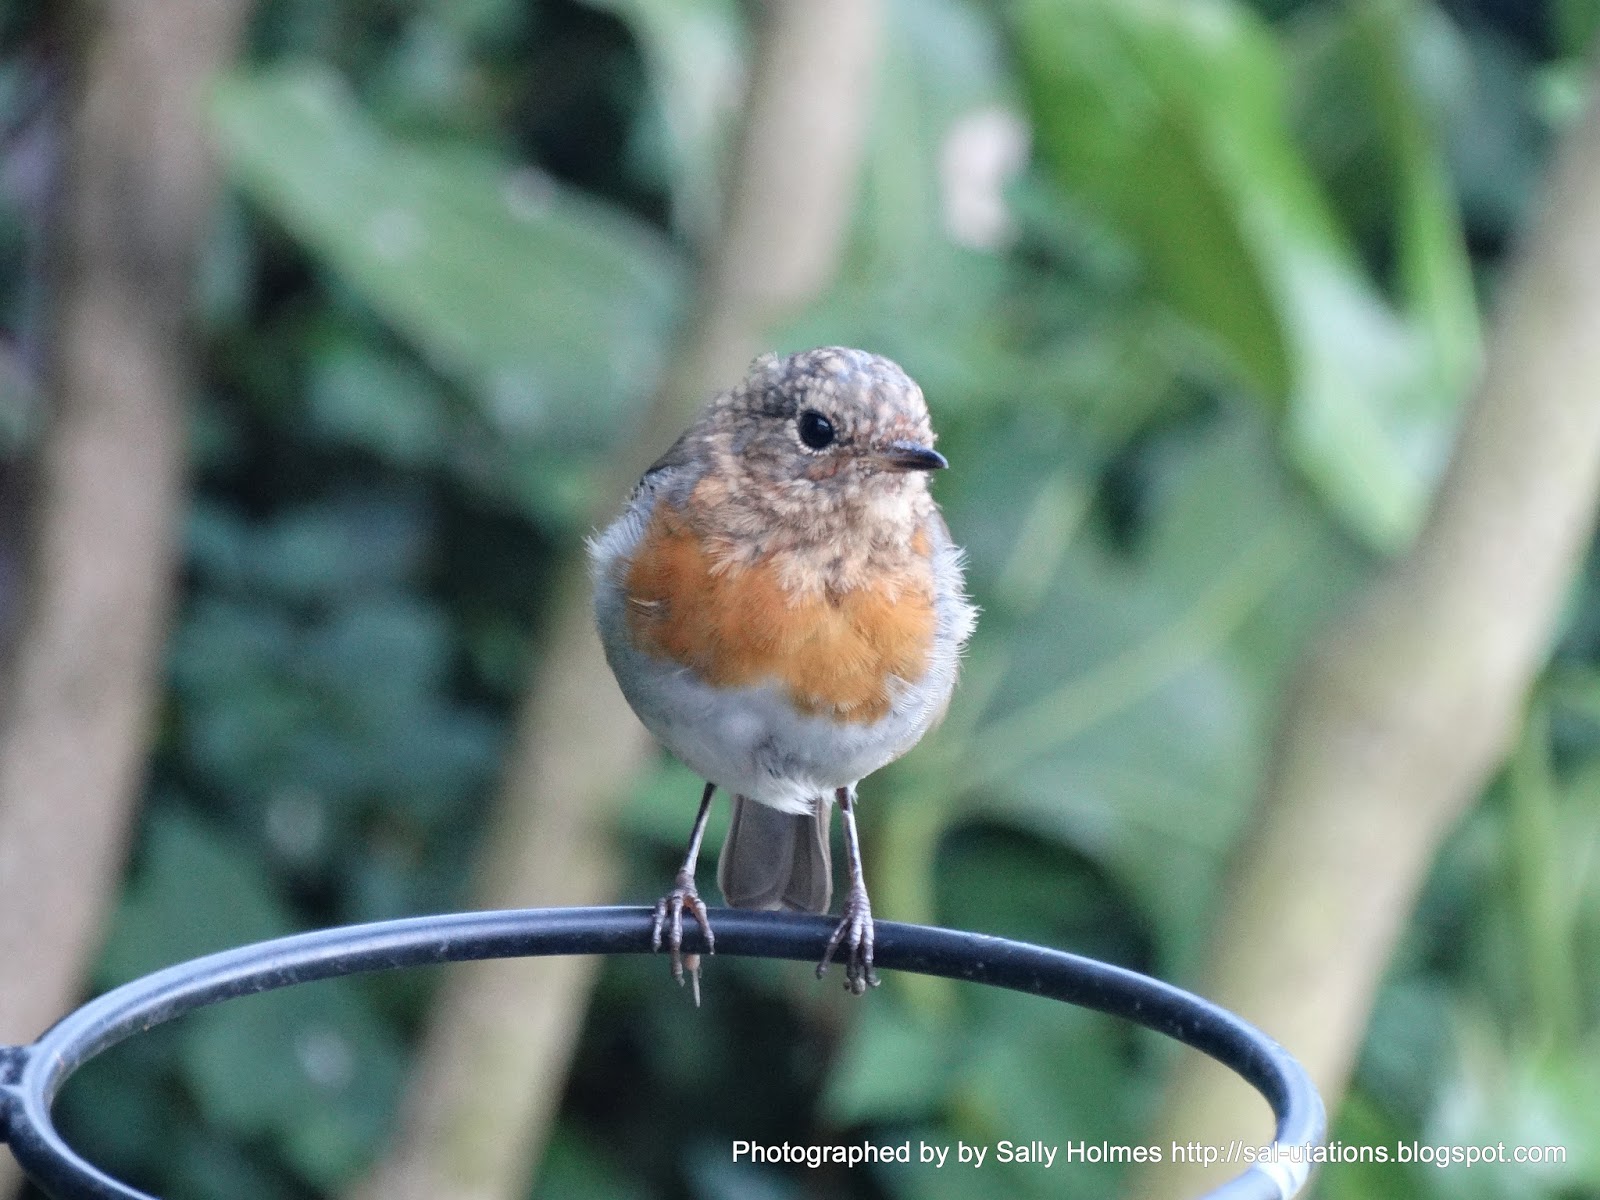
a baby robin...
and my little wood mouse friend, who really likes those pink fat pellets we buy for the birds!
Hope you enjoyed a few minutes in the garden with me. Thanks for looking!
Friday, 24 July 2015
Saturday, 18 July 2015
A quick card and some more garden photos
Hi there! We still have another week at school, and I am so tired, I may have to sleep for a week once we finish! I needed to make a birthday card for a lovely friend, so decided I should ink up the gorgeous Card-io stamps I bought at Doncaster at the beginning of June. I made the background with ink dusters and memento inks in dandelion and rosebud.
We had another baby bird at the feeders this week - a baby longtailed tit! They are so cute - just like a fluffy ball on a stick!
Next up are a couple of photos of a plant I bought on a whim last year, and it has continued to flower this year. Not at all sure what it is, but the geometric nature of the petals really attracted me to it.
It really is sunshine in a pot!
I have a couple of planters that I have bedding plants in...
but many of my plants are grown for wildlife, either for berries....
or for bees
Thanks for looking!
Edit: Thank you blogging Friends - it is indeed a Gazania Daybreak Red Stripe, so definitely sunshine in a pot!
We had another baby bird at the feeders this week - a baby longtailed tit! They are so cute - just like a fluffy ball on a stick!
Next up are a couple of photos of a plant I bought on a whim last year, and it has continued to flower this year. Not at all sure what it is, but the geometric nature of the petals really attracted me to it.
It really is sunshine in a pot!
I have a couple of planters that I have bedding plants in...
but many of my plants are grown for wildlife, either for berries....
or for bees
Thanks for looking!
Edit: Thank you blogging Friends - it is indeed a Gazania Daybreak Red Stripe, so definitely sunshine in a pot!
Labels:
birds,
Card-io,
flowers,
garden,
ink dusters,
insects,
memento ink,
photos
Monday, 13 July 2015
A recipe for you
A long time ago, when Meg was about 2, I remember having a conversation with my mum on the phone about a spinach cheese and potato pie she had made, and how much my Dad and brother had enjoyed it. Not long afterwards she was taken into hospital with Cancer of the oesophagus and never properly came out again. I never did find out how she made her pie, but decided I would use the ingredients and have a go. After several years of experimenting, this is how I have settled on making it, and yes, Mum, it is very tasty! I tend to use reduced fat cheese and an oil spray to keep the calories down a little. Stronger cheese in smaller quantities helps too. I have used garlic and herb philly, added broad beans or butter beans instead of celery... the possibilities are endless. Try it and see. All I ask is that if you do share on-line you link back to this post.
Spinach, cheese and potato pie
4 medium potatoes, peeled, boiled and mashed
1 stick of celery
1 onion
1 large bag spinach (200-300g)
1/2 teaspoon celery salt
1 packet filo pastry
Butter or oil
180g carton of Philadelphia light cheese
Grated cheddar (I use 250g of lighter mature cheddar)
1. Prepare potatoes
2. Sweat the onions and celery in the oil or butter, before
placing all the spinach on top and adding the lid to the pan. When the spinach
has wilted remove from the heat.
3. Mash the Philadelphia and cheese into the potato, then
add the celery, onion and spinach. If the sweating/wilting process has produced
a lot of liquid, drain first. Mix until combined.
4. Grease a pie dish (mine is about 10 inches across) and
add 5 layers of filo, leaving excess filo hanging over the edge
5. Put the filling into the pastry lined dish and lift the
overhanging filo to fold over the pie. An additional sheet of filo may be
needed to cover the top thoroughly.
6. Brush the top with melted butter or spay with oil, before
baking at 200ºC/400ºF for 20 minutes or until golden and crispy.
Thanks for looking, and I hope you enjoy it if you give it a go
Labels:
filo,
food,
Mum,
recipe,
spinach cheese and potato pie
Saturday, 11 July 2015
A walk with my Dad
Last weekend I went to see my Dad, and after a cup of tea we went for a little walk. We set off from Cuckney Church and took a footpath up a mound (the remains of a Motte and Bailey), which gave us a lovely view of the church and the meadow by the river.
We then carried on up the bank
and crossed a few fields where there were thousands of ox eye daisies in flower.
We passed a field where there were several young foals...
and then saw a beautiful Lodge - gate house to the Welbeck estate.(I'd love to live there!)
The view from the Lodge is a timeless British landscape...
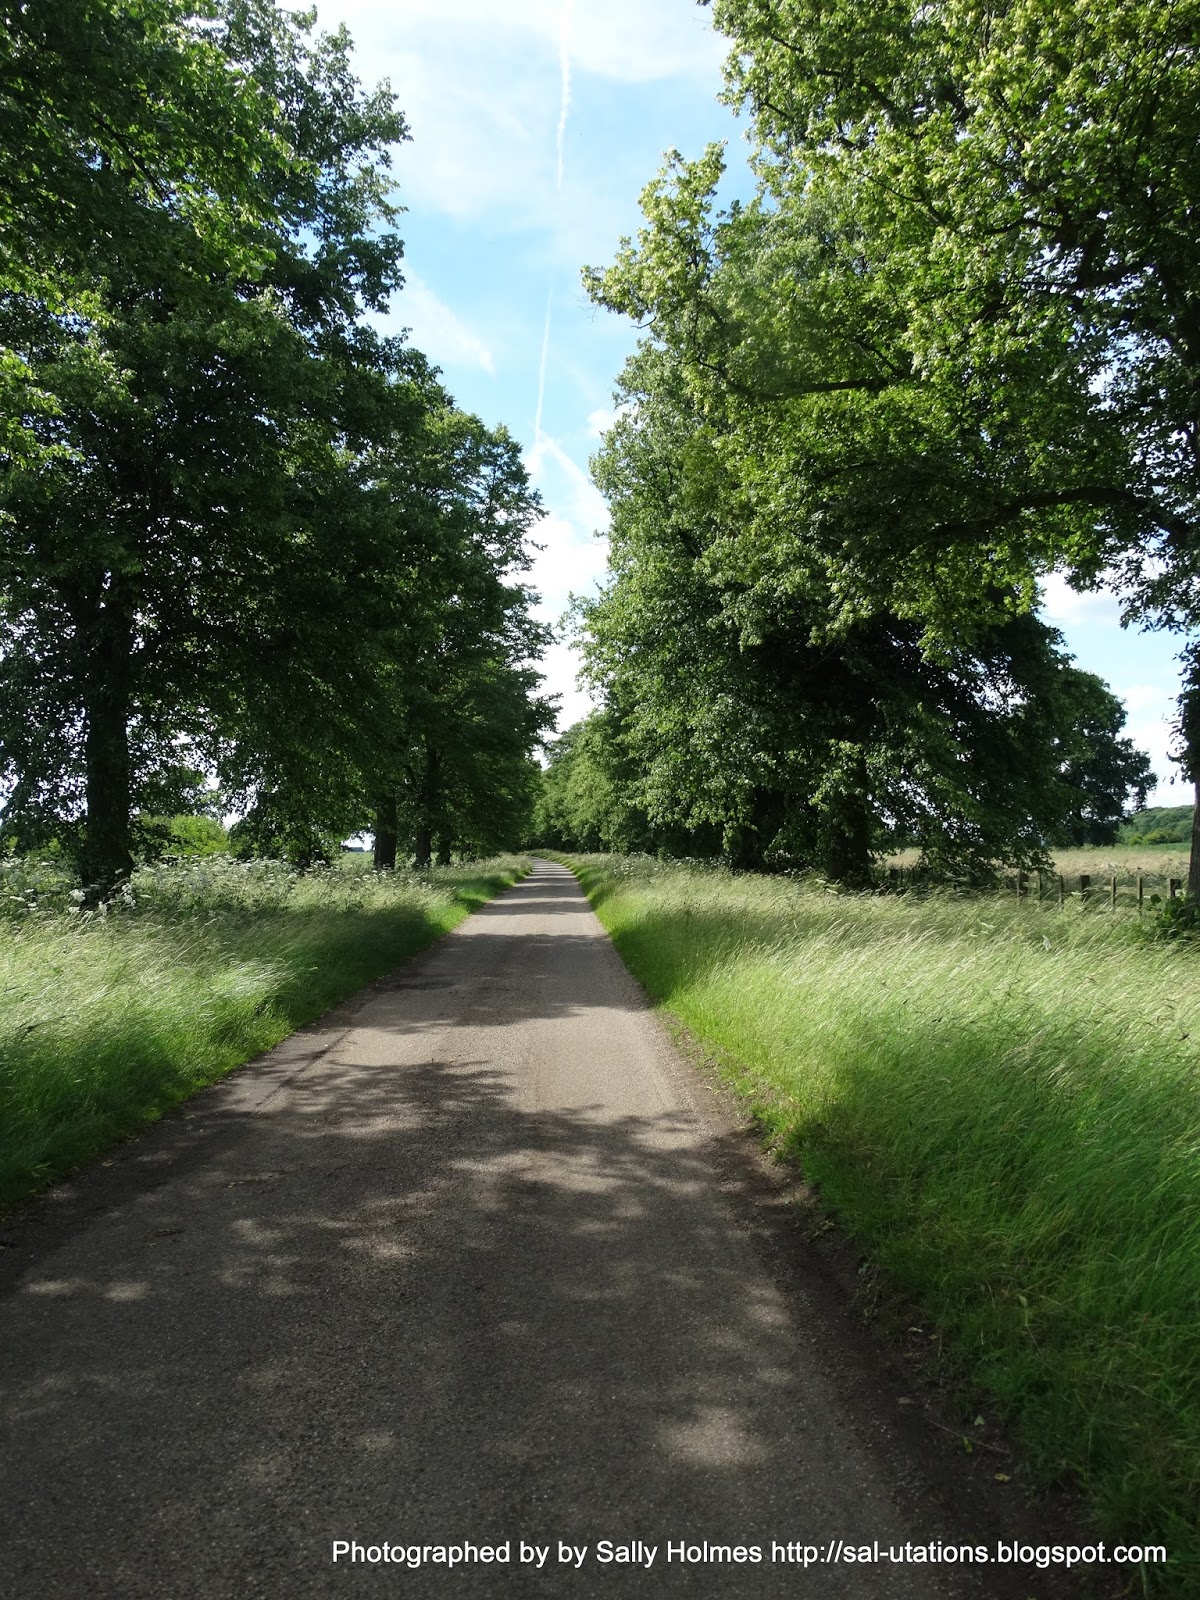
and the drive to the lodge is a Lime tree avenue - a continuation of the one in Clumber Park, for those of you who know it.The lime trees were in flower and smelled wonderful!
We finally made our way back through the village of Norton, and back to Cuckney Church.
I do miss living in the countryside, even if I did get quite a lot of nettle rash!
Hope you enjoyed the walk
Thanks for looking!
We then carried on up the bank
and crossed a few fields where there were thousands of ox eye daisies in flower.
We passed a field where there were several young foals...
and then saw a beautiful Lodge - gate house to the Welbeck estate.(I'd love to live there!)
The view from the Lodge is a timeless British landscape...
and the drive to the lodge is a Lime tree avenue - a continuation of the one in Clumber Park, for those of you who know it.The lime trees were in flower and smelled wonderful!
We finally made our way back through the village of Norton, and back to Cuckney Church.
I do miss living in the countryside, even if I did get quite a lot of nettle rash!
Hope you enjoyed the walk
Thanks for looking!
Sunday, 5 July 2015
July Challenge at Stamping Sensations
Good Morning! Another month at Stamping Sensations has flown by! We had some brilliant entries for June, but now it's time for a new challenge, in which we would like you to
Show us your projects featuring a creature (or creatures!) of land, sea or air!
Please do remember that as we are a stamping challenge, your entry must include some stamping if you wish it to be considered for our prize or Top 3 positions. It would be a shame to miss out, as our sponsor this month is once again Little Claire Designs, who have very kindly given us a most generous £35 voucher for the lucky winner to spend on their website.
As soon as I saw our topic for this month, I knew which stamp I would use! The beautiful Hedgehog on Little Claire's Silhouette 'Whisper a Wish'
I stamped the base card with Inkylicious delicate vine in shades of pink and orange. I used silk art card and masked around the edges with masking tape. I then used my ink dusters to make the scene using peach bellini and sunset orange Adirondack ink.Finally I stamped the silhouette stamp in archival black ink.
You can feature any type of creature in your entries this month, and of course remember you can enter up to three times with any type of cards or projects. The DT have featured some simply adorable creatures in their samples, so do go over to the Challenge Blog and have a look at them.
If you are looking for more creatures, you can check out my garden photos below. Thanks for looking!
* * * * * FEATURE A CREATURE * * * * *
Show us your projects featuring a creature (or creatures!) of land, sea or air!
Please do remember that as we are a stamping challenge, your entry must include some stamping if you wish it to be considered for our prize or Top 3 positions. It would be a shame to miss out, as our sponsor this month is once again Little Claire Designs, who have very kindly given us a most generous £35 voucher for the lucky winner to spend on their website.
As soon as I saw our topic for this month, I knew which stamp I would use! The beautiful Hedgehog on Little Claire's Silhouette 'Whisper a Wish'
I stamped the base card with Inkylicious delicate vine in shades of pink and orange. I used silk art card and masked around the edges with masking tape. I then used my ink dusters to make the scene using peach bellini and sunset orange Adirondack ink.Finally I stamped the silhouette stamp in archival black ink.
You can feature any type of creature in your entries this month, and of course remember you can enter up to three times with any type of cards or projects. The DT have featured some simply adorable creatures in their samples, so do go over to the Challenge Blog and have a look at them.
If you are looking for more creatures, you can check out my garden photos below. Thanks for looking!
Labels:
adirondack ink,
creatures,
inkylicious,
Little Claire,
silk art card
Thursday, 2 July 2015
More garden visitors and flowers
Over the weekend I had a few moments in the garden with my camera and sat near the bird feeders.
The first visitor was Bobby's offspring. This young robin was so curious...and so cute too! Think we might call him Scruff!
Next was the squirrel who took great delight in scaring the pigeons!
He also tried the hamster technique with the peanuts...
Here are a few of the flowers...
As you can see I am still putting my camera through it's paces, and have to say I am very happy with it!
Hope you enjoyed sharing a few minutes in my garden.
Thanks for looking!
The first visitor was Bobby's offspring. This young robin was so curious...and so cute too! Think we might call him Scruff!
Next was the squirrel who took great delight in scaring the pigeons!
He also tried the hamster technique with the peanuts...
Here are a few of the flowers...
As you can see I am still putting my camera through it's paces, and have to say I am very happy with it!
Hope you enjoyed sharing a few minutes in my garden.
Thanks for looking!
Labels:
baby robin,
flowers,
garden,
photography,
roses,
squirrel
Thursday, 25 June 2015
Rudolf day for June
Back in May I got this gorgeous birthday card from my lovely friend Lesley, using a stamp from Honey Doo Crafts, a company that I hadn't really looked at before...When I did I spent quite a bit!!!
One of the stamps I bought was this one, which I have used to create three cards for Scrappy Mo's Rudolf days this month.
First up I used wow brass embossing powder on burgundy card...
Next up I tried it with flutter glu and flake...
Finally I tried flitter glu and flake again, but managed to get a smudge of something on the card and it looked a mess. I decided to cover it in different colour sprays including sparkly ones to cover the mess and create this one...
A reasonable save I think ;) Note to self - flitter glu and flake gives good resist with colour sprays like dylusions!
Do pop over to Scrappy Mo's and take a look at the fab inspiration and prize. Not sure if I will manage to join in next month - might be without computer (still on XP here), but I will try and do extra for August if I don't join in.
I will leave you with a few photos of the birds in my garden.
Goldfinches...
Love this one!!!
A great tit...
and a very noisy baby starling taken by Meg - he was so loud he woke her up!
Thanks for looking.
One of the stamps I bought was this one, which I have used to create three cards for Scrappy Mo's Rudolf days this month.
First up I used wow brass embossing powder on burgundy card...
Finally I tried flitter glu and flake again, but managed to get a smudge of something on the card and it looked a mess. I decided to cover it in different colour sprays including sparkly ones to cover the mess and create this one...
Do pop over to Scrappy Mo's and take a look at the fab inspiration and prize. Not sure if I will manage to join in next month - might be without computer (still on XP here), but I will try and do extra for August if I don't join in.
I will leave you with a few photos of the birds in my garden.
Goldfinches...
Love this one!!!
A great tit...
and a very noisy baby starling taken by Meg - he was so loud he woke her up!
Thanks for looking.
Saturday, 20 June 2015
Father's Day cards
I am sorry I haven't been around blog land much this week. It is report writing season and I need to get them done by next weekend, so I will be back soon. I have two cards to share with you today. One is for my dad and one is for Steve from Meg. Meg normally makes her own, but she has had three A level exams this week, so that is what she has been concentrating on.
First up is Steve's card...
For this one I used stamps from Inky Doodles . I made a little scene with my ink dusters then stamped the ducks ( On the Riverbank set), rushes, leaves (woodland walk set) and the boardwalk (Great outdoors set). Two of thses sets were purchases from Stamp Magic earlier in the month. I coloured the foreground detail with promarkers. The base card was stamped with fern leaves from Inkylicious in cracked pistachio.
My second card is a little watercoloured scene for my Dad
For this one I used Hobby Art stamps - the Harbour Scene-it set and coloured it with Aquamarkers - I haven't used mine in ages, but always tend to reach for them when I use Hobby Art stamps.
As I have used stamps I am entering my cards into the Allsorts challenge this week, and also My ducks have wings so I am entering them into the Penny Black and More Challenge where the theme is wings. I have made a third Father's day card for Steve's Dad (His 95th father's day) but I have made a very similar one for a magazine article that won't be out until August, so I will share it then!
Thanks for looking!
First up is Steve's card...
For this one I used stamps from Inky Doodles . I made a little scene with my ink dusters then stamped the ducks ( On the Riverbank set), rushes, leaves (woodland walk set) and the boardwalk (Great outdoors set). Two of thses sets were purchases from Stamp Magic earlier in the month. I coloured the foreground detail with promarkers. The base card was stamped with fern leaves from Inkylicious in cracked pistachio.
My second card is a little watercoloured scene for my Dad
For this one I used Hobby Art stamps - the Harbour Scene-it set and coloured it with Aquamarkers - I haven't used mine in ages, but always tend to reach for them when I use Hobby Art stamps.
As I have used stamps I am entering my cards into the Allsorts challenge this week, and also My ducks have wings so I am entering them into the Penny Black and More Challenge where the theme is wings. I have made a third Father's day card for Steve's Dad (His 95th father's day) but I have made a very similar one for a magazine article that won't be out until August, so I will share it then!
Thanks for looking!
Labels:
Allsorts Challenge,
ducks,
father's day,
Hobby art,
inky Doodles,
inkylicious,
scene
Saturday, 13 June 2015
Playing with goodies from Doncaster
When I was at Doncaster last week I bought several stamps from Visible Image. I needed a card for a colleague who plays the drums, so I pressed this one into use straight away, along with the sentiment from Inkylicious. I created the background by using a technique that I learned from Jean on the BJ Crafts stall.
I used a mixture of silkies and stencil paints applied with cut and dry and thinned a little with Magic-Blend blending solution (all from Imagination crafts). I then put the bubblicious stencil (Inkylicious)over the top and secured with stencil tape. I used a baby wipe to remove some of the silkies and stencil paint before rubbing over a little sparkle medium with the cut and dry. This technique requires good smooth card stock that will stand being rubbed with a baby wipe (300+gsm) and the right sort of baby wipes (Huggies don't work - economy Sainsburys ones do). Finally I stamped and heat embossed the Drummer (Visible Image) in black
Here is a closer view from an angle to show the sparkle bubbles a bit more clearly. It is definitely a technique I will try again. I am looking forward to having to time to try some other techniques I saw, like dylusions on shaving foam, but I have 28 more reports to write first!
Thanks for looking!
I used a mixture of silkies and stencil paints applied with cut and dry and thinned a little with Magic-Blend blending solution (all from Imagination crafts). I then put the bubblicious stencil (Inkylicious)over the top and secured with stencil tape. I used a baby wipe to remove some of the silkies and stencil paint before rubbing over a little sparkle medium with the cut and dry. This technique requires good smooth card stock that will stand being rubbed with a baby wipe (300+gsm) and the right sort of baby wipes (Huggies don't work - economy Sainsburys ones do). Finally I stamped and heat embossed the Drummer (Visible Image) in black
Here is a closer view from an angle to show the sparkle bubbles a bit more clearly. It is definitely a technique I will try again. I am looking forward to having to time to try some other techniques I saw, like dylusions on shaving foam, but I have 28 more reports to write first!
Thanks for looking!
Labels:
imagination crafts paint,
inkylicious,
stamping,
stencils,
visible image
Subscribe to:
Posts (Atom)