Sunday, 8 November 2015
Christmas foliage and some autumn photos
Here is a very quick card I made whilst experimenting! I was wondering if I could use the Be Creative glitter glue through a stencil, and look! It worked. I used a cheap and cheerful card blank, and when I try this again I will use something a bit more substantial! However, I did discover that the glitter glue will stand heat, as I ironed it to get it flat again! The Die is a frantic stamper one, and the border and gems are also from Be Creative. This would be a great card to enter into the challenge at Stamping Sensations this month and win the wonderful prize below! It is such a shame I can't enter! Remember you can enter anything Christmassy with a flower/ foliage/ holly/ pine branch/ wreath etc!
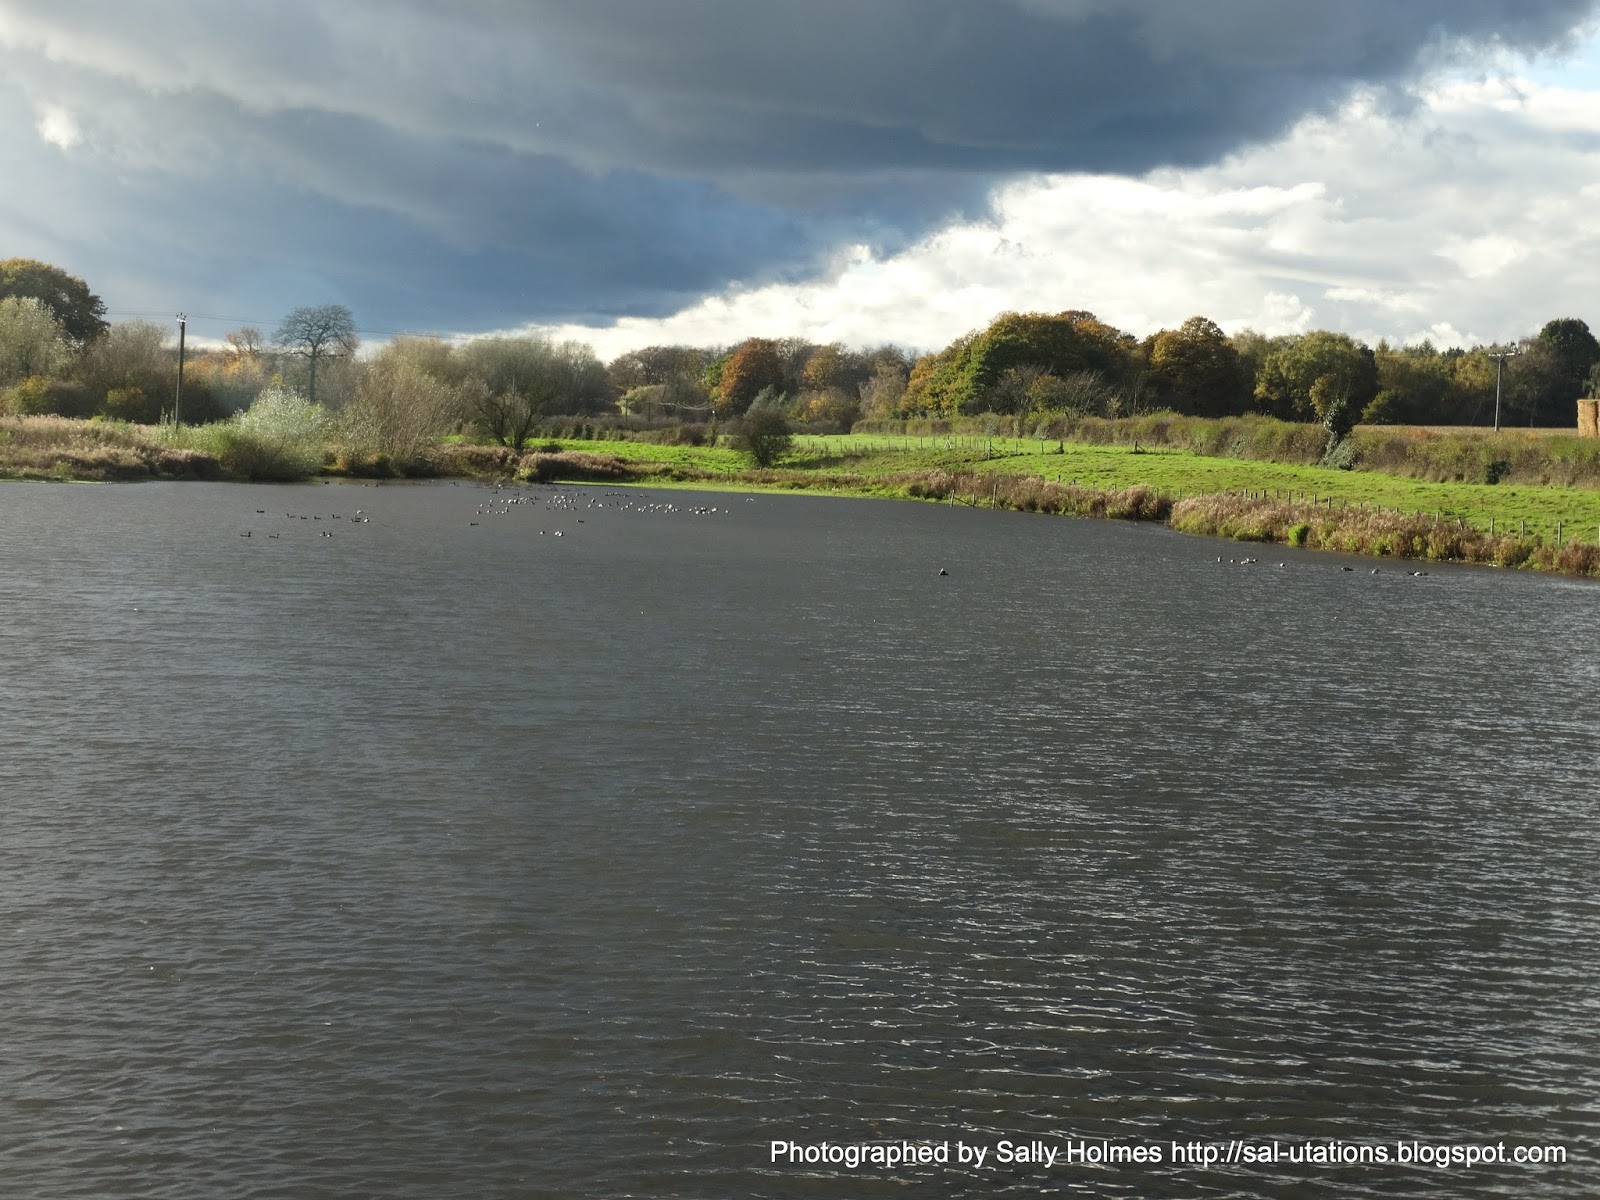
I took my Camera when I drove up to Dad's today and stopped for a few minutes on the northern edge of Sherwood forest. There were lovely Autumn colours...
Then I saw this cloud passing over...
so headed back to the car...
just as it's shadow reached me! By the time I had started the engine, the wipers needed to be on!
Hope you have managed to stay dry today!
Thanks for looking!
Labels:
Be Creative,
christmas card,
glitter glue,
photography,
stencils
Wednesday, 4 November 2015
A wreath for Christmas
I have been playing with my Be Creative alcohol based markers and a Digi stamp from Delicious Doodles. I love colouring Teri's images, and there is nothing better to colour with than these markers!
After colouring the image I went round the edge with the Scarlet pen and then mounted onto a 6x6 card. I added a few spots of glitter and then put glossy accents onto the berries...
Here is a close up. The colouring was done with just nine pens (43, 46, 48, 49, 3, 13, 131, 146 and 182)
When I turned it over to put the glue on I just had to take a photo of the reverse side - sometimes they are just as beautiful as the front! Be Creative products will be at the NEC on stand F15 from tomorrow!
I am entering this into the current challenge at Allsorts where the theme is Christmas. It would be ideal for the current theme at Stamping sensations where there is a wonderful prize on offer - shame I am on the DT, lol!
Thanks for looking!
After colouring the image I went round the edge with the Scarlet pen and then mounted onto a 6x6 card. I added a few spots of glitter and then put glossy accents onto the berries...
Here is a close up. The colouring was done with just nine pens (43, 46, 48, 49, 3, 13, 131, 146 and 182)
When I turned it over to put the glue on I just had to take a photo of the reverse side - sometimes they are just as beautiful as the front! Be Creative products will be at the NEC on stand F15 from tomorrow!
I am entering this into the current challenge at Allsorts where the theme is Christmas. It would be ideal for the current theme at Stamping sensations where there is a wonderful prize on offer - shame I am on the DT, lol!
Thanks for looking!
Labels:
alcohol markers,
Be Creative,
delicious doodles,
Digistamp
Tuesday, 3 November 2015
Tree star tutorial
To make the tree star you will need Jus-cutz scalloped star dies, a Be Creative glue wand, some double sided tape, some good quality, 160gsm papers (like these Winterland ones from Be Creative) and a length of ribbon.
1.First cut two scalloped stars the same size. You can choose whichever of the dies you want to fit your paper.
2. Next score from each point to the 'inny' opposite
3. Fold, so each point of the star is a mountain fold and each 'inny' is a valley fold.
Your star should look like this. Complete the steps above for the second star.
4. Pinch the end of each point of the star so it is flat
5. Add a blob of glue from the glue wand to each point except one
8. Wrap the double sided tape around the loop of ribbon and attach inside the open point,
before pinching the final point together.
9. Lay the star flat and attach the bow with the glue wand, trimming the ends of the bow as needed.
You can decorate your star with a stamped image, die cuts or lots of glitter or glitter glue - it is up to you.
All of the products used can be found at Once upon a stamp
Are you going to the NEC this week? If so you could pick up everything you need there! Just look out for 342Crafts.com
Hope you liked my tutorial. Thanks for looking!
1.First cut two scalloped stars the same size. You can choose whichever of the dies you want to fit your paper.
2. Next score from each point to the 'inny' opposite
3. Fold, so each point of the star is a mountain fold and each 'inny' is a valley fold.
Your star should look like this. Complete the steps above for the second star.
4. Pinch the end of each point of the star so it is flat
5. Add a blob of glue from the glue wand to each point except one
6. Pinch the points together, making sure that one point stays open.
7. Make a bow and a loop from the ribbon.8. Wrap the double sided tape around the loop of ribbon and attach inside the open point,
before pinching the final point together.
9. Lay the star flat and attach the bow with the glue wand, trimming the ends of the bow as needed.
You can decorate your star with a stamped image, die cuts or lots of glitter or glitter glue - it is up to you.
All of the products used can be found at Once upon a stamp
Are you going to the NEC this week? If so you could pick up everything you need there! Just look out for 342Crafts.com
Hope you liked my tutorial. Thanks for looking!
Labels:
Be Creative,
Once Upon a stamp,
star,
tree ornament,
tutorial
Sunday, 1 November 2015
Festive flowers and foliage at Stamping Sensations
Here is my card featuring 'be Creative!' Winterland papers.
I stamped the poinsettia (Penny Black) twice in versamark ink and embossed it with sparkle gold embossing powder before cutting it out and decoupaging it using 3d glue. I attached another of the papers from the pad to the front of the card and then attached the flower. I added a crafts too die cut holly spring and pearls to the flower. Finally I added the sentiment from the recent Creative Stamping magazine on a spellbinders die-cut, and a ribbon.
My second project is a tree decoration using the same papers. I used 'Jus-Cutz' scalloped star dies. I will be writing a tutorial for this very soon! The Prize is about £60 worth of fabulous goodies - feast your eyes on this!
Now for a bit more about our new sponsor 'be Creative!'.
have just launched a brand new range of craft products. They will be launching their new web site very soon but in the meantime you can keep up to date by following their Facebook page where you will see some of the new products. You can also contact Gordon and Justin by phone on 01623 818910 .
The products were recently very well received at their launch on Hochanda
and will also be available at the NEC Hobbycraft show on 5th through 8th
November. As a member of their DT I can honestly vouch for the quality of every single product!Do pop over to the challenge blog and take a look at the wonderful creations from our DT, mostly created with 'be Creative!' papers.
Thanks for looking!
Sunday, 25 October 2015
Rudolf Day for October
I can't believe it is time for another Rudolf day already, and there will be only one more before the big day itself! Since Justin and Gordon asked me to join the Be Creative design team I have been having lots of fun playing with the Be Creative Winterland paper pad. This weekend, I have been using up some of the snippets left over from other cards and teaming them up with some snowmen I coloured whilst enjoying a short break in Wales with Steve last week.
For my first card I used a Pink Gem stamp that I have had for many years. I coloured it using Be Creative Alcohol based markers, warm grey 2 and 4, mint blue 143 and Frost blue 182. I added Be Creative diamond glitter glue to the snowman, then used the glue wand and fine iridescent glitter to add some sparkle to the snowflake . I accented the nose, eyes and buttons with glossy accents. Finally I used the glue wand to add some Inkylicious crystal snow by the base of the snowman (Shhh! This is wonderful for covering up smudges on snow scenes!!!) The holographic stick on border is also from Be Creative.
My second card features another snowman - this time a Dinkie stamp from Little Claire. The paper pad and the pens used are the same. The border this time is a self adhesive lace one that comes on a roll from Be Creative. The sentiment is a Frantic stampers die. The glitter glue is not as obvious on this one but it is the same as the previous card.
Do pop over to Scrappy Mo's and have a look at hers and Linby's cards for this month. They are both absolutely gorgeous! Rudolf day Challenge comes highly recommended from me as it gets me well organised and prepared before December arrives! I am also taking this into Miss Di's snippet playground, where there might be an apple bobbing contest going on...that is if Parsnip hasn't used them all for making scrumpy!
I will leave you with a few photos from our holiday. The Autumn colours were absolutely gorgeous!
This is Llanymynech Nature reserve which is part in Wales and part in England,
And finally, here I am being a bit daft at the top of Pistyll Rhaeadr waterfall, trying to ignore the fact that there is a very big drop behind me!
Thanks for looking!
For my first card I used a Pink Gem stamp that I have had for many years. I coloured it using Be Creative Alcohol based markers, warm grey 2 and 4, mint blue 143 and Frost blue 182. I added Be Creative diamond glitter glue to the snowman, then used the glue wand and fine iridescent glitter to add some sparkle to the snowflake . I accented the nose, eyes and buttons with glossy accents. Finally I used the glue wand to add some Inkylicious crystal snow by the base of the snowman (Shhh! This is wonderful for covering up smudges on snow scenes!!!) The holographic stick on border is also from Be Creative.
My second card features another snowman - this time a Dinkie stamp from Little Claire. The paper pad and the pens used are the same. The border this time is a self adhesive lace one that comes on a roll from Be Creative. The sentiment is a Frantic stampers die. The glitter glue is not as obvious on this one but it is the same as the previous card.
Do pop over to Scrappy Mo's and have a look at hers and Linby's cards for this month. They are both absolutely gorgeous! Rudolf day Challenge comes highly recommended from me as it gets me well organised and prepared before December arrives! I am also taking this into Miss Di's snippet playground, where there might be an apple bobbing contest going on...that is if Parsnip hasn't used them all for making scrumpy!
I will leave you with a few photos from our holiday. The Autumn colours were absolutely gorgeous!
This is Llanymynech Nature reserve which is part in Wales and part in England,
Pystill Rhaeadr Waterfall,
and the bench with the best view in the world! Also at Llanymynech.Thanks for looking!
Thursday, 22 October 2015
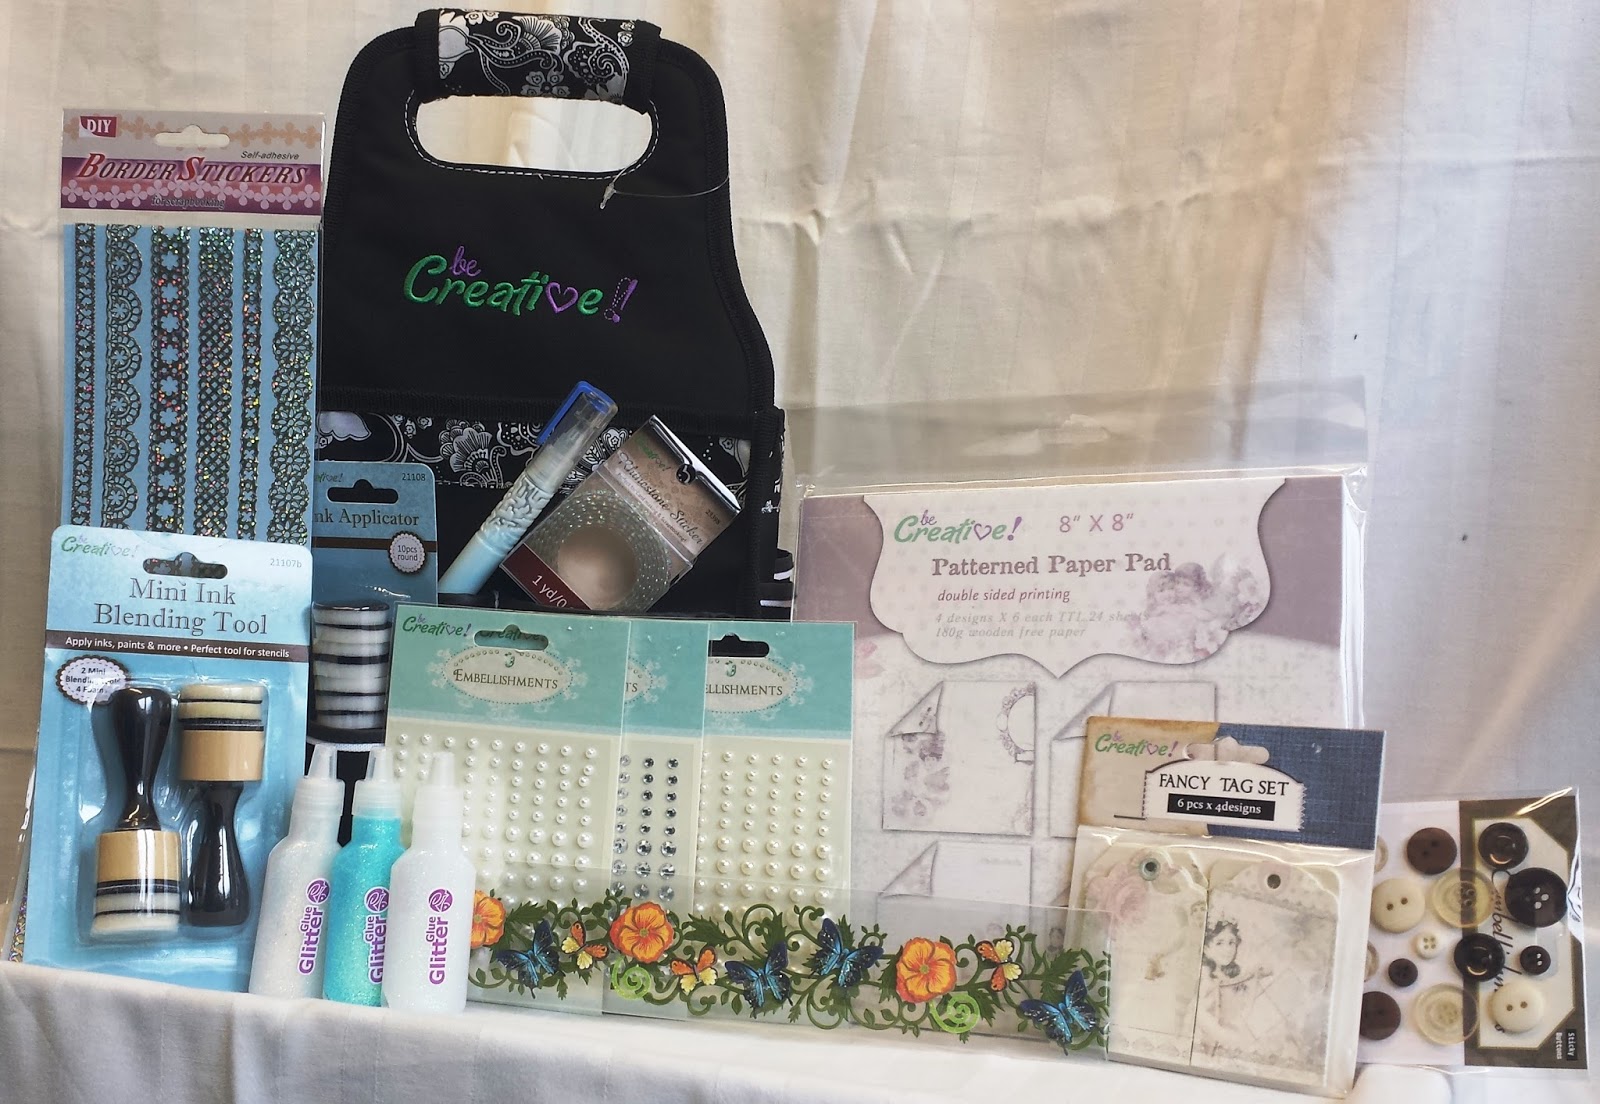
With my goodies from Doncaster
One of my purchases from Doncaster was this stamp from Honey Doo Crafts. Now I blame Lesley (Crafty mamma) for introducing me to this company, by sending me a birthday card made with one of their stamps - there are many irresistible ones! I stamped the image and coloured it using my Be creative markers (Blush, Peach, frost Blue, Yellow green, Vivid green). I dusted around the edge of the die cut with Antique Linen Distress Ink. The papers, buttons and border are all Be Creative products too. The border comes in white, but I coloured it to make it match the colouring on the stamped image.
On our first visit to see Meg we had a lovely walk around the Botanical Gardens. Here are a few photos...
If you have the chance, do tune in to Hochanda on Saturday as you will see Justin with lots of goodies from Be Creative. They have three shows scheduled - 11am, 2pm and 6pm. Thanks for looking
On our first visit to see Meg we had a lovely walk around the Botanical Gardens. Here are a few photos...
If you have the chance, do tune in to Hochanda on Saturday as you will see Justin with lots of goodies from Be Creative. They have three shows scheduled - 11am, 2pm and 6pm. Thanks for looking
Labels:
alcohol markers,
Be Creative,
flowers,
honey doo crafts,
photos
Monday, 19 October 2015
A wonderful weekend and other news
Half term started well with Lynne arriving from Scotland on Friday night. On Saturday we went up to the Be Creative Launch and did make and take sessions throughout the day. It was lovely to meet everyone who came along and we thoroughly enjoyed ourselves. Here are just a few of the creations made by people who visited.
Here is Janet with her wonderful creation...
I am only sorry I didn't get the chance to snap a few more as we went along. I thoroughly enjoyed myself and look forward to doing some more workshops soon. One of the popular products that we were trying out was the Be Creative Alcohol Markers. As a member of their design team, I was lucky enough to get to play with these beauties...
There are 100 different colours in the range and I am very impressed by the quality of the ink. Here is a colour chart that I made whilst I get used to them.
Digi image is from Teri at Arti Doodles.
On Sunday, which was Lynne's Birthday, we went to Stamp Magic at Doncaster Dome. We bumped into lots of people we knew and had a great time. It was lovely to see some new things being demoed too. We had so much fun, especially when my purchases were put through a till and they came out as this!!!
Seriously, I didn't spend that much!!! I can't wait to get playing with my goodies, but Steve is off work this week so we are going to have some time together. I am also looking forward to seeing what Lynne does with her goodies too!
I will leave you with a card made with more Be creative papers. The poinsettia was coloured with Be creative markers and the Die is from Frantic Stamper, also available from Once Upon a Stamp.
Thanks so much for looking and for all your lovely comments. I hope to catch up with all you lovely people who leave me comments soon!
Here is Janet with her wonderful creation...
Helen and her sister made the next two...
I am only sorry I didn't get the chance to snap a few more as we went along. I thoroughly enjoyed myself and look forward to doing some more workshops soon. One of the popular products that we were trying out was the Be Creative Alcohol Markers. As a member of their design team, I was lucky enough to get to play with these beauties...
There are 100 different colours in the range and I am very impressed by the quality of the ink. Here is a colour chart that I made whilst I get used to them.
The day I recieved them I just couldn't do anything but colour, and here is what I did!
Digi image is from Teri at Arti Doodles.
On Sunday, which was Lynne's Birthday, we went to Stamp Magic at Doncaster Dome. We bumped into lots of people we knew and had a great time. It was lovely to see some new things being demoed too. We had so much fun, especially when my purchases were put through a till and they came out as this!!!
Seriously, I didn't spend that much!!! I can't wait to get playing with my goodies, but Steve is off work this week so we are going to have some time together. I am also looking forward to seeing what Lynne does with her goodies too!
I will leave you with a card made with more Be creative papers. The poinsettia was coloured with Be creative markers and the Die is from Frantic Stamper, also available from Once Upon a Stamp.
Thanks so much for looking and for all your lovely comments. I hope to catch up with all you lovely people who leave me comments soon!
Labels:
alcohol markers,
Be Creative,
Doncaster,
Lynne,
make and take
Tuesday, 13 October 2015
Be Creative Launch at Once Upon a Stamp
What are you doing on Friday and Saturday? Do you fancy trying out some lovely new craft products? If so come along to the Be Creative Launch event at Once upon a Stamp. Here is what Gordon and Justin say:
Come along to the launch of our new brand with lots
of new products and we guarantee a huge surprise when you see the prices
and a completely new way of doing business .
Two days of Make and Takes with two leading craft experts using our new products from the Be Creative range.
You will be seeing lots of new products for the very first time .
It all begins at 10am on the Friday with the unveiling of our new logo and business name .
Make and takes will shortly be made available in time slots for advance booking .
There will also be FREE raffles with prizes to be won throughout the day .
Snacks and light refreshments will be available.
Address :
Once Upon a Stamp
Unit 3
Church lane
Pleasley
Mansfield
Notts
Ng19 7td
Make and takes will take place on both days subject to places .
Friday's make and take is with Kym from Crafty Roo Designs
Saturday's Make and take is with Sally Holmes (We will make the card at the top of this post) .
Two great FREE make and takes running around 40 minutes each session .
The above are bookable by time slot and you should send us a message via the contact us button on the once upon a stamp web site :
www.onceuponastamp.co.uk
Times of workshops :
10.30 , 11.30 , 1.00 , 2.00 , 3.00
Please give the day and choice of two time slots .
We are located a couple of miles off of J29 M1 towards Mansfield
I would love to see you there on Saturday! Lynne from Creative Lynks will be there too.
I am busy with a magazine commission and some Be Creative Samples at the moment, but will be round to visit your blogs soon. Thanks for looking!
Two days of Make and Takes with two leading craft experts using our new products from the Be Creative range.
You will be seeing lots of new products for the very first time .
It all begins at 10am on the Friday with the unveiling of our new logo and business name .
Make and takes will shortly be made available in time slots for advance booking .
There will also be FREE raffles with prizes to be won throughout the day .
Snacks and light refreshments will be available.
Address :
Once Upon a Stamp
Unit 3
Church lane
Pleasley
Mansfield
Notts
Ng19 7td
Make and takes will take place on both days subject to places .
Friday's make and take is with Kym from Crafty Roo Designs
Saturday's Make and take is with Sally Holmes (We will make the card at the top of this post) .
Two great FREE make and takes running around 40 minutes each session .
The above are bookable by time slot and you should send us a message via the contact us button on the once upon a stamp web site :
www.onceuponastamp.co.uk
Times of workshops :
10.30 , 11.30 , 1.00 , 2.00 , 3.00
Please give the day and choice of two time slots .
We are located a couple of miles off of J29 M1 towards Mansfield
I would love to see you there on Saturday! Lynne from Creative Lynks will be there too.
I am busy with a magazine commission and some Be Creative Samples at the moment, but will be round to visit your blogs soon. Thanks for looking!
Labels:
alcohol markers,
Be Creative,
designer papers,
glitter,
stamping
Friday, 9 October 2015
Creative Stamping Magazine
In my haste to get them finished and posted to the editor, I forgot to take photos of the cards (What a noodle, eh?), but here is one made along the same lines as one inside.
Monday, 5 October 2015
A couple of challenges and more Be Creative products
There are some challenges around at the moment that are right up my street, with Autumn colours at Penny Black and more, and Inspired by nature at Allsorts this week. I am using some more papers and buttons from Be Creative. The paper pad that this sheet comes from has some wonderful nature inspired double sided designs, very suitable for masculine cards. The deer birds and grasses are Inkylicious stamps, and the oval scene was created using Distress inks, memento inks and ink dusters. The leaves are a Joy Crafts die.
If you fancy coming along to have a play with some of the wonderful products from Be Creative, I will be there on Saturday 17th October, and there is also an open day on Friday 16th October. There will be a make and take as well as the chance to test out some products. Sign up for the Once upon a Stamp newsletter for more information.
Thanks for looking!
If you fancy coming along to have a play with some of the wonderful products from Be Creative, I will be there on Saturday 17th October, and there is also an open day on Friday 16th October. There will be a make and take as well as the chance to test out some products. Sign up for the Once upon a Stamp newsletter for more information.
Thanks for looking!
Labels:
autumn colours,
Be Creative,
Buttons,
deer,
inkylicious,
nature
Sunday, 4 October 2015
Autumn colours at Stamping Sensations
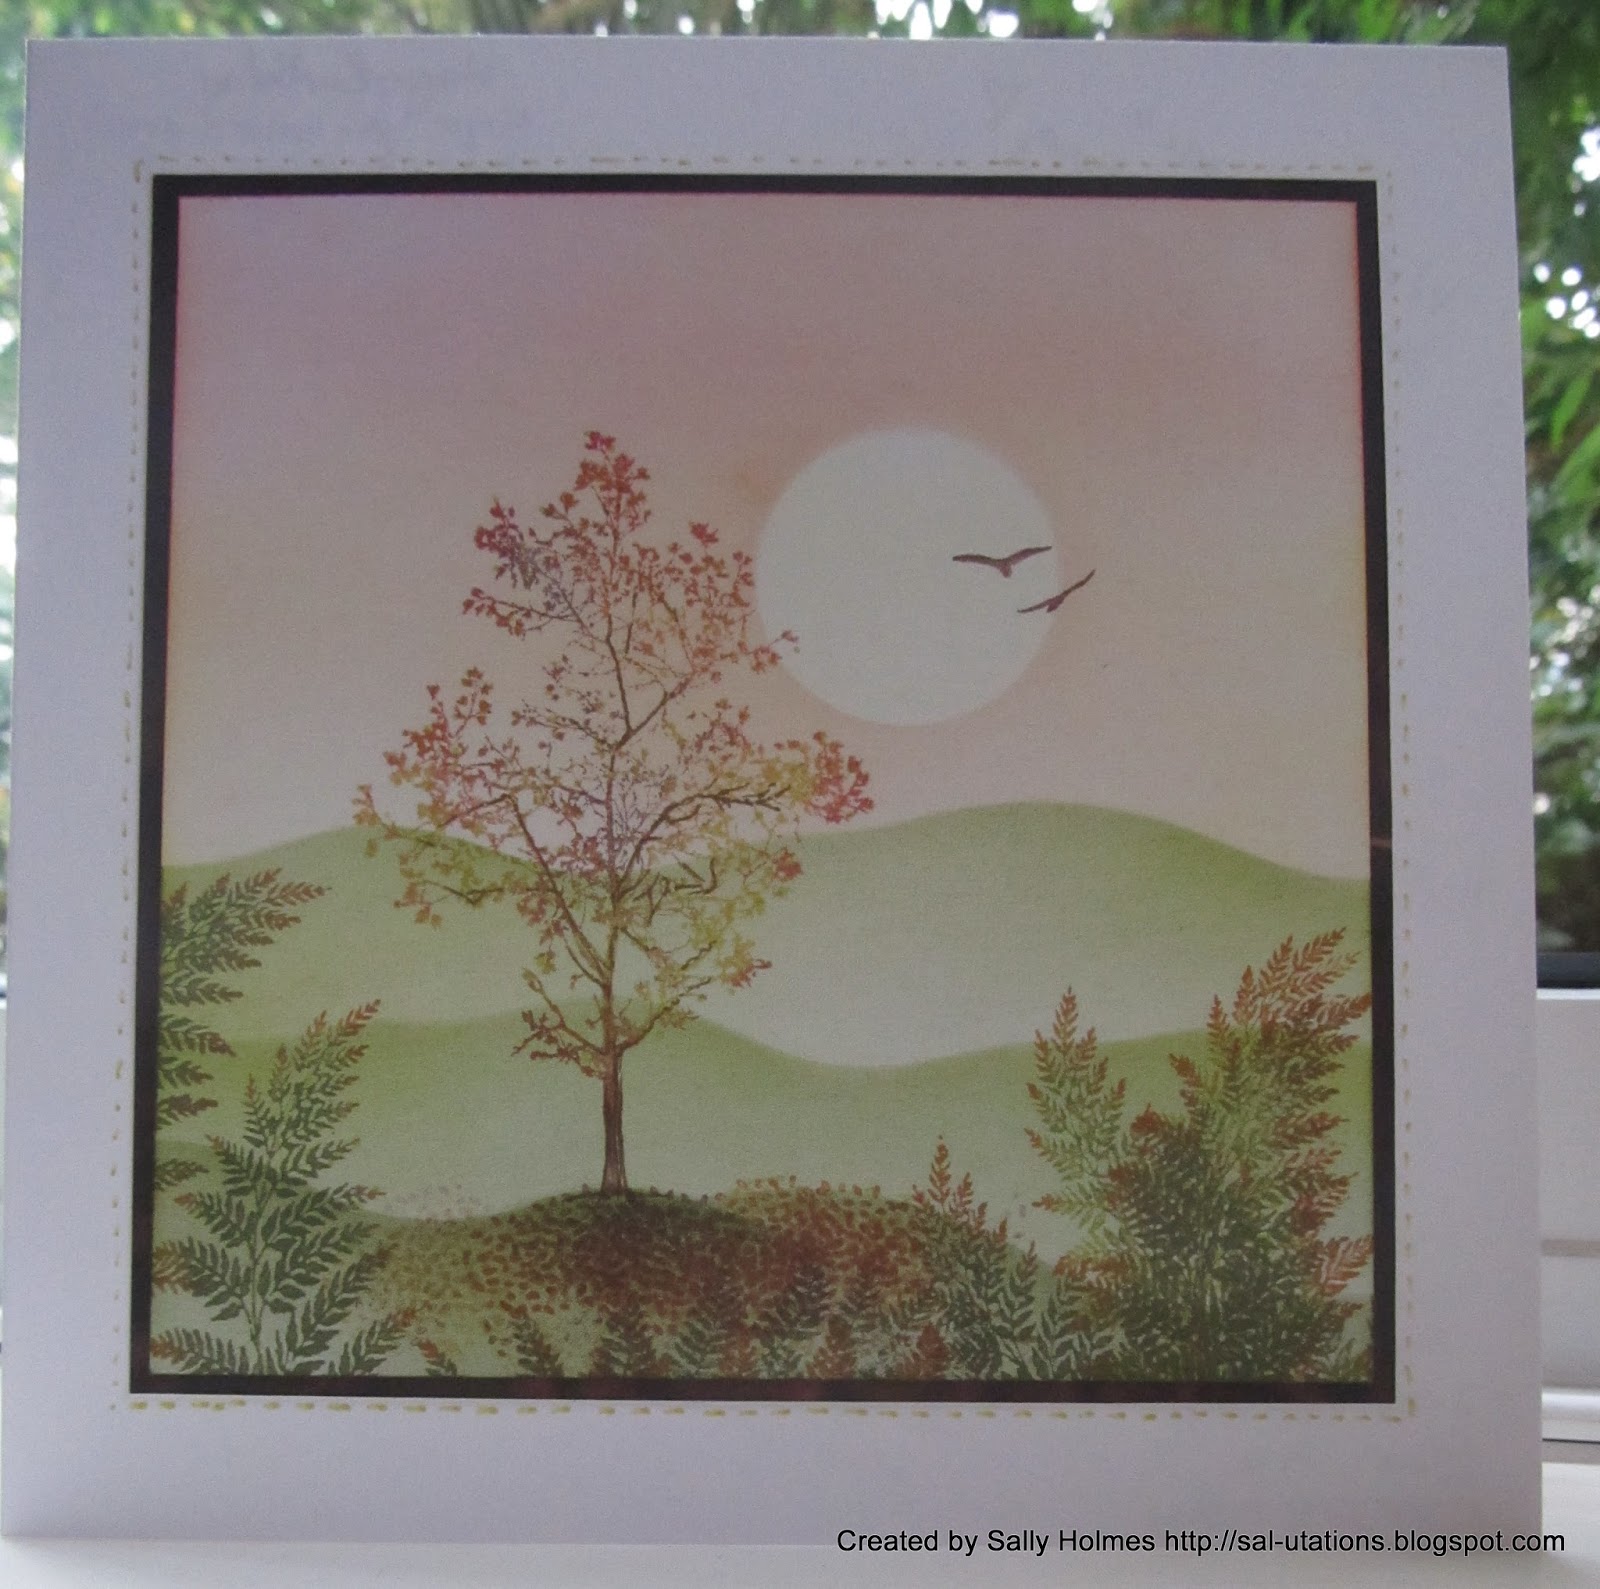
Good Morning! Is it all Autumnal where you are today? It is the first Sunday of the month and tuime for a new challenge at Stamping Sensations. Our theme this month is Autumn Colours.For my card this month I have used Inkylicious stamps, inked up with memento inks in olive grove, pear tart, espresso truffle, Rhubarb stalk and potters clay. The hills and sky were created with ink dusters, a mountain valley stencil, a sun stencil and more memento inks in dandelion and rosebud.
Foil
Play has no minimum order and you can pick just the individual products
that you want, without needing to buy a huge kit. There are plenty of
crafty bargains, including big discounts for bulk packs of selected
products. UK P&P is free when you spend over £10, orders are
packed carefully and sent speedily by First Class mail.
Please pop over to the challenge blog and take a look at the amazing creations from my lovely teamies.
I've had a couple of lovely skype calls with Meg. She has shown us all the freebies she got during freshers week including a rather amusing Gray's Anatomy pen, and told us all about the first week of lectures she has had. She has also purchased her lab coat and dissection kit! She will be shadowing a GP later this month for a few days. Thanks for looking!
Our usual rules apply, you can enter up
to three times, combine with other challenges, use any make of
stamp......but can I please remind you.........we are a stamping challenge so must see a stamped image, sentiment or quote as the focal element of your artwork. It so upsets us to see names come out in the draw who are not eligible for the prize because they have not read the rules.
As always we have a super prize on offer, this month one lucky winner will receive a £35 store voucher to spend on line with................
Foil Play specialises
in rub on foils and ultra fine glitter, along with card toppers and 3D
decoupage (die cut and traditional) and a great selection of greetings
and embellishments too. New products are added often and the site offers
an array of over 11,000 different paper craft products from classic and
well known brands, including Kanban, Hunkydory, Dufex, Craftwork Cards,
La Pashe, The Hobby House, Debbi Moore Designs and many more.
Please pop over to the challenge blog and take a look at the amazing creations from my lovely teamies.
I've had a couple of lovely skype calls with Meg. She has shown us all the freebies she got during freshers week including a rather amusing Gray's Anatomy pen, and told us all about the first week of lectures she has had. She has also purchased her lab coat and dissection kit! She will be shadowing a GP later this month for a few days. Thanks for looking!
Labels:
autumn,
autumn colours,
fern leaves,
inkylicious,
scene,
Stamping Sensations,
trees
Subscribe to:
Posts (Atom)